
In the hustle and bustle of modern living, personalizing your workspace can create a more inviting atmosphere, especially in rental homes. A well-organized and aesthetically pleasing desk not only enhances productivity but also imbues your creativity with life. For creative renters, young professionals, students, and families seeking affordable and practical solutions, DIY desk organizers are the perfect project. By incorporating materials you likely already have, such as cardboard, wood, and even items rescued from the recycling bin, we can create functional yet stylish organizers that cater to your unique style and needs. Whether it’s repurposing old jars or crafting elegant trays from reclaimed materials, these desk organizers are simple to make and visually appealing. Let’s embark on a creative journey that will transform your rental space, making it distinctly yours while keeping it organized and clutter-free.
Repurposing Cardboard: Stylish Desk Organizers
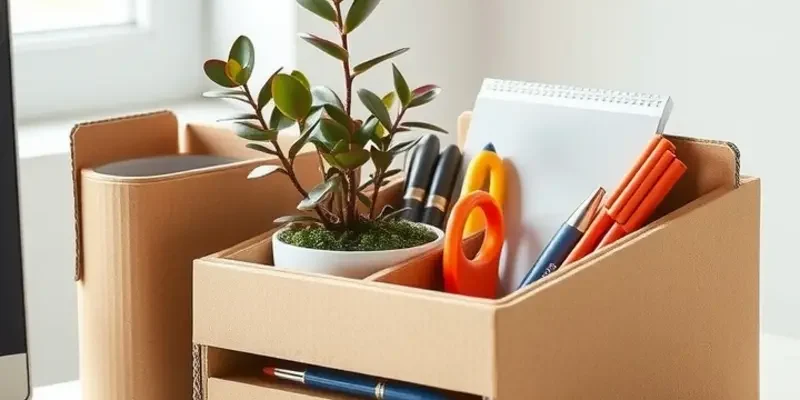
Crafting your own desk organizer from cardboard can be both cost-effective and uniquely stylish. With minimal material requirements, cardboard is a versatile medium that’s perfect for DIY enthusiasts. Below, I guide you through creating a functional desk accessory that adds a personal touch to your workspace.
Materials Needed:
- Cardboard boxes (preferably sturdy ones)
- Ruler
- Pencil or marker
- Craft knife or heavy-duty scissors
- Cutting mat (to protect surfaces)
- Glue or hot glue gun
- Decorative paper or fabric
- Paint (optional)
- Brushes
Step-by-Step Instructions:
-
Measure and Cut:
Begin by planning the size and design of your organizer. Use a ruler to mark the dimensions on the cardboard. For a basic organizer, cut out one large piece for the base and smaller pieces for dividers and sides. Ensure each cut piece fits the planned design. -
Assemble the Base and Sides:
Use glue to attach the base piece first, then the sides. For stability, ensure the glue is applied evenly and allow it to dry thoroughly before proceeding to the next step. -
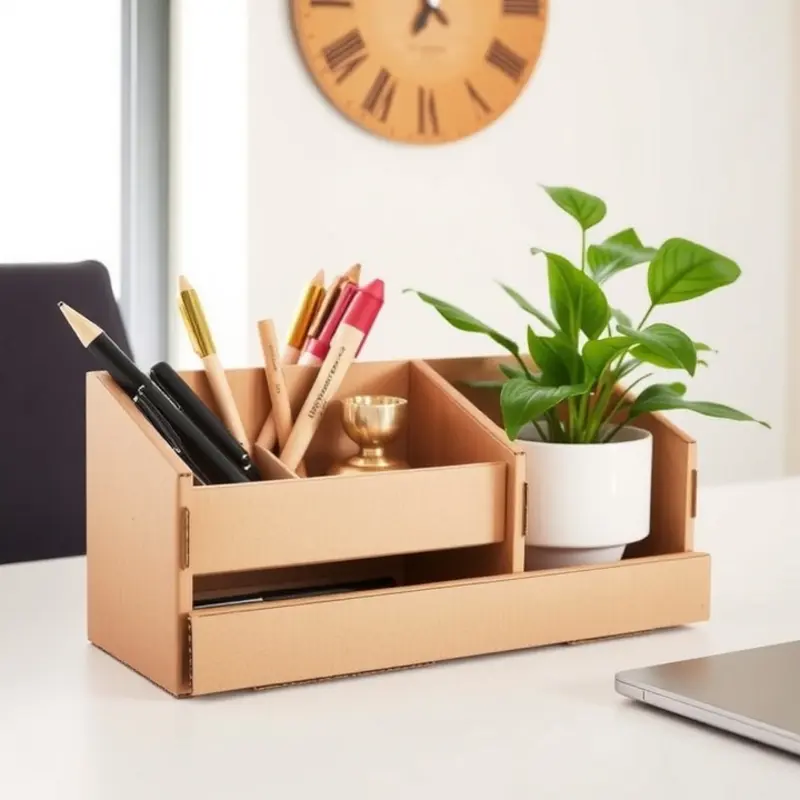
Create Dividers:
Cut smaller pieces of cardboard to divide the organizer into sections. These divisions can be adjusted to fit various items like pens, sticky notes, and paper clips. -
Decorate:
Decorating is where creativity comes into play. Wrap the frame in decorative paper or fabric for a polished look. Adhere the covering securely, smoothing out bubbles or wrinkles. -
Add Finishing Touches:
Customize further with paint. Consider painting the edges or adding patterns to make it truly yours. Make sure the paint is dry before assembling any additional components.
Personal Design Tips:
- Use contrasting colors to make your organizer stand out. Neutral cardboard can be a canvas for bold colors.
- Add labels to each section for easy identification of contents.
- Incorporate textures by layering fabric over certain compartments to create visual interest.
Integrating these cardboard creations can significantly enhance an apartment’s organizational appeal. These simple yet stylish organizers can transform clutter into an aesthetically pleasing aspect of your home office space. For more ways to maintain an organized living environment, check out these apartment organization baskets.
By repurposing materials such as cardboard, you’re not only decorating your space but also practicing sustainable living. Such projects are perfect for rental homes, allowing personalization without permanent changes, thus keeping your security deposit safe.
From Rustic to Modern: Wooden Desk Organizers
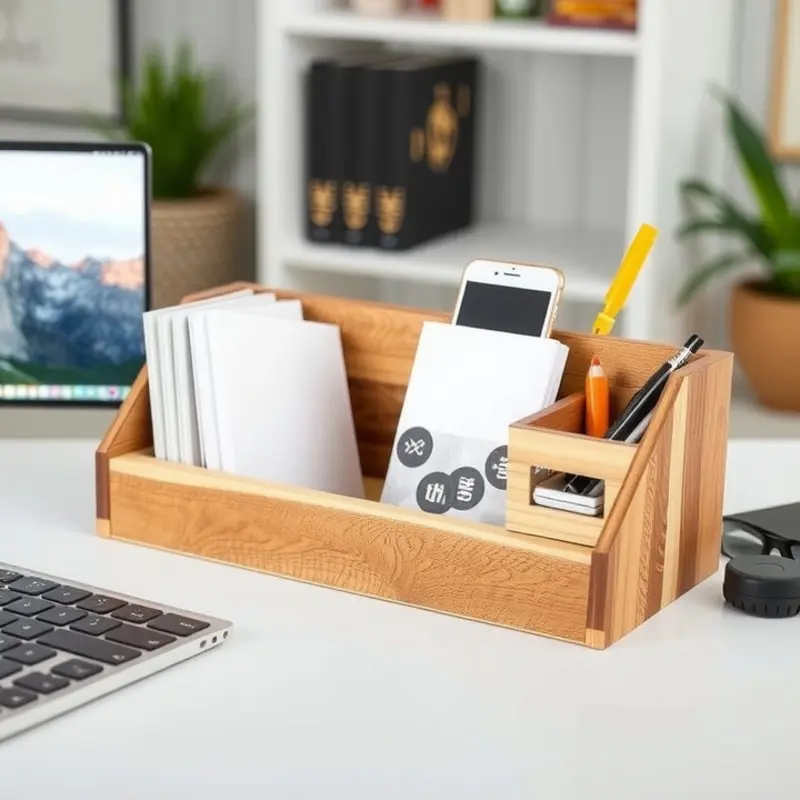
Wooden desk organizers straddle the line between functionality and aesthetic appeal. With a nod to both form and function, they offer the versatility needed in personalizing your rental space. By exploring various design ideas and understanding the types of wood available, you can create an organizer that reflects your style, whether you lean towards rustic charm or sleek modernity.
Design Ideas to Inspire
For a rustic feel, consider using reclaimed wood. Its weathered texture and character-rich grains add a cozy, personal touch. Combine with vintage drawer pulls or leather accents to emphasize the rustic aesthetic. For a modern organizer, opt for clean lines and geometric shapes. A minimalist design using smooth, light-colored wood, such as birch or maple, can elevate the look of any desk area. Paint or stain the wood in trendy shades to achieve a sleek, contemporary finish.
To imbue creativity, mix different compartments and slots, tailored for specific items like pens, notebooks, or gadgets. Incorporate small shelves or holders in various sizes, which can be rearranged according to your needs, making for an adaptable, functional piece.
Choosing the Right Wood
Your choice of wood significantly impacts the style and function of the organizer. Pine is cost-effective and easy to work with, perfect for beginners. It can be stained or painted to suit the desired look. Oak is sturdy and offers a distinct grain, making it ideal for a durable, rustic feel. Walnut, while more expensive, provides a rich, dark color suitable for sleek modern designs. For eco-friendly options, consider bamboo, which is not only sustainable but also adds a unique texture to your organizer.
Step-by-Step Assembly Instructions
- Gather Materials: Choose your wood type and gather essential tools—saw, sandpaper, wood glue, screws, and a drill.
- Design Your Layout: Sketch your design, considering the dimensions of your desk space and the items you wish to organize.
- Cut the Pieces: Carefully measure and cut the wood according to your design. For beginners, start simple with a few large pieces.
- Sand Edges: Smooth all cut edges with sandpaper to remove splinters and prepare for assembling.
- Assemble Components: Begin with the main frame, using wood glue and screws to secure joints. For movable parts, consider dowel pins for easy disassembly.
- Add Finishing Touches: Paint, stain, or seal the wood according to your preference. Consider adding decorative elements like knobs or leather straps.
- Organize and Customize: Once the organizer is assembled, personalize it further by rearranging or adding sections as needed.
Crafting a wooden desk organizer is not just a rewarding DIY project but also a chance to tailor your space to your personal taste. Whether you’re creating space for work, study, or leisure, your custom organizer serves as both a decorative and practical solution. For more ideas on organizing your apartment space, explore this guide on using baskets for apartment organization.
Final words
Personalizing a rental home doesn’t need to be an overwhelming task or a financial burden. By utilizing simple materials and creative ideas, you can craft beautiful desk organizers that bring joy to your workspace. The process not only adds a personal touch but also teaches valuable skills in DIY artistry. Both cardboard and wood can serve as excellent materials, and the only limit is your imagination. So roll up your sleeves, unleash your creativity, and make your work environment a true reflection of you. Success lies in the details, and your personalized desk organizer is just the beginning of creating an inspiring and organized rental space.


