
Personalizing a rental apartment can often feel like a challenge due to restrictions on permanent changes. However, a DIY chalkboard offers a chic and flexible solution to inject personality into your space without the commitment. Chalkboards not only provide a canvas for reminders, events, or creative expressions but are also a playful way to engage family members or roommates. This versatile project appeals particularly to creative renters and families who want their homes to feel uniquely theirs while adhering to rental guidelines. No prior artistic experience is necessary; crafting a chalkboard can be an enjoyable weekend activity that fosters creativity and adds a personal touch to your home. With a few simple supplies, both new and seasoned DIYers can unleash their inner artist and create an interactive feature piece that enhances any room. Let’s explore how to easily create your own chalkboard in two inspiring steps, designed for graceful lifestyles in apartments, condos, or houses that welcome innovative decor.
Gather Your Supplies for a Chalkboard Experience
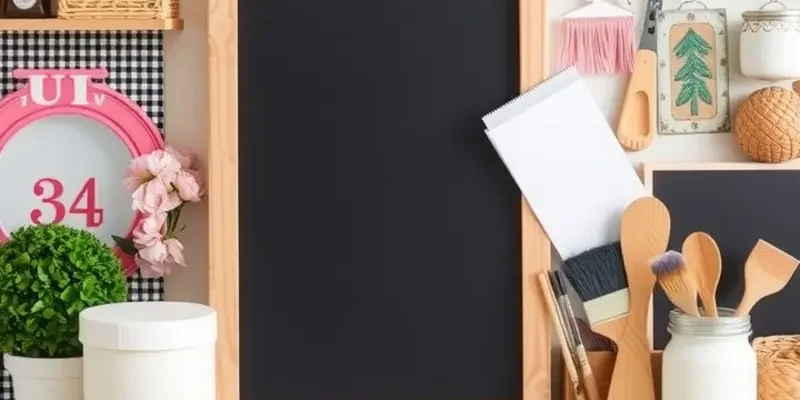
Embarking on a DIY chalkboard project begins with gathering the right materials, laying a strong foundation for creativity. The choice of surface is crucial—be it a wall, a board, or a furniture piece. Each choice offers a distinct flavor and end result, so it’s essential to consider the space where the chalkboard will enhance your rental.
Start with the surface itself. The most popular choice is a section of a wall that can breathe new life into a room. However, if you’re aiming for versatility, consider using a large panel or canvas. These are excellent options for renters who wish to avoid permanent alterations. Furniture pieces, like the back of a door or a cabinet, can also act as unexpected yet delightful canvases for your chalkboard art.
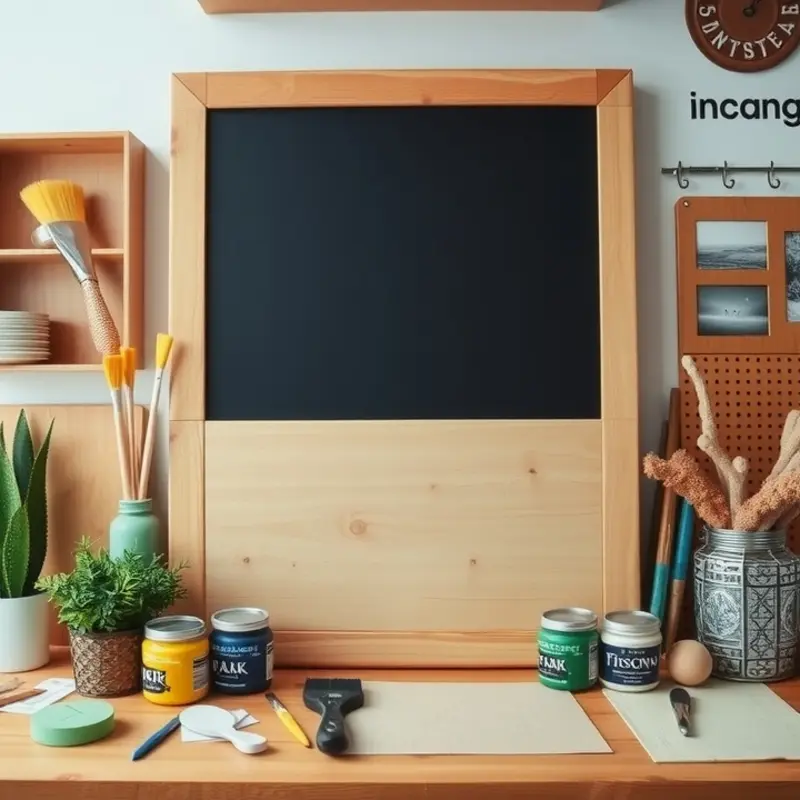
Having selected your surface, compile your list of tools and materials. Here’s a checklist to guide you:
- Chalkboard Paint: Available in a variety of colors, not just classic black.
- Paintbrushes and Rollers: Opt for a small and a medium-sized brush or roller for precision and coverage.
- Painter’s Tape: Essential for protecting borders and achieving clean lines.
- Sandpaper: A smooth surface ensures the paint adheres properly.
- Primer: Helps the chalkboard paint adhere better, particularly on glossy surfaces.
- Drop Cloths or Old Sheets: Keep your space tidy by catching any drips.
Once you have your basic supplies, consider some creative additions. Magnetic primer beneath the chalkboard paint can turn your creation into a multifunctional space. Use colored chalks or pastels to add vibrancy to your designs. For those with a more rustic taste, incorporate wood borders or frames around the painted area to give it a polished, vintage finish.
For an eco-friendly twist, explore chalk alternatives like chalk markers, which are dust-free and come in vivid colors. This option is particularly suitable for rental living, ensuring a clean environment, especially if you have children or pets. Consider ways to safely involve children in creative projects around your rental.
Ultimately, the choice of materials should reflect your taste and the practical considerations of your living situation. Remember, a well-thought-out supply list is the gateway to a chalkboard transformation that truly sparks creativity in your rental.
Creating Your Personalized Chalkboard
Gathering your supplies is an exciting first step, but now it’s time to bring your vision to life by creating a personalized chalkboard. Let’s break the process down into manageable steps that will guide you from preparation to completion.
Step 1: Choose Your Surface
Before you start painting, decide where you want your chalkboard. Look for areas that can serve both a functional and decorative purpose—walls in the kitchen, office nook, or even the hallway. You may opt for unconventional surfaces like the back of a door or cabinet doors.
Step 2: Prepare the Surface
Begin by cleaning your chosen surface thoroughly. Ensure there’s no dust or grease that might prevent the paint from adhering properly. If needed, lightly sand the area to create a rough texture that helps the chalkboard paint adhere better.
Step 3: Tape Off the Borders
Using painter’s tape, mark off the edges of your chalkboard area. This prevents paint from spilling onto unwanted areas and ensures crisp, straight lines. Consider the size and shape best suited for your space before settling in on the dimensions.
Step 4: Apply Chalkboard Paint
With a small roller or brush, apply the first coat of chalkboard paint evenly across the surface. Work in thin layers to avoid drips and uneven texture. Allow each coat to dry completely as per the manufacturer’s instructions before applying the next. Plan for at least two to three coats.
Step 5: Season Your Chalkboard
After the paint has fully dried, it’s vital to ‘season’ your chalkboard. Gently rub the entire surface with the side of a piece of chalk, then wipe it clean with a dry cloth. This step creates a chalky base that prevents permanent marks from forming later.
Decorative Touches
Enhance your chalkboard with decorative details to make it uniquely yours. Consider trimming with washi tape or adhesive borders for a pop of color. Decorative magnets or clips can make it multifunctional, perfect for holding notes or photos.
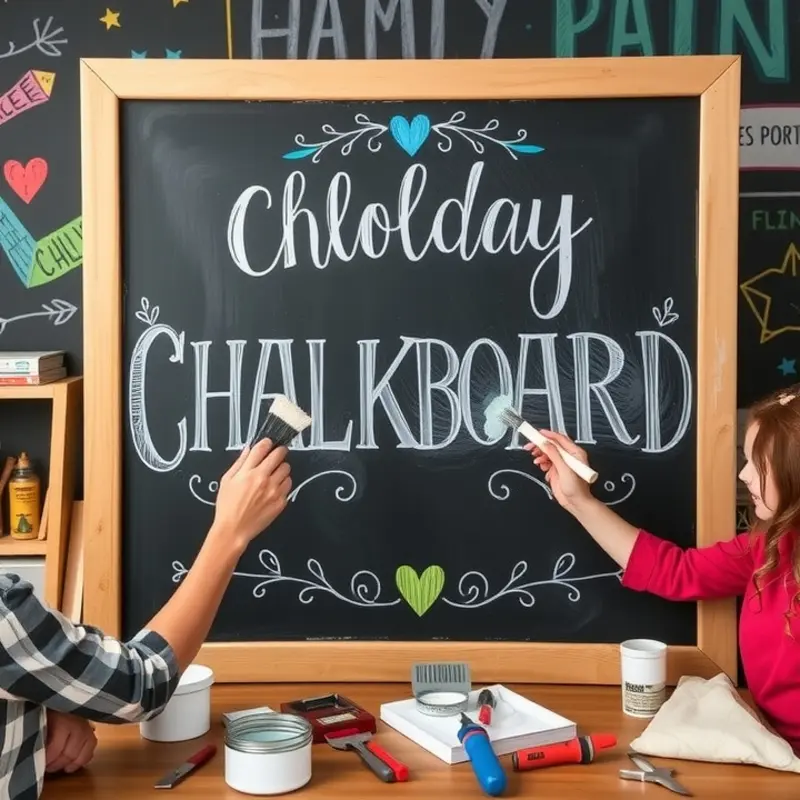
Creative Collaborations
Bring family members into the project to design a communal masterpiece. Encourage children to add drawings or inspirational quotes. Adults might prefer a more minimalist approach, keeping room for calendar tasks or meal plans. This shared canvas invites a collaborative spirit into your home.
Placement and Impact
Once your chalkboard is ready, think about its integration into your living space. It should be conveniently accessible yet enhance the room’s ambiance. A chalkboard in the kitchen can become a hub for shopping lists and recipes, while one in the living room might display goals and gratitude notes.
Creating a personalized chalkboard unites creativity with functionality, transforming an ordinary space into a centerpiece of family interaction. As you enjoy this DIY adventure, explore other apartment-friendly DIY projects to continue personalizing your rental.
Final words
Creating a chalkboard in your rental apartment not only personalizes your space but also offers a practical tool for organization and creativity. These vibrant surfaces seamlessly blend functionality with design, and with just a bit of effort, you have a one-of-a-kind statement piece that resonates with your creative spirit. Encourage family members and friends to contribute to the chalkboard, making it a dynamic element of your home that evolves with your ideas and needs. As you step back and admire your handiwork, you’ll find joy in both the process and the product—a space that feels authentically yours. With easy-to-follow steps and inviting opportunities for creativity, you can elevate your rental home into a canvas of inspiration and personalization. Grab your supplies and start making your own masterpiece today!


