
Creating a personal space in a rental apartment can be a joyful yet challenging endeavor. Finding the right decor that fits your individual style and meets the restrictions of your lease can sometimes feel overwhelming. Enter DIY apartment-friendly rugs! These versatile and affordable projects allow you to enhance your living space without permanent alterations. Whether you’re a creative renter, a busy young professional, a vibrant student, or a family seeking comfort, there are plenty of ways to craft your own unique rugs that complement your aesthetic. From simple no-sew options to more intricate designs that can involve the whole family, the possibilities are endless. Embrace your creativity, gather some supplies, and let’s explore how to effortlessly incorporate DIY rugs into your rental home. Prepare to learn practical techniques and gain inspiration to make your living environment feel distinctly yours!
No-Sew Magic: Transforming Fabrics into Fabulous Rugs
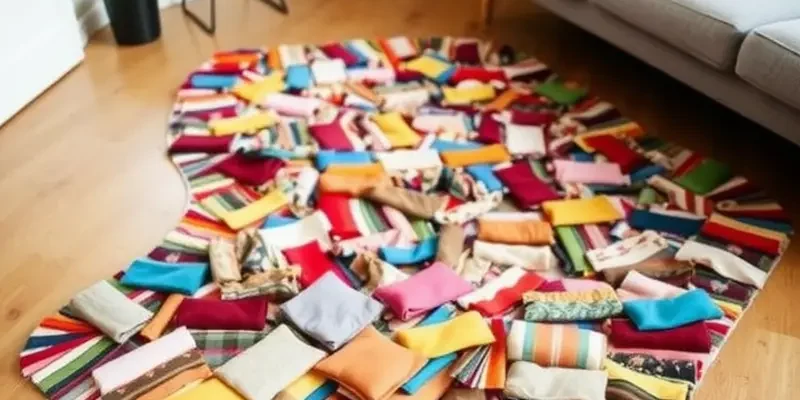
Unleashing your creativity with a no-sew fabric rag rug is not only cost-effective, but it also offers a great opportunity to recycle old textiles and add a touch of uniqueness to your living space. Here’s how to create a personalized and warm floor decor piece without a single stitch.
Start by gathering materials. Select a variety of fabrics – old t-shirts, sheets, leftover fabric scraps, or new textiles. Ensure they complement your existing decor or add that pop of color you’ve been wanting. You will also need a pair of sharp scissors, a non-slip rug pad, and a marker.
First, determine the size of your rug. Consider the area where you plan to place it and use the marker to outline this size on your non-slip rug pad. This pad will serve as the foundation of your rug, providing shape and grip on the floor. If you haven’t worked with non-slip pads before, get tips on apartment-friendly DIY projects to maximize safety and functionality.
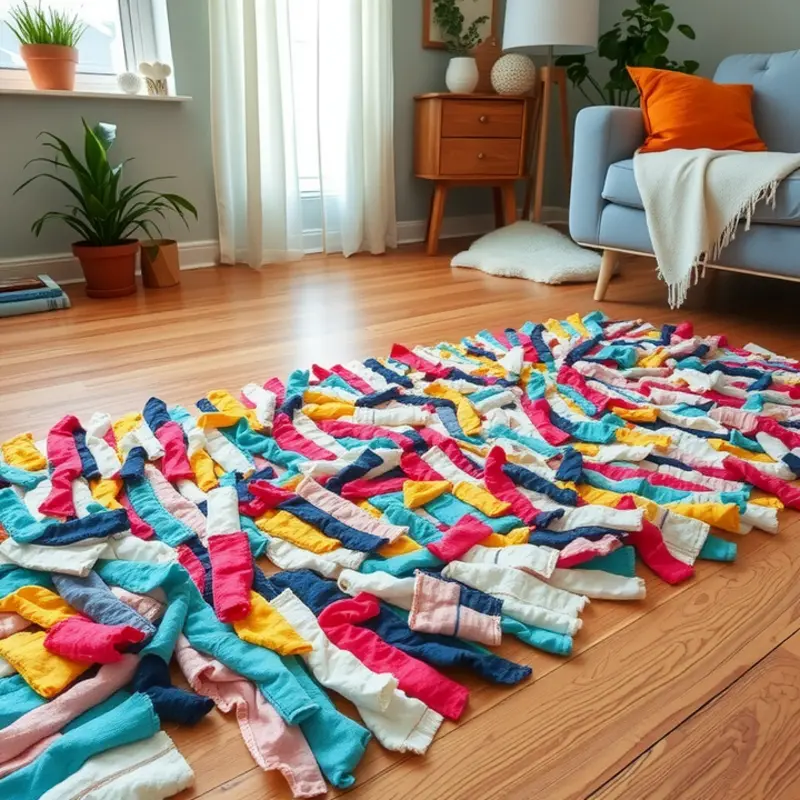
The next step is cutting the fabric. Cut the selected textiles into strips about one inch wide and six inches long. For best results, maintain consistency in the width of your fabric pieces, as this impacts the rug’s overall texture and look. Remember, the beauty of a rag rug comes from the combination of colors and patterns, so have fun mixing them.
Now, it’s time to start assembling the rug. Lay the non-slip rug pad flat, and begin by tying each fabric strip around the pad’s grid. Simply push a strip through one of the grid holes and tie it in a knot, ensuring the ends of the fabric face upwards. Repeat this process, filling in each section until the rug reaches your desired thickness and coverage. Keep the knots tight to maintain the rug’s firmness.
As you progress, step back occasionally to view your creation from a distance. This helps ensure that the colors and patterns balance well. If needed, you can always adjust strips, tying more in areas that seem sparse.
Once your rug is complete, give it a quick shake to see how the strips settle. Trim any excess or uneven edges for a clean look. This DIY rug is easy to clean and maintain; simply shake it out or vacuum gently when necessary. Its durability and aesthetic appeal make it a valuable addition to your space, with a personal touch that tells your story.
Gather your friends for a crafting afternoon or enjoy a solo creative project. Either way, this no-sew fabric rag rug is bound to bring warmth and style to any room in your home. Let the charm of handmade ingenuity redefine your apartment floors with this delightful venture into DIY decor.
Paint and Personalize: Custom Rugs to Reflect Your Style
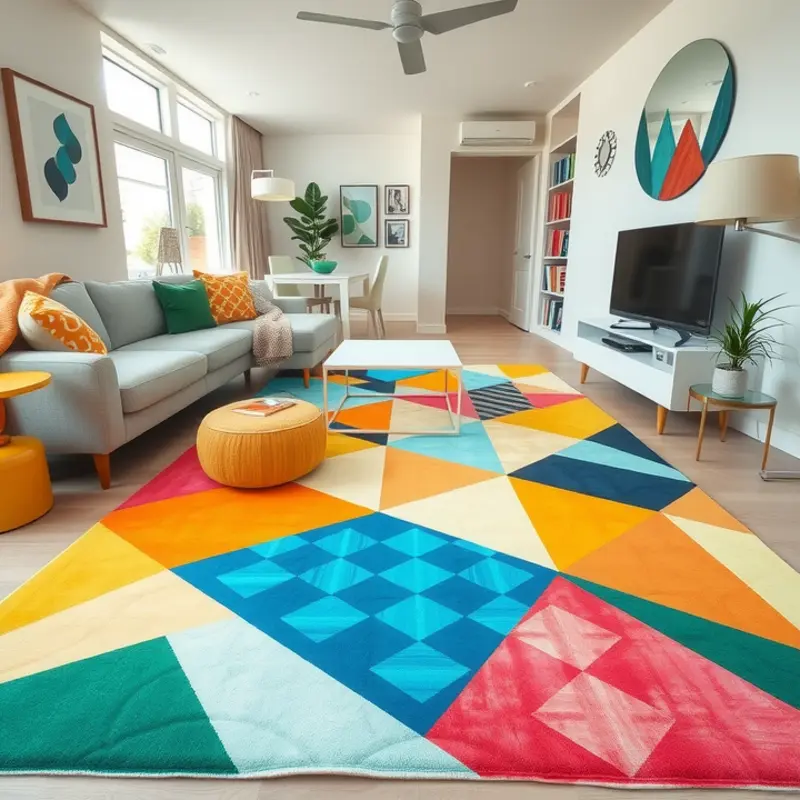
The charm of a customized rug lies in its ability to transform a space while expressing your unique personality. Whether placed in a cozy bedroom or an active living area, a painted rug can capture attention and elevate the ambiance of your apartment. This chapter will walk you through crafting your custom masterpiece, ensuring your design is both stunning and robust.
Gathering Materials
To begin your painted rug project, gather a few essential materials. A plain, neutral-colored indoor/outdoor rug forms the base. Choose a durable, washable fabric that can withstand foot traffic. You will need fabric paint or multi-surface acrylic paint, available in an assortment of colors to suit your theme. To apply the paint, use foam brushes, paint rollers, or for more detailed work, artist’s brushes. Finally, pick stencils or masking tape if you prefer guided designs over freehand.
Preparing Your Canvas
Lay out the rug on a stable, flat surface. A garage or a patio can provide ample workspace while protecting indoor surfaces. Tape the edges of the rug to your work surface to prevent it from moving. Use a lint roller to remove any debris, ensuring a smooth painting surface that facilitates clean lines and vibrant colors.
Designing Your Rug
Stenciling: For those less confident in their freehand skills, stencils offer an approachable way to achieve intricate designs. Position the stencil on the rug, securing it with painter’s tape. Lightly dab the paint using a sponge or brush, layering your colors for vibrancy. Slowly remove the stencil to avoid smudging, and allow the paint to dry before moving on to the next area.
Freehand Painting: More adventurous crafters can opt for freehand designs. Sketch your pattern lightly with chalk as a guide. Whether you’re creating abstract patterns, geometric shapes, or an elaborate mural, focus on small sections. Layer the paint to achieve depth, taking care to avoid excessive application, which could result in a stiff rug texture.
Finishing Touches
After painting, enhance your rug’s durability by applying a fabric sealant. This step will protect your design from wear and tear or accidental spills, ensuring longevity and easy maintenance. Allow it to completely dry for at least 24 hours in a well-ventilated area.
For those in rental spaces who often face limited personalization options, a custom rug offers a flexible, temporary aesthetic boost. By channeling your artistic flair into a practical piece, you not only beautify your living space but also infuse it with warmth and character. If you’re interested in further DIY home projects that complement your new rug, check out our insights on apartment-friendly DIY cleaning products for maintaining a pristine environment.
By following these steps, you will craft a piece that not only compliments your space aesthetically but also speaks volumes of your style. Dive into this creative process, and let your rug tell your story.
Final words
DIY rugs not only add visual appeal to your space but also provide an opportunity to express your personality. Whether you choose to create a no-sew masterpiece or a painted work of art, these projects are perfect for anyone looking to personalize their apartment without breaking the bank or damaging floors. With a little imagination and some basic materials, your rental home can be transformed into a reflection of who you are. So gather your supplies, invite family or friends to join the fun, and embark on this crafting journey to make stylish, affordable rugs that feel like home.


