
Transforming your rental space into a home can be a delightful undertaking, especially when it comes to adding personal touches. For creative renters, young professionals, students, and families, DIY projects offer a chance to infuse your personality into your living environment without breaking the bank. Among the myriad of home accessories, throw blankets stand out—they’re functional, stylish, and perfect for adding a pop of color or design to your space. Whether draped casually over furniture or used during a chilly movie night, these cozy blankets can elevate your home’s aesthetic while showcasing your creativity. Ready to roll up your sleeves? Let’s dive into some inspiring DIY apartment throw blanket ideas that you can easily craft and enjoy!
Knotting Your Way to Cozy: No-Sew Blanket Techniques

Creating a custom throw blanket doesn’t have to be complicated or time-consuming. Without lifting a needle, you can craft a personalized throw that adds warmth and style to your space. Using simple techniques like knotting and cutting fringes, you will be on your way to crafting the perfect no-sew blanket.
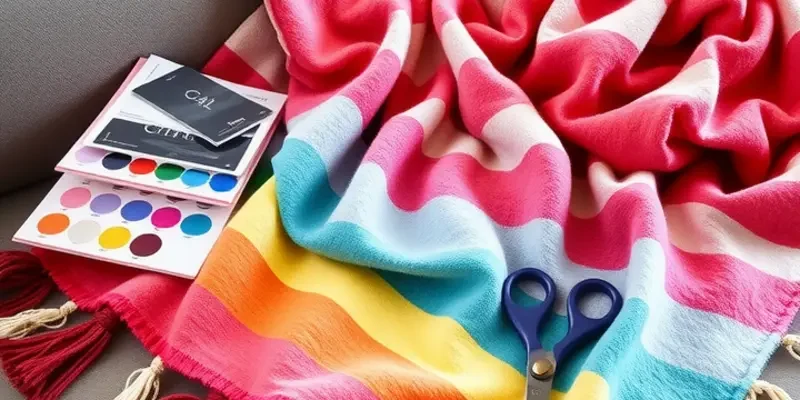
The first step in your blanket-making journey is selecting the right fabric. Fleece and flannel are excellent choices due to their softness and ease of handling. Choose colors and patterns that resonate with your personal style or existing home decor. Measure your selected space to determine the optimal size for your throw. Typical dimensions for a cozy blanket range from 48×60 inches for small appliques to 72×90 inches for enhancing larger furniture pieces.
Once your fabric is chosen and cut to the desired dimensions, it’s time to transform it. Start by laying the fabric flat on a clean surface. Carefully cut a fringe border by trimming about 4 inches inward along every edge. Ensure each fringe is approximately 1 inch wide, maintaining even spacing for a polished look. This fringe lends a playful, textured edge to your throw while providing the necessary material for crafting knots.
Now, let’s dive into the knotting technique, a cornerstone of no-sew blankets. Begin by taking two adjacent fringe pieces and tying them into a square knot. This is achieved by crossing fringes over one another, pulling them tight, and then tying them together. Repeat this process along the entire edge of the fabric, fastening each set of fringe pieces to lock the fabric ends together securely.
A twist on the traditional knotting method is the braid knot, which elevates the appearance of your throw. To begin, take three fringes, and weave them together. This creates a more intricate border that stands out. Whatever method you choose, ensure your knots are tight and consistent for a durable finish.
The beauty of these no-sew techniques is the flexibility they offer. You can mix and match colors, layer different textures, or add embellishments like buttons or fabric paint to further customize your throw. Let your creativity flow and tailor your project to create a piece that truly feels like yours.
Incorporating these throws into your space can also enhance the organizational appeal. For creative storage solutions that integrate with your new stylish throws, consider checking out apartment organization baskets that complement your decor.
With these steps, your handmade throw blanket will be complete and ready to add a warm, inviting touch to your apartment. Enjoy the satisfaction of creating something beautiful and functional, all without a single stitch of sewing.
Stitching Memories: Crafting a Personalized Throw Blanket

To bring the warmth of nostalgia into your living room, crafting a stitched throw blanket is an ideal choice. Begin by selecting a base fabric that resonates with you—perhaps a color or texture that recalls a cherished memory. Cotton or fleece provides a comfortable and durable choice while a vibrant hue or delicate pattern can set the tone for your blanket.
Once you’ve chosen the fabric, consider what personal details you want to include. Embroidered images or patches can transform a simple throw into a tapestry of your life’s memorable moments. Perhaps gather patches from travels, symbolic motifs, or initials representing loved ones.
Before starting your project, secure the edges of your fabric. This will prevent fraying and ensure longevity. Hemming is a simple technique; fold the edges under and stitch them down with a straight stitch using a sewing machine or by hand. A serger can offer a more finished look, but avoiding frayed edges is the priority.
With the edges secured, it’s time to delve into embroidery. Selecting the right thread can elevate the design. Embroidery threads come in a spectrum of colors; choosing shades that complement your base fabric can amplify the visual appeal. You might prefer a subtle tone-on-tone effect or opt for contrasting colors to make the details pop.
There are several stitching techniques to explore:
- Backstitch: Ideal for outlining simple images and text.
- Satin stitch: Perfect for filling in areas, lending a polished look.
- French knots: These add texture and can simulate tiny dots or eyes.
These techniques can be mixed to create depth and variety across your blanket.
Adding patches is another way to customize your throw. Whether sewn or ironed on, patches offer a versatile way to include favorite travel destinations or meaningful symbols without the intricacy of embroidery. Arrange and pin them to your fabric before permanently affixing them. This allows flexibility in placement and the opportunity to adjust until you achieve the perfect design layout.
To further personalize your cozy creation, consider incorporating textures or elements such as tassels, pom-poms, or fringe around the edges. These can be crafted from matching or contrasting materials, adding movement and interest to your throw.
Finally, remember that every stitch holds a story. Each knot and pattern reflects a piece of your world, capturing snippets of memories in a tangible, comforting form. This approach not only personalizes your space but also creates a conversation piece that speaks volumes about your journey.
For additional guidance on organizing supplies throughout your project, refer to apartment organization ideas using baskets, which can be a helpful resource in keeping your crafting area neat and inspiring.
Final words
Creating your own throw blankets is not just about adding comfort to your home—it’s about expressing who you are. These DIY projects allow you to fill your space with warmth, both physically and emotionally. Whether you’re knotting a no-sew throw or stitching up a memory-laden blanket, each creation is a testament to your unique style and creativity. Plus, making blankets can be a fun, rewarding experience to enjoy solo or with family and friends. So grab your favorite materials and start crafting those cozy masterpieces that will make your apartment feel truly like home!


