

Window seats have the magical ability to transform a simple nook into a captivating retreat, perfect for reading, lounging, or enjoying a cup of coffee. For creative renters, young professionals, students, and families, the charm of a DIY window seat lies in the opportunity to inject personality into a rental home without the hassle of permanent installations or extensive renovations. Whether you crave a minimalist aesthetic or an eclectic vibe, these ideas and projects will help you craft a cozy spot that feels uniquely yours. Let’s explore easy, budget-friendly ways to make the most of your apartment’s window space while ensuring comfort and style. Together, we’ll turn those warm sunlit corners into functional areas for both relaxation and creativity, making your apartment feel truly like home.
Creating a Simple Cushion-Top Window Seat
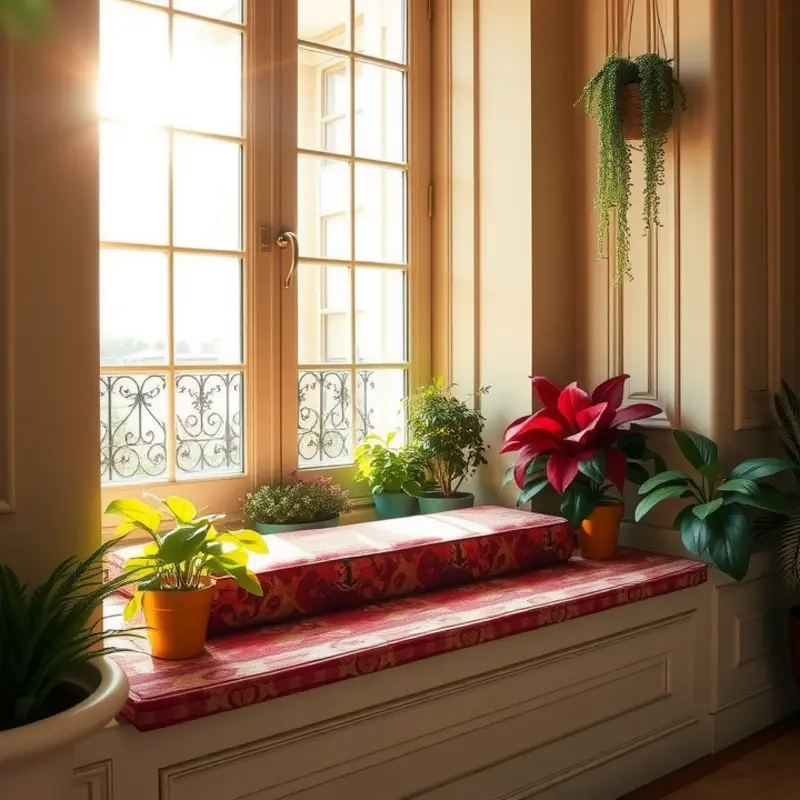
Transforming your window space into a cozy corner is easier than you might think. This project is perfect for renters who want to add a personal touch without making permanent changes. Follow these steps to craft a comfortable and stylish cushion-top window seat with just a few materials and tools.
Start by measuring your window’s width and depth. This will determine the size of the plywood base you’ll need. When purchasing plywood, opt for a thickness that can support weight yet remains lightweight. Have your plywood cut to size at the shop if possible.
Next, select foam padding for the seat. Foam should be at least two inches thick for optimal comfort. Feel free to choose a denser foam if you prefer a firmer seat or softer foam for extra plushness. Cut the foam to match the plywood dimensions using a sharp utility knife.
Choosing fabric is where you can showcase your personal style. Aim for a durable fabric that can withstand wear, yet complements your room’s decor. Upholstery fabric or outdoor fabric are durable choices. Cut the fabric, leaving a few extra inches on each side to wrap around the foam and plywood.
Lay your fabric flat, pattern side down, then position the foam in the center. Place the plywood on top, aligning all edges. Begin wrapping the fabric around the foam and plywood. When the fabric is taut, secure it using a staple gun. Start from the center of each side and work outward, pulling the fabric tightly before stapling.
Turn the assembled cushion over to ensure a smooth, wrinkle-free surface. Adjust as needed by removing and re-stapling any troublesome areas.
To prevent sliding, attach non-slip pads or velcro strips underneath your cushion and the window seat area. This ensures the seat remains in place even with regular use.
Once complete, your window seat is ready for enjoyment. Add a few decorative pillows for extra comfort and visual appeal. This window seat not only offers a place to unwind but also showcases your creativity and DIY skills.
For more ideas on customizing your rental space with creative touches, consider exploring apartment-friendly DIY clocks to further reflect your personal style.
Maximizing Space with Integrated Storage
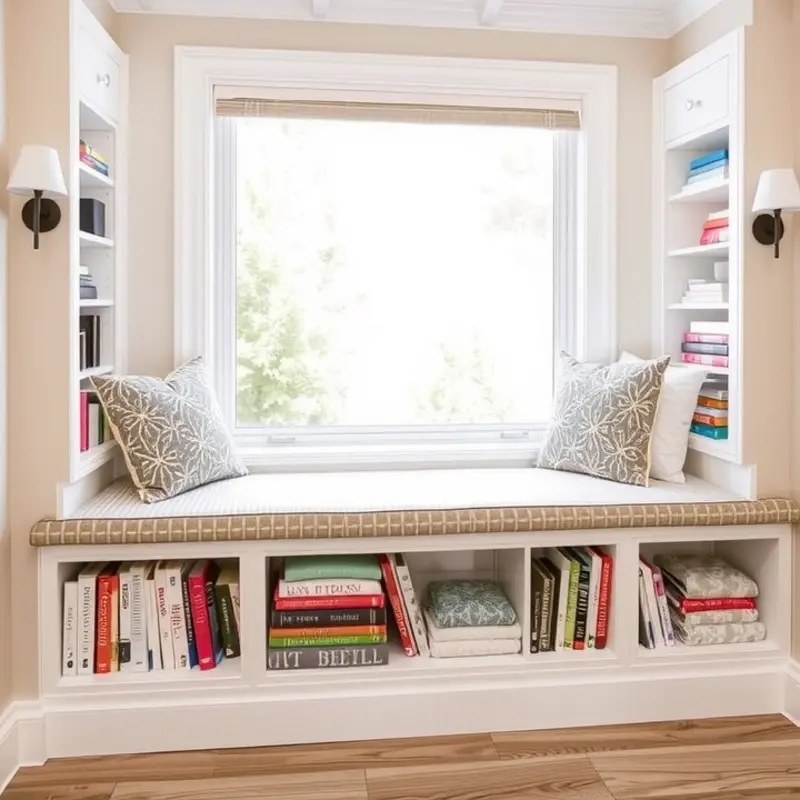
Creating a window seat that doubles as storage offers both practical and aesthetic benefits. If you’re renting, you might worry about modifying your space. Fear not; this project involves minimal changes and can be easily reverted when you move.
To start, choose the spot where your window seat will live. Measure the width of the chosen window, ensuring ample space on either side for comfort and storage. Opt for repurposed crates or wooden boxes as your storage solution. These materials are both sustainable and versatile, fitting well with various décor styles.
Once you’ve assembled your crates or boxes, it’s time to arrange them. Align them along the wall beneath your window, ensuring they fit snugly. You might need to secure them together with brackets or zip ties for added stability. This non-invasive approach won’t harm existing structures and is simple enough to undo later.
Next, cut plywood to fit the top of your arranged storage boxes. This will serve as the base of your window seat. Make sure the edges are sanded smoothly to avoid any injuries or damage to your belongings.
Place cushions or a custom foam pad atop the plywood base to create a soft seating area. Fabric choices can dramatically impact the feel and look of the seat. Opt for durable, washable fabrics in colors or patterns that match your style, enhancing the cozy factor.
Besides being a lovely new seating area, this setup can also aid in apartment organization. Utilize baskets or liners within boxes to categorize items—books, extra linens, or children’s toys. Keeping the space neat not only improves functionality but also appeals to the eye. For additional organization tips, consider exploring this guide on using baskets effectively in small spaces.
The beauty of this project lies in its adaptability. If you need to adjust the seating for seasonal décor changes or portable holiday embellishments, the modular nature of crates makes it effortless. Likewise, should you relocate, each component is transport-friendly, allowing you to recreate your perfect cozy corner in a new home.
Maximizing space with integrated storage transforms your window into a versatile area that invites relaxation. It not only exemplifies ingenuity but also embodies personalized style without permanent alterations. Your little slice of heaven by the window now keeps clutter at bay and invites you to sit back, relax, and enjoy a cup of coffee with your favorite book.
Final words
Creating a personalized window seat in your apartment can unlock a new level of comfort and style and can be accomplished even in a rental setting. With simple materials and a bit of creativity, both the cushion-top and storage-integrated designs offer unique ways to maximize your living space. Whether you want a peaceful reading corner or a multi-functional spot for your family, these DIY ideas can be tailored to suit your specific needs and aesthetic preferences. Remember, a window seat isn’t just furniture; it’s an invitation to relax, reflect, and enjoy the view outside. Start your project today, and watch as your little corner transforms into a cherished space you’ll love coming home to.


