
Every renter knows that personalization can be a challenge, especially in smaller spaces. DIY wine racks offer a simple yet effective way to add a functional design element to your home while showcasing your style. Whether you’re a creative renter looking to impress friends, a young professional minimizing clutter, a student needing to utilize every inch wisely, or a family desiring a space that’s both livable and organized, building your own wine rack is a fun and affordable project. With just a few materials and some creativity, you can create a customized wine rack that complements your décor and suits your needs. Let’s explore the various styles and methods of building wine racks that will fit effortlessly into your apartment’s aesthetic.
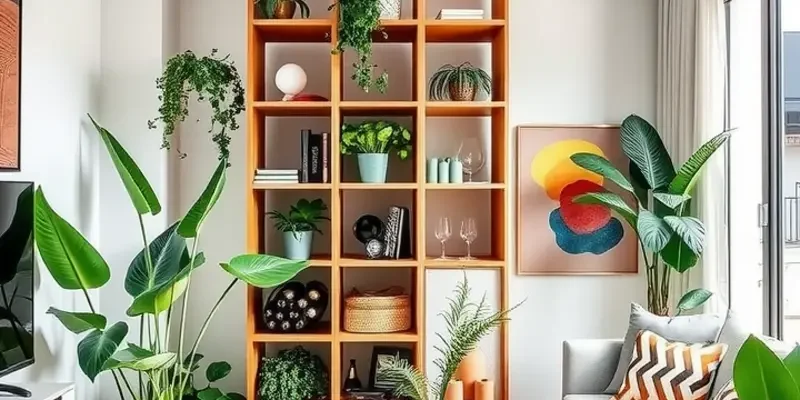
Clever Cube: Modular Wine Racks for Space Savings
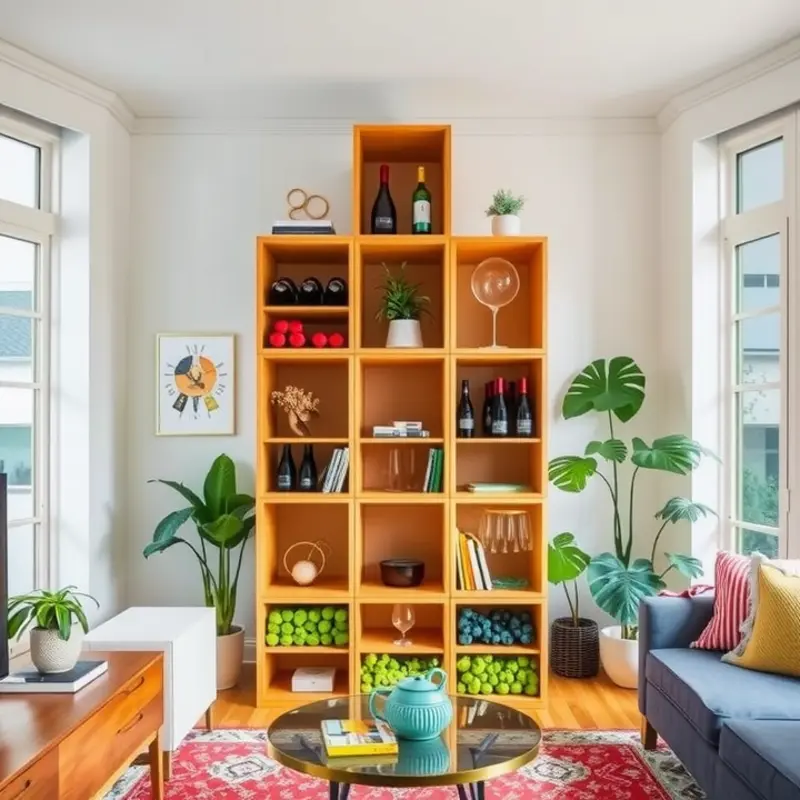
Maximizing space while keeping a touch of elegance in a small apartment can be challenging. A modular cube wine rack presents a practical and chic solution. This flexible design accommodates your wine collection while providing an opportunity to showcase your DIY skills.
Begin with selecting high-quality wooden cubes. The size will depend on the space available and the number of bottles you plan to store. Opt for cubes that are roughly 12 inches per side, which accommodate most standard wine bottles comfortably. Available at many hardware stores, these cubes can be found pre-made or you can attempt constructing them yourself with some basic carpentry skills.
Essential Tools and Materials:
- Sandpaper (medium and fine grit)
- Wood glue or screws (depending on your skill level and preference)
- Paint or decoupage materials
- Paintbrush or roller
- Screwdriver or drill
Begin by sanding the cubes thoroughly. It’s important to remove any rough edges to prevent any accidents or snags later on. Use medium grit sandpaper to smooth out the initial roughness. Once satisfied, switch to fine grit for a polished finish.
Assemble the cubes using wood glue for a minimalist, seamless look, or screws for added durability. If you opt for screws, drill guide holes first to prevent the wood from splitting. Construct your first set of cubes to ensure they are stable. These will form the foundational level of your wine rack.
With the choice of paint or decoupage, you can transform these simple cubes into stylish decor pieces. Bold hues can create a striking contrast against neutral apartment walls, while a soft pastel can add subtle sophistication. For an artistic touch, consider decoupage. This technique allows you to apply intricate designs or even a mosaic of your favorite pictures onto the wood.
To enhance their modular nature, ensure each cube fits snugly next to or atop another. This feature allows you to rearrange them effortlessly, adapting to any growing wine collection or altering spatial requirements. For renters who may want to take their wine rack with them, this movable design is highly beneficial.
Caring for your modular wine rack is straightforward. Maintain the cubes by dusting them regularly and touching up paint when necessary. If you’re renting and worried about leaving marks on surfaces, place a non-scratch pad beneath the cubes. For more ideas on renter-friendly products, you can explore DIY Renter-Safe Towel Holders that similarly offer flexibility without compromising your rental agreement.
Embrace the complexities of small-space living by customizing your surroundings with these wine racks. Not only are they practical, they are a testament to personal style and creativity. Engage in this project and watch how a straightforward concept can transform into a functional piece of art in your apartment.
Rustic Charm: Pallet Wood Wine Shelf
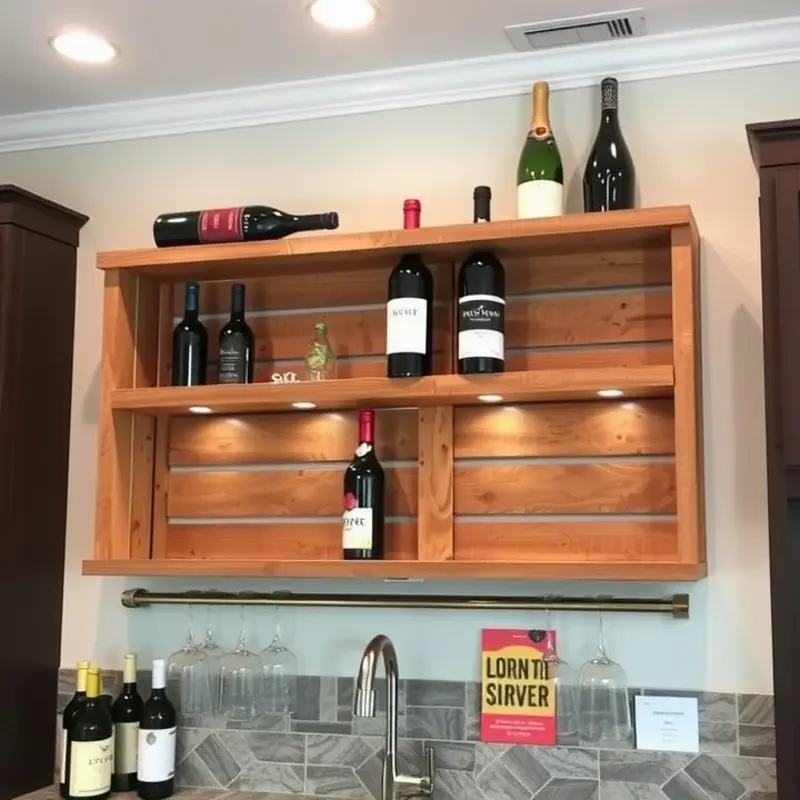
Transforming reclaimed pallet wood into a rustic wine shelf is a satisfying project that not only adds character to your apartment but is also highly functional. This project is perfect for someone looking to add an element of country charm without compromising on practicality, making it a great option for renters looking to maximize their space.
Before you start, gather a few essential tools: a saw, sandpaper, drill, screws, a staining brush, and wood stain. Pallet wood is often free and can be found at local warehouses or home improvement stores. Be sure that the wood you select is not chemically treated, as this could pose health risks.
Preparation
Start by carefully dismantling the pallet using a saw, extracting the wooden planks that will create the back and platforms of your shelf. Once the pieces are separated, you can begin sanding. Sanding will not only smoothen the rough edges but will also help the wood absorb the stain better.
For a standard three-bottle shelf, you’ll need two long pieces for the back (approximately 30 inches long) and several shorter pieces for the shelves and supports. Align these pieces on the floor as a dry run before assembly to visualize the final structure.
Staining
Staining adds depth and highlights the natural grain of the wood, enhancing its rustic appeal. Use a brush to apply the stain evenly, following the texture of the wood. Let each coat dry according to the stain’s instructions, usually around an hour, before applying additional coats for a deeper hue. Once satisfied with the color, let the stained pieces dry overnight to ensure a proper finish.
Assembly
With the staining process complete, start assembling your shelf. Use the drill and screws to attach the shorter pieces across the two long pieces, forming a ladder-like structure. Placing the screws at a slight angle gives extra stability. You may choose to add a ledge to the bottom of each shelf to secure the bottles in place.
Mounting
Finally, mount your wine shelf on a wall using heavy-duty wall brackets. This is especially important for renters who want to keep their valuable kitchen counter space clear. Ensure that you use appropriate fixtures for your wall type; for instance, use drywall anchors if you are mounting on drywall. Measuring and marking the points before attaching the brackets helps keep the shelf level.
This striking pallet wood wine shelf not only offers a practical solution to wine storage but also brings an inviting touch to your space. Its rustic charm can be enhanced further with complementary elements like mood lighting, creating a cozy atmosphere for entertaining. For more ideas on creating apartment-friendly ambiance, check out Apartment-Friendly Mood Lighting.
Enjoy your new piece of decor that embodies both style and functionality, enhancing your apartment living experience with flair and personal touch.
Final words
Embracing DIY projects not only enhances the aesthetic appeal of your home but also empowers you to express your personality without compromising on space. Crafting your own wine rack can be a fulfilling weekend project that allows you to enjoy your favorite vintage while keeping your apartment stylish and organized. From the clever use of modular cubes to the rustic allure of pallet wood, each design offers a unique opportunity for creativity. As you embark on your wine rack-building journey, remember that the only limit is your imagination. Personalizing your rental home can be an easy and enjoyable experience—get started today!


