
Floating shelves offer a unique way to add character and functionality to your rental apartment without damaging the walls or violating lease terms. For creative renters, young professionals, students, and families alike, these stylish shelves can serve as both decoration and storage, allowing you to showcase books, plants, mementos, and more, while keeping your space organized. With a variety of materials, styles, and colors available, you can easily curate a look that reflects your personality. Plus, DIY floating shelves are often more affordable than store-bought options, making them the perfect addition to any rented home. In the following chapters, we will explore innovative ideas for creating your own floating shelves and provide you with step-by-step guidance to bring your vision to life.
Crafty Concepts: Floating Shelf Ideas
Adding floating shelves is an excellent way to enrich your rental’s atmosphere without committing to permanent fixtures. These versatile decor elements offer a stylish and practical solution for displaying or storing your cherished items.
For renters, choosing removable shelving options is key. Consider adhesive brackets or tension rods, as they minimize wall damage and facilitate easy relocation when necessary. When selecting materials, lightweight options such as plywood or MDF with a wood veneer provide strength without excessive weight, ensuring stability.
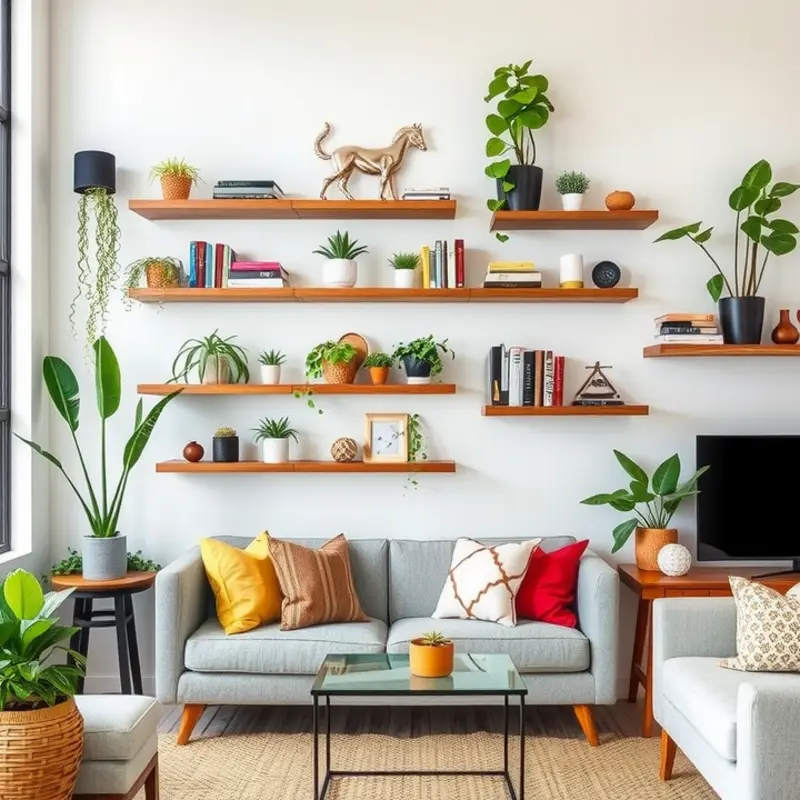
Elevate your shelves further by selecting colors that accentuate your existing decor. Neutral tones such as whites and grays blend seamlessly with most interiors, providing a modern touch without overt dominance. Alternatively, bold colors like teal or mustard impart personality, creating a focal point that elevates barren walls.
When determining where to place your shelves, consider the room’s function and visual flow. Living rooms benefit from arrangements that flank fireplaces or televisions. Kitchens can utilize shelves for easy spice access above counters or near prep areas. Bathrooms with limited space often gain from corner shelves, offering ample storage for essentials.
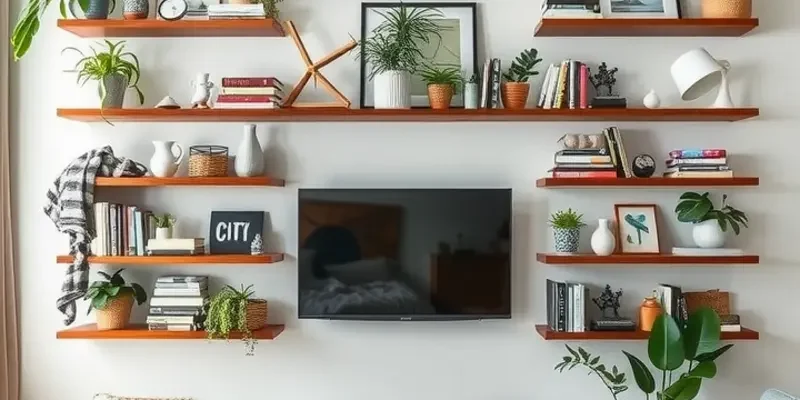
Inspiration from real-life projects demonstrates creative placements and unique designs for floating shelves. One ingenious example involves tiny nook shelves above door frames, perfect for showcasing compact plants or collectibles. Another idea includes staggering shelves in a cascading pattern, ideal for adding dynamism to monotonous walls.
Layering is another innovative concept: mix different shelf lengths and depths to create a multidimensional effect. This strategy works particularly well in home offices or studies, where displaying books and small art pieces injects intellect and creativity into the ambiance.
Accessorizing remains crucial. Consider incorporating nature by placing small potted succulents or trailing ivy. Alternately, incorporate functional elements such as stylish storage bins or boxes to hide knick-knacks, maintaining a tidy look. Don’t shy away from mixing materials, either; blend wood with metal brackets for an industrial flair or incorporate glass for a contemporary sheen.
To gain further insights on arranging your furniture around new decor elements, you may find this apartment furniture arrangement guide helpful. Coordinating furniture layouts with your shelves ensures cohesion and maximizes space utilization.
With the right materials, aesthetic choices, and strategic placements, floating shelves serve as an adaptable decor option that enhances any rental space.
DIY Guide: Building Your Floating Shelves
Building your own floating shelves is a satisfying way to add personality to your rental space without causing damage. By following this step-by-step guide, you can create customized shelves that meet your storage needs and aesthetic preferences.
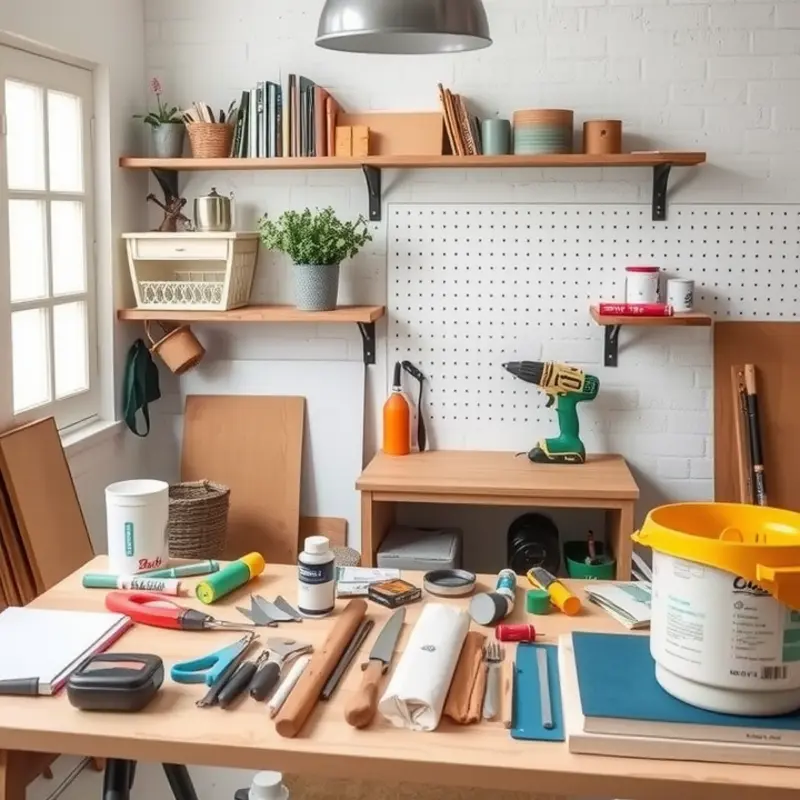
Tools and Materials:
Before you start, gather the following tools and materials to ensure a smooth process:
- Tools: Drill, screwdriver, level, tape measure, pencil, saw (hand or electric), sandpaper
- Materials: Wood planks (your choice of wood type), wood glue, screws, wall anchors (consider wall-safe options for rental properties), brackets (optional based on your shelf design), wood stain or paint (optional)
Step-by-Step Instructions:
-
Measure and Plan
Determine where you want to place your shelves. Measure the area to ensure your shelves fit perfectly. Remember to consider the height and length for both aesthetic and functional purposes. Use a pencil to lightly mark the wall with these dimensions. -
Cut and Sand Wood
Using your saw, cut the wood planks to your desired length and width. Sand the edges and surfaces to ensure they’re smooth and free of splinters. This step is crucial for both safety and aesthetics. -
Stain or Paint (Optional)
If you choose to stain or paint your wood, now is the time. Apply your chosen finish evenly, let it dry, and apply a second coat if necessary. This will add personal flair to your shelves. -
Pre-Drill Holes
Pre-drill holes in both the wall and wood to avoid any splitting. This will also make the installation process smoother. Remember, the holes in the wall should be slightly smaller than the wall anchors for a snug fit. -
Install Wall Anchors
Insert the wall anchors into the pre-drilled holes on the wall. This is a crucial step to ensure the stability of the shelves, especially if you plan to place heavier items on them. Learn more about renter-safe wall techniques. -
Attach Brackets and Secure Wood
If you’re using brackets, attach them to the wood first. Then, align the brackets with the installed wall anchors and secure them into place with screws. Ensure that the shelves are level and sturdy. If you’re opting for a bracket-less design, use wood glue and screws, reinforcing them through the hidden plank underside. -
Final Adjustments
Double-check that the shelves are straight and secure. Place a level on each shelf to confirm. Adjust as necessary, ensuring everything is firmly in place.
With these steps, your floating shelves will not only fit beautifully in your rental but also provide functional storage and decorative appeal. This DIY project is perfect for personalization, allowing you to showcase your creativity while maintaining the integrity of your walls—a real win for renters everywhere.
Final words
Adding floating shelves to your rental is not only an effective way to maximize space but also a wonderful means to express your individuality. By incorporating personalized decor and functional elements, you can create a cozy and welcoming environment that feels like home. Whether you choose modern designs, rustic wood finishes, or colorful paint, these DIY floating shelves fit seamlessly into any rental aesthetic. So, gather your materials, unleash your creativity, and elevate your living space with shelves that tell your unique story.


