
Renting doesn’t have to mean sacrificing style or comfort in your living space. With a bit of creativity and practical DIY skills, you can easily craft beautiful floor cushions that breathe life into your apartment. Whether you’re a young professional seeking a cozy reading nook, a student wanting a simple hanging-out spot, or a family looking to create a warm environment for your loved ones, floor cushions provide an affordable and versatile solution. These cushions not only serve as additional seating but also offer the chance to showcase your personal style through various fabrics, patterns, and colors. With basic materials and straightforward techniques, you can make cushions that enhance your home without needing extensive resources or tools. Let’s explore the steps to create cushions that will make any space feel inviting and uniquely yours.
Choosing Your Materials and Design
Getting started on your DIY floor cushion project is an exciting venture. The first step is the selection of materials and design, which not only impact appearance but also affect comfort and durability. Color selection plays a crucial role in setting the mood of your space. Opt for shades that complement your existing decor or add an accent pop of color to enliven your room. Consider trending palettes like calming earth tones, or go bold with bright and cheerful hues.
When it comes to fabric type, think about the feel and function. Cotton and linen are popular for their breathability and softness, making them excellent choices for cushions. For a touch of luxury, consider velvets or silks; just ensure they’re suitable for wear and can withstand regular use. If your cushions will see heavy use, durable options like twill or canvas might be ideal.
Check out local fabric stores or online marketplaces, and don’t shy away from fabric remnants—they often cost less and add a unique flair to your creation. Searching through these smaller pieces can lead to delightful discoveries of high-quality material at a fraction of the cost. Remember to also look for hypoallergenic stuffing materials to enhance the comfort of your cushion.
As for patterns, geometric shapes and florals can bring a refreshing vibe, while solids and stripes may provide a more sophisticated or subdued look. When choosing patterns, consider the scale relative to the cushion size. Larger patterns make a strong statement, while smaller, more intricate designs create a subtle elegance.
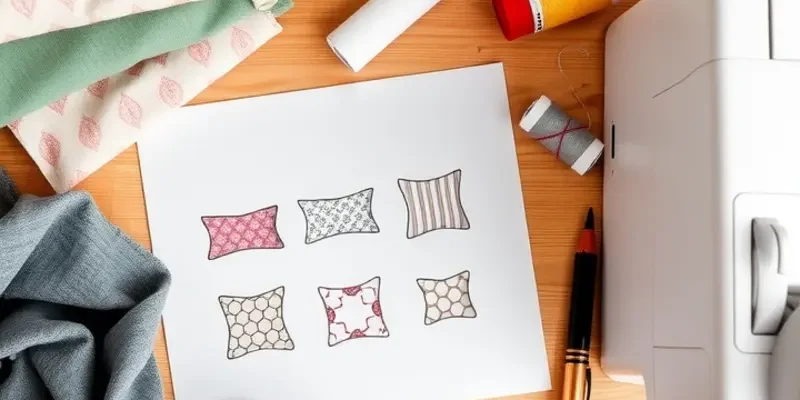
Now, transition into sketching your design. Start simple with square cushions, which are easy to sew and stack, perfect for a neat, versatile arrangement. Don’t hesitate to experiment with round cushions, adding variety to your seating. Visualize how these shapes will integrate with your other furniture, and plan your space accordingly. To add a dash of creativity, consider unique shapes like triangles or hexagons, which can act as conversation starters.
By choosing the right materials, textures, and designs, you infuse a personal touch into your living area. Explore your creativity, letting each selection reflect your style while ensuring each piece enhances your cozy environment. For more ideas on maximizing apartment space and creating comfort, consider checking out tips on apartment organization using baskets. With thoughtful planning and design, your DIY floor cushions will not only serve as functional seating but as integral components of your home decor.
Crafting Your Floor Cushions

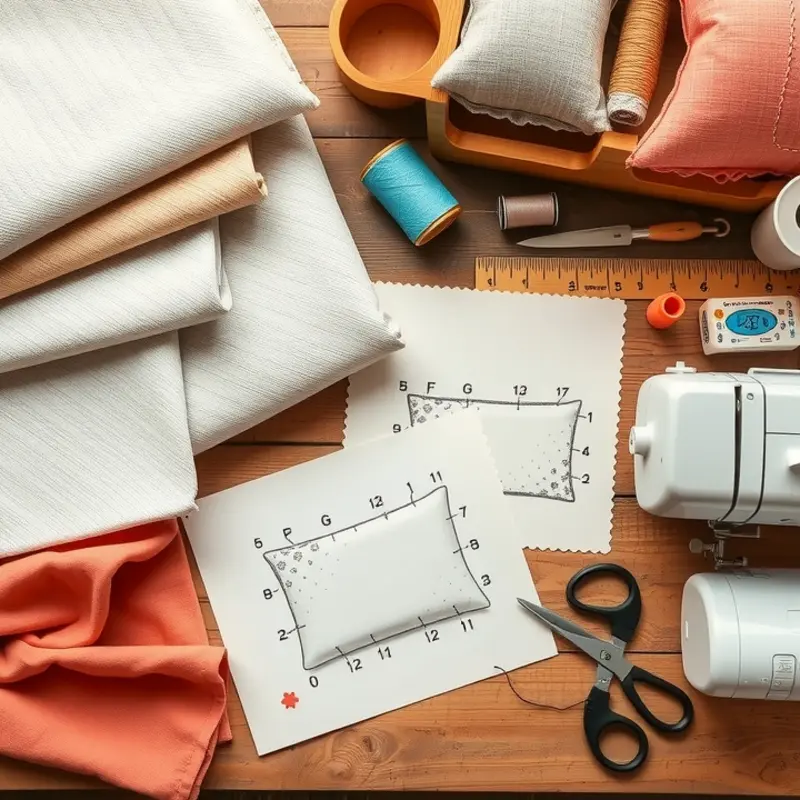
Now that you have your materials, let’s dive into the rewarding world of sewing! Starting with your fabric, the first step is to measure and cut it into your desired shapes. Remember, precise and thorough measuring is essential. Don’t forget to leave a seam allowance of about half an inch to ensure neat edges.
For round cushions, a circular template is your best friend. You can create a simple one from cardboard. Trace around the template onto the fabric. You’ll need two identical fabric circles for each cushion. For square or rectangular designs, cut straight lines using a ruler to maintain accuracy.
Once your fabric pieces are ready, the next phase is assembling them. Place your fabric shapes together with the right sides facing each other. This ensures that the neat sides will be on the outside when you are done. Use pins liberally to hold the pieces in place. This step is crucial as it prevents slipping while sewing, especially for beginners.
Begin sewing around the edges, using a straight stitch, leaving a small opening of about 4 inches. This gap will be important later for stuffing the cushion. No sewing machine? No problem. A hand needle will do just fine, although it might take a bit longer. Once you’ve sewn around the entire perimeter except for the opening, it’s time to flip the fabric inside out, revealing the right sides.
Choose your stuffing method based on the intended use of your cushion. Loose stuffing materials create a more casual, homely feel, while foam inserts lend a structured, durable touch. An important tip—stuff until it feels firm but still pliable. Test it out to find the perfect balance for comfort.
After stuffing, close the opening using an invisible stitch—also known as a ladder stitch—to maintain a seamless look. This finishing touch is what gives your cushion a professional appearance. If you want some extra pizazz, now’s the time to add embellishments. Create tassels from leftover yarn or add contrasting piping around the edges for that finished, designer look.
Your handcrafted cushions are now ready! Place them in cozy corners, stack them in living areas, or scatter them casually on the floor for impromptu seating arrangements. These bespoke creations not only elevate the aesthetic of your space but also bring in a personal, handmade touch that reflects your style and personality.
For more ideas on optimizing small spaces and incorporating DIY décor, check out DIY Apartment Window Seat. This guide offers great inspiration for making the most out of your rental’s nooks and crannies with comfort and creativity.
Final words
Creating your own floor cushions is not just an accessible DIY project but also a wonderful opportunity to express personal style and enhance comfort in your rental. From selecting vibrant fabrics to stitching unique designs, the process is both rewarding and transformative. As you complete this project, you’ll not only have added new seating to your space but also crafted a small piece of art that reflects your creativity and personality. So gather your materials, let your imagination flow, and turn your apartment into a cozy haven of comfort!


