
Renting a home doesn’t mean sacrificing your personal style. Many young professionals, students, families, and creative renters seek ways to make their rental feel like home. One exciting and temporary solution is to use DIY removable appliance decals. These versatile decals are easy to apply and remove, allowing you to express your personality without damaging your rental property. Whether you want to brighten up your kitchen appliances or add a touch of flair to furniture, appliance decals offer a creative outlet that won’t break the bank. So, gather your materials and let your creativity shine! In the following chapters, discover step-by-step guidance, practical ideas, and ways to elevate your rental space using removable decals.
Gather Your Tools and Materials
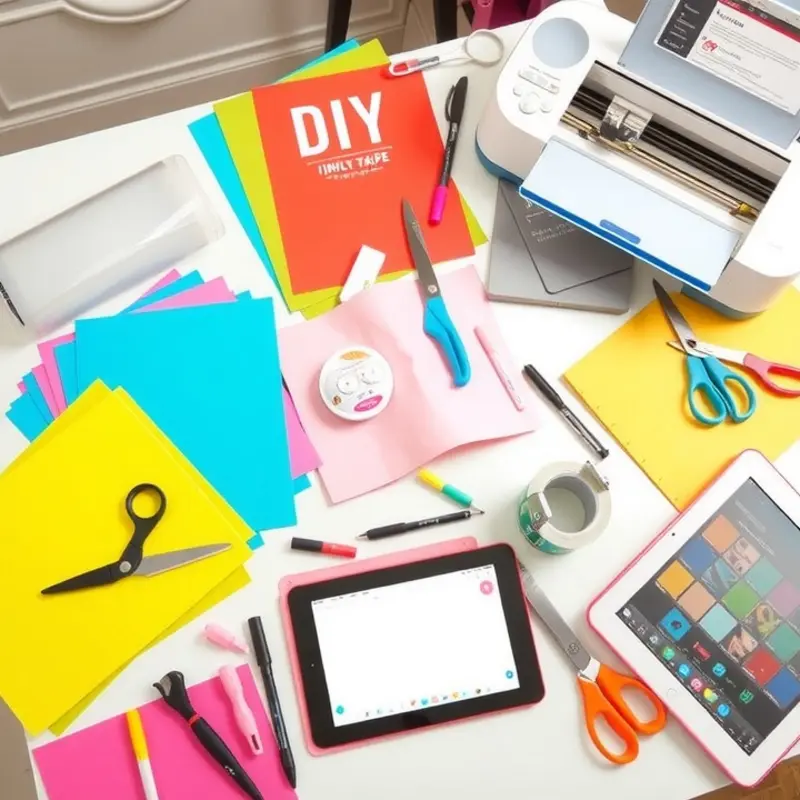
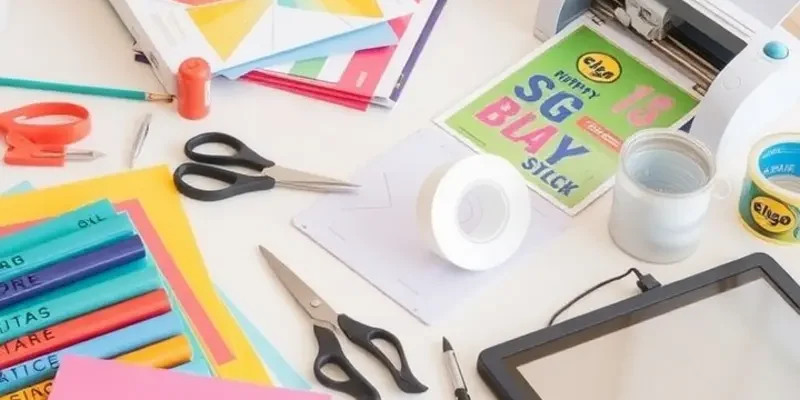
Embarking on the path of personalizing your space with DIY removable appliance decals begins with gathering the right tools and materials. This step is crucial for ensuring ease and precision throughout your creative journey. As preparation is key, having these essentials on hand will streamline your process and help you achieve professional-looking results without any hassle.
Begin by selecting the right design software. Choose a user-friendly program that allows for easy manipulation and creativity with your decal designs. While there are many robust options available, aim for one that offers a variety of templates and design elements. This will spare you from needing extensive graphic design skills, letting you focus on making your ideas come to life.
Next, invest in high-quality decal paper. This is vital for transferring your designs onto your appliances seamlessly. Ensure that the paper is specifically rated for your printer type, whether inkjet or laser, as this can significantly affect the outcome. Misjudging paper compatibility can lead to printing mishaps and unnecessary frustration.
Now, let’s talk about cutting tools. A reliable pair of scissors can suffice for simpler shapes, but if you’re aiming for intricate cut-outs, a precision craft knife is a game-changer. It allows for sharp, detailed cuts that can elevate your decals from amateur to artisanal. Be sure to handle with care, as safety should always be a priority.
To enhance the erasability of your decals, and to ensure they are rental-friendly, it is wise to acquire a removable adhesive spray. This will enable you to reapply decals as you please, leaving no residue or marks on your appliances—an essential aspect of mindful renting. Always follow the spray’s instructions for best use.
Prepping a smooth workstation is often overlooked but is equally important. Having a clean, flat surface ensures that dust and debris don’t interfere with your decal application. If your workspace isn’t naturally spotless, lay down a large sheet of craft paper or a cutting mat to safeguard your creations from unwanted imperfections.
As you gather these essentials, take a moment to think about the theme you wish to convey through your decals. Whether it’s vibrant patterns or minimalist designs, having a clear vision will guide the practical use of your materials. This setup phase not only defines the efficiency of your project but also sets the tone for your entire DIY experience.
By meticulously preparing with these foundational tools and materials, you grant yourself the freedom to explore unlimited creative expressions without worrying about constraints or quality compromises. Once your workstation is set and supplies are ready, you’ll find the next steps feel intuitive, allowing your imagination to lead the way.
For further inspiration and organizational tips for small spaces, consider visiting this guide. It will help in planning efficient storage solutions, ensuring your DIY projects do not clutter your living area.
Create, Apply, and Enjoy Your Decals
Designing your own removable appliance decals is a delightful way to infuse your space with personality. Start by brainstorming themes or motifs that resonate with you. Perhaps you’re drawn to botanical patterns, abstract shapes, or vintage illustrations. Use design software or sketch by hand to bring your ideas to life. For those with limited design skills, consider exploring royalty-free vector graphics websites for inspiration and material.
Design Tips:
- Choose color schemes that complement your existing decor and appliances. Harmonious colors create a cohesive look, while bold contrasts make a statement.
- Keep in mind the size ratios of your appliance surfaces. A cramped design might lose its charm, while too much negative space can seem unfinished.
- Solicit feedback from friends or family. Fresh eyes may spot opportunities for enhancement you hadn’t considered.
Once your design is ready, print it on quality decal paper. Ensure your printer settings are adjusted for high-quality output and follow the paper manufacturer’s instructions carefully. After printing, allow the ink to dry completely to avoid smudging during application.
Application Techniques:
Before applying the decals, thoroughly clean the appliance surface with a mixture of water and a gentle detergent. This step removes grime and oils, ensuring the decals adhere properly and reducing the chance of bubbles. Use a microfiber cloth to avoid lint residue.
When it comes to positioning, start by placing the decal lightly against the surface. A soft touch allows for repositioning if the initial placement isn’t perfect. Once satisfied, begin smoothing the decal from the center outwards using a squeegee or a credit card wrapped in a soft cloth. This method minimizes air bubbles and wrinkles.
For added precision, work slowly, especially on larger decals. Consider enlisting a second pair of hands for larger applications. Once in place, give it a final once-over to ensure it is secure and any air bubbles are eliminated.
Maintenance Advice:
To keep your decals looking fresh, regularly dust the surface with a dry cloth. Avoid direct exposure to harsh cleaning chemicals, as these can degrade the decal or strip the ink. Water and gentle soap are usually safe for maintaining cleanliness.
If you’re considering a decor update, removal is simple and leaves no residue, making it ideal for renters. Start by gently peeling one corner of the decal. If resistance is met, use a hairdryer to slightly warm the area, which loosens the adhesive. This technique ensures a smooth removal with minimal effort.
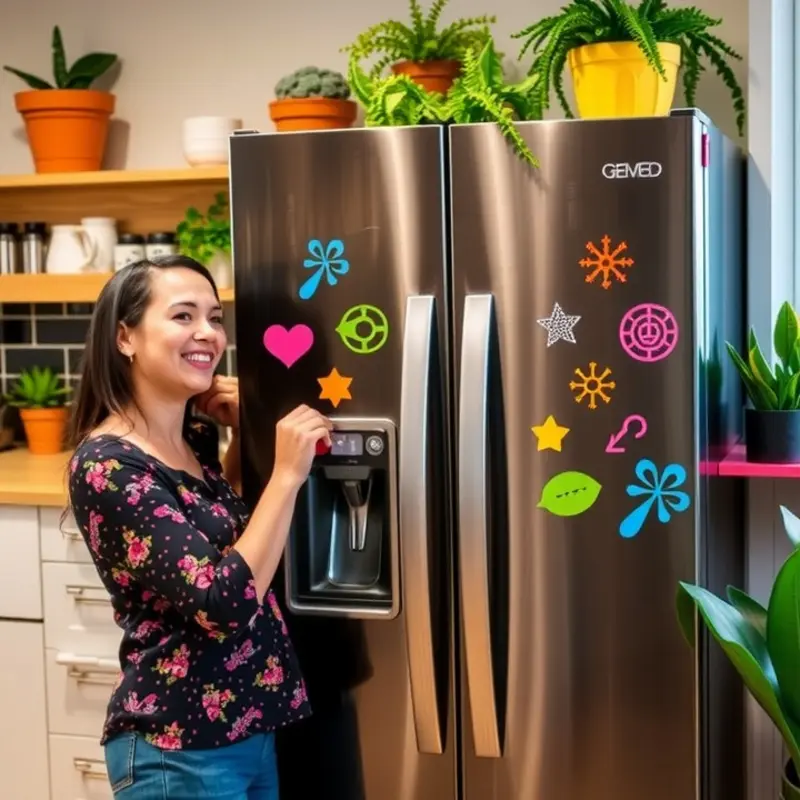
By creating and applying your own appliance decals, you can continuously reinvent your living space without any permanent changes. Plus, this creative venture is not only satisfying but also a cost-effective way to personalize your home. For more ways to make your space uniquely yours, check out our guide on apartment-friendly DIY cleaning products.
Final words
Personalizing your rental home can be both fun and rewarding. With DIY removable appliance decals, you can express your style while keeping your landlord happy. Remember to choose designs that resonate with you, whether they reflect your hobbies, favorite colors, or unique aesthetic. Applying these decals offers a chance to create a warm, inviting space that feels distinctly you. Plus, the best part is that when it’s time to move, you can easily remove them without any hassle. So, gather your materials, unleash your creativity, and make your rental a true home!


