Creating a space that reflects your personality is all about the little details, especially for renters who want to showcase creativity without committing to permanent changes. Removable chalkboard paint offers a delightful solution, allowing creative renters, young professionals, students, and families to add a fun, interactive element to their homes. Imagine turning a dull wall into a lively canvas where you can jot down your to-do lists, doodle, or leave heartfelt notes for your loved ones. This flexible solution blends functionality with personality and, best of all, it’s affordable! Whether you want to designate a specific area for your little artist’s masterpieces or create a fun space for family messages, removable chalkboard paint can help make it happen. Let’s explore how you can easily and affordably create your own chalkboard masterpiece, complete with top tips and inspiring visuals to guide your way.
Gather Your Supplies for a Creative Chalkboard Adventure
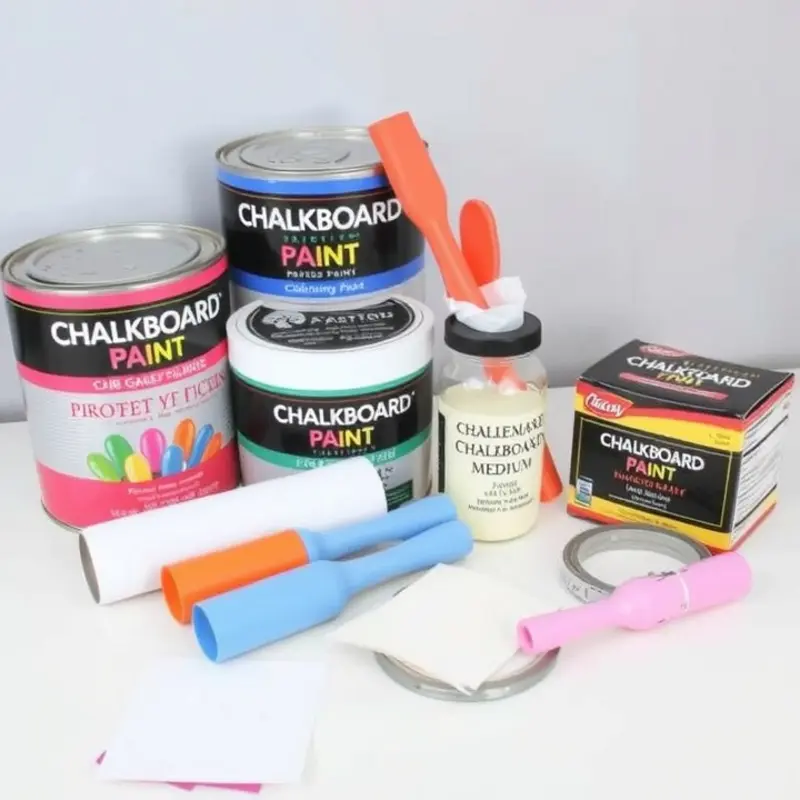
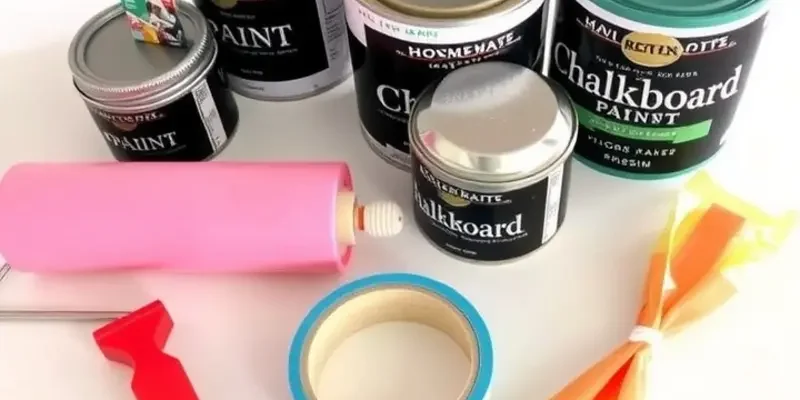
Embarking on a DIY chalkboard project can transform any space in your rental, allowing personalized expression without permanent changes. Let’s dive into the essentials you’ll need to start crafting your chalkboard oasis.
Chalkboard Paint: The cornerstone of your project, selecting the right chalkboard paint is crucial. Opt for brands that emphasize removability, protecting your rental surfaces. If you’re feeling adventurous, crafting a homemade version using acrylic paint mixed with a chalkboard medium is a viable and flexible option. This not only allows customization in color but can also bring a touch of your personality into the mix. Always check for products that leave minimal residue or damage once removed.
Paint Roller and Brushes: Achieving a smooth and even finish is imperative, so investing in a quality paint roller is wise. Rollers are ideal for handling large surfaces, ensuring consistent application. Complementing your roller with a variety of brushes can help manage intricate areas; edges and corners often require a gentler touch. Consider brushes with bristles that won’t shed easily, to avoid any unsightly imperfections.
Painter’s Tape: Essential for precision, painter’s tape helps in demarcating your chalkboard area effectively. It safeguards the surrounding walls or surfaces from accidental spills or drips, maintaining the integrity of your rental’s original finish. For best results, ensure the tape adheres firmly to the surface to prevent paint bleed-under but is removed promptly to avoid stripping existing paint.
Sandpaper: Prepping your chosen surface with sandpaper is an often overlooked, yet vital step. It ensures that the paint adheres properly, reducing the risk of peeling. Begin with a medium-grit sandpaper, gently abrading the surface to create a slightly rough texture. Follow up with a finer grit for a smoother finish, particularly if your material is prone to splintering, like wood.
Primer (optional): Depending on the surface, a primer might be necessary to enhance the adhesion of your chalkboard paint. Surfaces like glass or plastic usually benefit from a primer to prevent the paint from slipping or failing to bond correctly. A quality primer can be the difference between a flawless chalkboard and one that requires frequent touch-ups.
Sealant: If you’ve ventured into making homemade chalkboard paint, a sealant is crucial. This additional layer preserves the visual integrity of your artwork, protecting it from smudging or fading over time. Choose a clear, matte-finish sealant to retain the authentic look of a traditional chalkboard while ensuring durability.
By gathering these key supplies, you’re not just preparing materials; you’re laying the groundwork for a creative endeavor. The anticipation of personalizing your rental space with this chalkboard oasis opens the door to endless design possibilities. As you progress, remember that a well-prepared start will help turn your vision into a tangible, stylish reality.
For more project ideas that adapt beautifully to rental environments, explore our guide on DIY Renter-Safe Coat Hooks.
Creating Your Own Removable Chalkboard Surface
Now that you’ve gathered your supplies, it’s time to start painting! Follow these clear steps to achieve a beautiful chalkboard wall:
First up, prep your wall. Cleanliness is crucial for a smooth finish, so ensure the wall is free of dust, dirt, and grime. You may need to wash it with a gentle detergent solution and a soft cloth. Once dry, lightly sand the area to create a smooth surface, ensuring better adhesion for your paint.
Next, you’ll want to clearly define the area where your chalkboard will be. Use painter’s tape to mark borders or create shapes—it could be a geometric design or simply straight lines for a rectangle. This tape will help you achieve clean, crisp lines later on. Strive for precision here; it sets the tone for the whole project.
Before getting to the paint, consider applying a primer. A primer is essential if your wall has blemishes or if you’re working on a surface that typically repels paint. Opt for one suited to the existing wall type and let it dry completely. This step might seem extra, but it’s crucial for the longevity of your chalkboard surface.
Now for the exciting part—mixing and applying the chalkboard paint. Make sure to stir the paint thoroughly if it’s premade, or follow your homemade recipe before you start. When rolling or brushing it on, aim for thin, even coats. This reduces drips and results in a smoother finish. Each coat should dry completely before adding the next one, usually needing 2-3 layers for opaque coverage. Patience here is a virtue.
To ensure durability, consider applying a suitable sealant after the final coat has dried. Sealants can help protect your hard work from accidental scratches and dust accumulation, especially in high-traffic areas. Always choose a sealant compatible with chalkboard surfaces.
After paint application, the surface needs to cure for about 24 hours. This wait is crucial and lets the paint harden properly. Meanwhile, you can plan how you’ll personalize this new space.
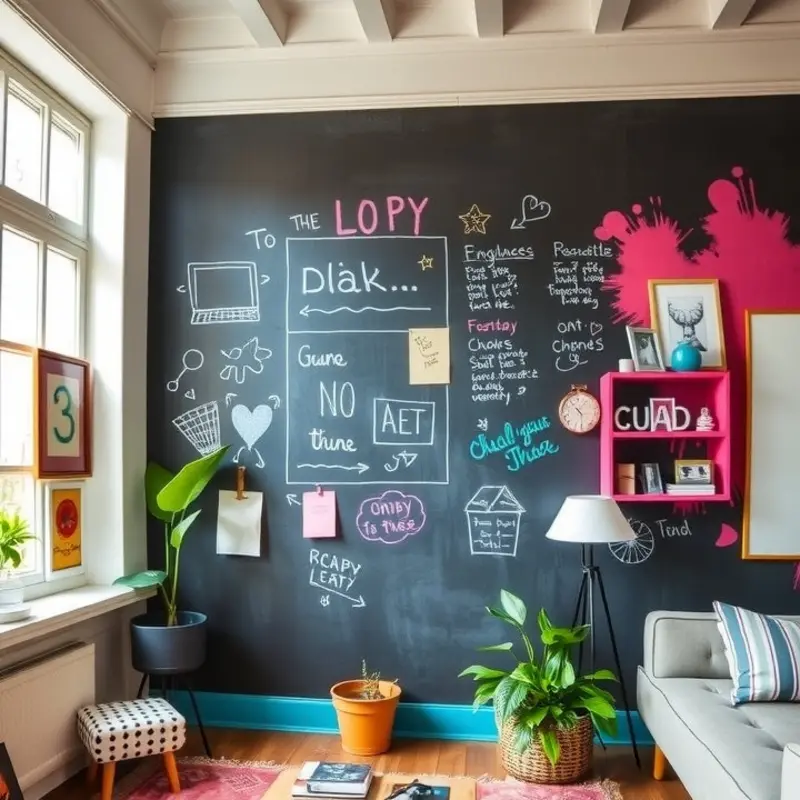
Finally, personalize your wall by unleashing your creativity with chalk. You can write an inspirational quote, or create a calendar or to-do list. Remember, mistakes are easily fixed with a damp cloth, so don’t be afraid to experiment.
For more ideas on organizing your creative space, consider checking out this guide on apartment organization baskets: keep your chalks and other art supplies neatly arranged.
Enjoy the stylish, personalized touch that your removable chalkboard space brings to your rental home!
Final words
By adding removable chalkboard paint to your rental, not only do you enhance the aesthetic appeal of your space, but you also create a functional area for notes, doodles, and creativity. It’s an engaging way to encourage family interaction, whether you’re hosting a game night or motivating children to express themselves artistically. Plus, the simplicity of the DIY process makes it easy for anyone to tackle, regardless of skill level. Unleash your artistic side and personalize your rental home today, knowing you can change things up whenever the mood strikes! Your walls are now a canvas for creativity within the bounds of your rental, where memories can be made, and endless ideas can blossom.