
Have you ever wished for a space that can adapt to your moods and whims? As a renter, it can be daunting to make changes that reflect your personality without breaking the lease. Fortunately, creating a removable chalkboard wall is a fun and practical solution! This simple DIY project not only allows you to express yourself but also provides a functional space for lists, drawings, and messages. Whether you’re a young professional looking to enhance your home office, a student wanting to personalize a dorm room, or a family hoping to brighten up a playroom, this project is for you. In just a few straightforward steps, you can craft a unique chalkboard wall that fits perfectly in your rental space. Get ready to let your creativity flourish while keeping your landlord happy!
Gather Your Materials and Tools
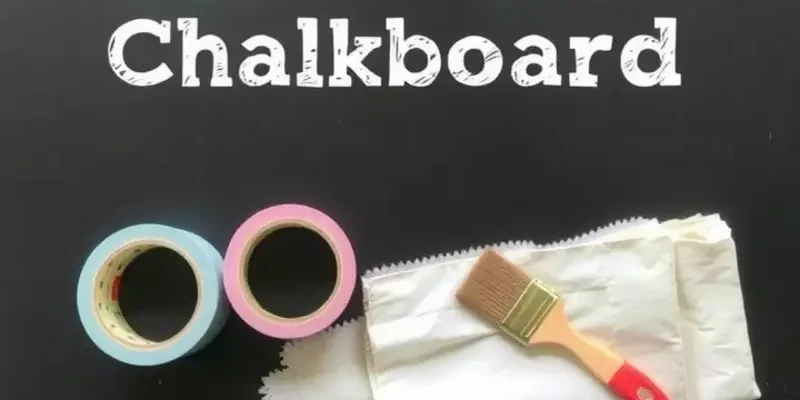
Embarking on the journey to create your own removable chalkboard wall starts with having the right materials and tools at your disposal. This step is crucial to ensure your DIY project proceeds without unnecessary interruptions. Here’s a comprehensive list to guide you through the process.
Materials Needed
- Chalkboard Paint: Opt for a removable chalkboard paint formula that adheres to your wall without leaving permanent marks. This will keep your rental deposit safe while still allowing you to express your creativity.
- Painter’s Tape: Essential for creating clean edges, painter’s tape helps achieve a professional finish without the mess. Choose a tape that is gentle on walls to prevent damage.
- Plastic Sheeting or Drop Cloths: Protect your floors and furniture from any paint spills or splatters. Use a durable drop cloth that does not allow the paint to soak through.
- Paint Roller and Brushes: Select a roller with a smooth finish to avoid texture on the chalkboard. A small brush will be helpful for touch-ups and corners.
- Cleaning Supplies: Gather a mild detergent solution and a sponge to clean the designated wall area before painting. A clean surface ensures better paint adherence.
Tools You’ll Need
- Measuring Tape: Accurate measurements are fundamental to ensure that your chalkboard wall is neither too big nor too small for the space.
- Level: This tool helps maintain straight lines and even coverage when applying tape or paint.
- Screwdriver or Drill: If you’re using any mounted chalk holder or accessories, a screwdriver or drill may be needed to secure fixings without damaging the surface.
- Safety Gear: Protect yourself with a mask to avoid inhaling any fumes and gloves to keep your hands clean during the process.
Before starting, it might be useful to check out some apartment-friendly storage solutions to efficiently organize your materials and tools during the project. An organized workspace can enhance efficiency and reduce stress.
Having gathered your materials and tools, you are now prepared to proceed to the next steps with confidence. Ensure that everything is easily accessible and take a moment to verify that your supplies align with the vision you have for your removable chalkboard wall. A little preparation goes a long way in transforming your rental space into a canvas of creativity.
Painting Your Chalkboard Wall
Creating a removable chalkboard wall in your rental apartment can be a simple yet rewarding DIY project. Before you kick off, ensure you’ve chosen the right wall or panel. Removable panels can be a wise choice for renters, offering flexibility and easy removal when it’s time to move. Here, we guide you through each step of painting your chalkboard wall.
1. Choose the Right Space:
Pick a wall or panel that complements your apartment’s layout. Ideally, it should be accessible and well-lit to enhance visibility. Consider positioning it in a kitchen, home office, or kid’s play area for optimal use.
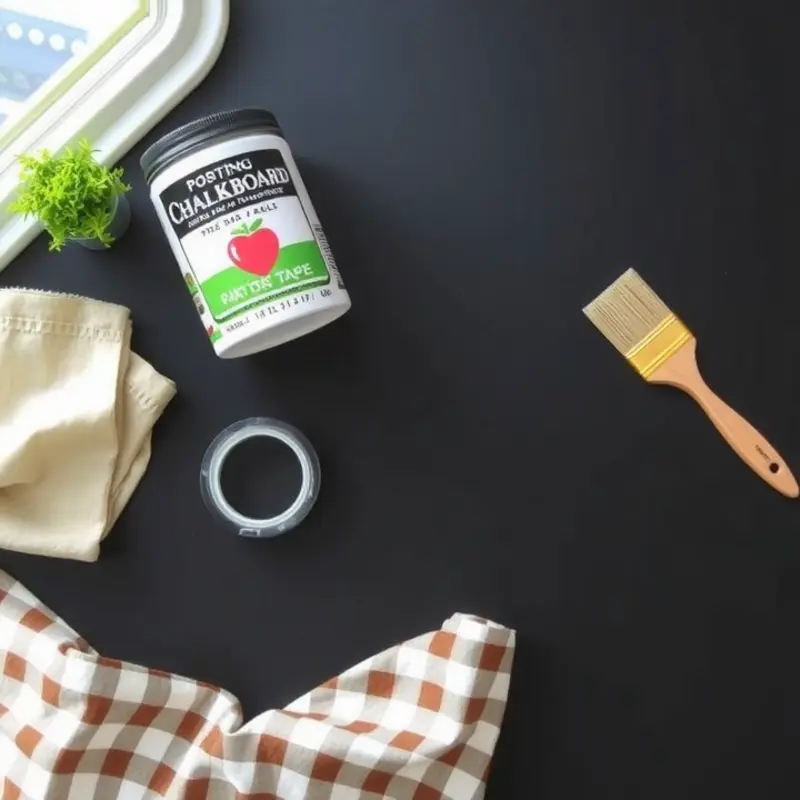
2. Gather Your Materials:
You will need removable adhesive chalkboard paint, a primer, painter’s tape, a paint roller, a tray, a drop cloth, and some fine sandpaper. You may also need a damp cloth for cleaning the wall.
3. Prepare the Surface:
Preparation is crucial for achieving a smooth finish. Begin by cleaning the surface thoroughly using a damp cloth to remove any dust or grease. If using a panel, ensure it’s dust-free and dry. Once clean, sand the surface lightly with fine sandpaper to help the primer adhere better.
4. Apply the Primer:
Priming is essential, especially on walls with a gloss or eggshell finish. Tape off the section of the wall that you plan to paint, making sure your lines are straight. Roll on a coat of primer smoothly and allow it to dry thoroughly. This will create an even base for your chalkboard paint.
5. Paint the Chalkboard Surface:
Stir the chalkboard paint thoroughly to ensure an even consistency. Pour it into a paint tray and use a roller to apply the first coat. Roll the paint in a ‘W’ pattern for even coverage. Let the coat dry as per the instructions on the paint can. Usually, two coats are recommended for durability. Be patient and ensure each coat is completely dry before applying the next one.
6. Check and Remove the Tape:
Once the final coat is dry, it’s time to remove the painter’s tape. Do this slowly to avoid peeling off any paint. It’s best to peel at a 45-degree angle.
7. Condition Your Chalkboard Surface:
Before using your new chalkboard wall, condition it by rubbing the side of a piece of chalk over the entire surface, then wipe it clean. This prevents any drawings from being permanently ghosted onto the board.
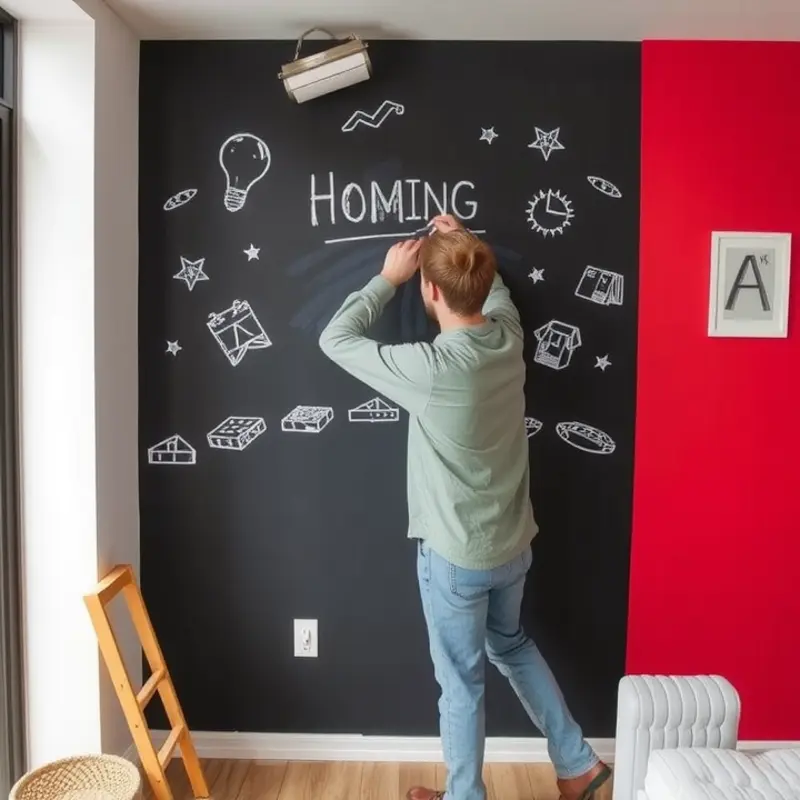
8. Use, Enjoy, and Update:
Your wall is now ready to reflect your style. Whether it’s a welcome message or a weekly menu, update your board regularly to keep it fresh and engaging. When you’re ready to move, the chalkboard paint can be removed by gently peeling off the entire panel or using the wall remover specified for your adhesive.
These steps ensure that your chalkboard wall is a removable addition, leaving no lasting impact on your rental property. For more tips on preparing your rental for unique DIY projects, explore this rental property walkthrough guide.
Final words
With just a few materials and some easy steps, you’ve turned a wall into a canvas for creativity! This removable chalkboard wall allows for expression, organization, and personalization, making your rental space truly feel like home. Whether it’s jotting down notes, displaying artwork, or leaving messages for loved ones, your new chalkboard wall can adapt to your needs anytime. Plus, best of all, it’s completely removable, leaving your walls intact and your landlord pleased. So grab your materials and get started; your personalized space awaits!


