

For many renters, creating a functional and stylish space can be a challenge, especially in small kitchens. A DIY removable kitchen island offers a highly customizable solution that caters to diverse lifestyles—be it for maximizing space while cooking for family, hosting friends, or studying. This project allows creative renters, young professionals, students, and families to personalize their homes without any permanent changes. Moreover, the beauty of a removable kitchen island lies in its versatility; it can double as a dining area, a workspace, or extra storage, depending on your needs. So, gather your tools and imagination, and let’s get started on transforming your kitchen with a beautiful DIY island that you can take with you—even when you move!
Selecting the Perfect Design and Materials
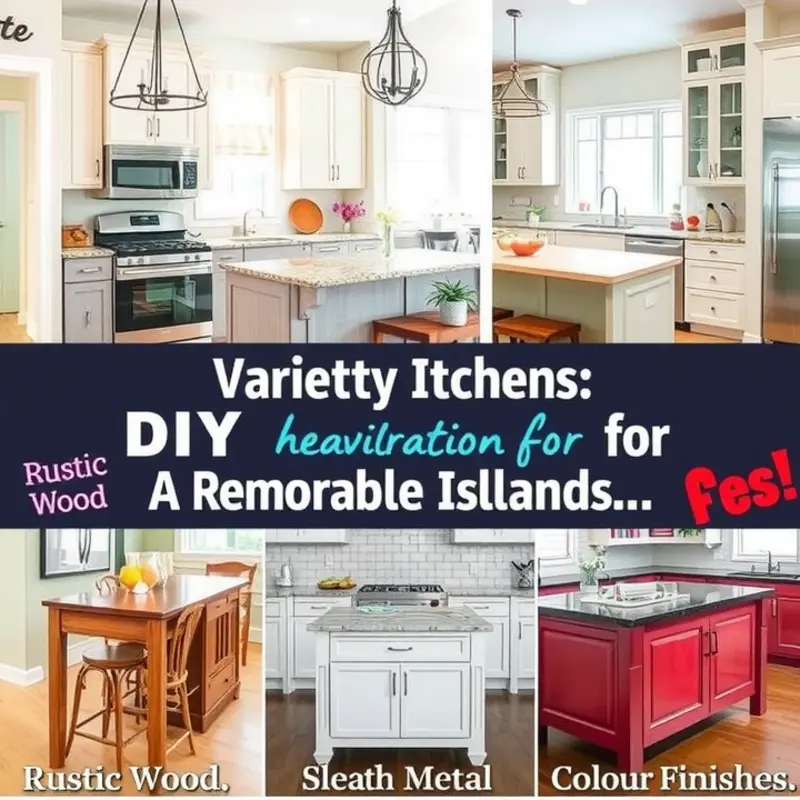
Choosing the ideal design for your DIY removable kitchen island begins with identifying the aesthetic vibe of your space. A modern minimalist approach can bring sleek lines and functionality without overwhelming the room. Look for simple, clean designs that make efficient use of space with built-in storage solutions. On the other hand, if rustic charm speaks to you, consider incorporating reclaimed wood or finishes that echo farmhouse sensibilities.
Think about the functionality your kitchen needs. Are you looking for additional counter space, or perhaps an island that doubles as a breakfast nook? Your lifestyle will help determine the island’s dimensions and features. Ensure the size complements your kitchen layout, maintaining a seamless flow without obstructing pathways.
Next, consider material options that cater to the durability, weight, and practicality needed for rental homes. Wood remains a popular choice due to its versatility and warmth. Options like pine or maple offer robust structure and can be stained or painted to match various decors. Alternatively, a wooden top can be paired with a marble or granite surface. This provides a sturdy work area and adds elegance to the design.
For those favoring industrial or contemporary styles, a metal base can provide a striking contrast or complement to your kitchen’s existing elements. It’s both durable and easy to disassemble, which is essential for renters. If you’re thinking of adding shelves, opt for lightweight materials like glass or mesh that won’t add too much weight to the structure.
Ease of assembly is another crucial aspect. A modular design might be your best bet, providing flexibility to adjust and dismantle as needed. Lightweight, flat-pack pieces assembled with basic tools promote hassle-free construction and moving.
To get started on your project, ensure you have essential materials and tools at hand, including a tape measure, saw, screws, and a screwdriver. Depending on your chosen design, a drill, level, and paintbrush might also be necessary. Gathering everything beforehand will save you time and maintain project momentum.
Your choice of design and materials should ultimately reflect your personality and cater to your needs without infringing on rental agreements. By carefully curating these elements, you can create a functional centerpiece that enhances your kitchen’s utility and style. Consider checking out this guide on DIY floating shelves for renters for more inspiration on incorporating adaptable fixtures in your home.
Building Your Custom Island: Step-by-Step Guide
Now it’s time to bring your vision to life! Let’s walk through the process of crafting your own removable kitchen island that’s both functional and portable.
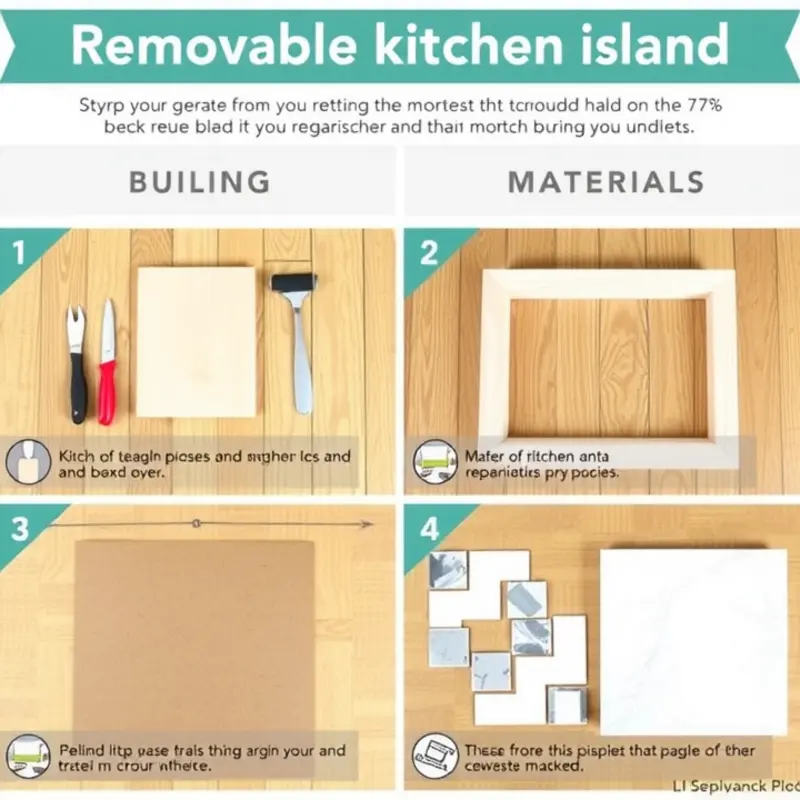
To start, gather essential materials: sturdy plywood for the base and sides, hardware for assembly, and your selected decorative elements. Prepare an area where you can measure and cut materials safely and efficiently.
Step 1: Measure
First, determine the dimensions of your kitchen island. Consider its intended use, whether for additional countertop space, storage, or dining. Use a measuring tape to ensure your island will fit within your kitchen area, leaving room for movement around it. Write down these dimensions, as precision at this stage will make cutting and assembly easier.
Step 2: Cut the Materials
Use a saw to cut the plywood into panels according to your measured dimensions. Typically, you’ll need pieces for the top, bottom, sides, and any internal shelves. When cutting, ensure smooth edges to facilitate cleaner assembly and a polished finish.
Step 3: Assemble the Frame
Begin by constructing the frame. Use screws and a drill to secure the pieces together. Start with the base, then attach the sides and the top. Pay attention to alignment to avoid a wobbly island. For added stability, consider using corner braces on the inside of each corner.
Step 4: Add Functional Features
For mobility, attach lockable wheels to the bottom corners. This feature ensures your island is easy to move but stable when in use. Incorporate storage by adding shelves or installing hooks on the side for pots and pans. Personalize the design with compartments tailored to your needs, like wine racks or sliding shelves.
Step 5: Finishing Touches
Give your island a finished look with paint or stain. A waterproof finish will protect against kitchen spills. Apply at least two coats, allowing drying time between each layer. Choose colors that complement your kitchen decor, enhancing the overall aesthetic.
Pro Tip: Look for inspiration on small space solutions that maximize utility, such as DIY Floating Shelves for Renters.
With these steps, you’ll build a custom kitchen island that fits perfectly into your rental while reflecting your personal style. Adapt each element to meet your specific needs, ensuring the island enhances your space without any permanent changes.
Final words
Designing and building a DIY removable kitchen island not only enhances the aesthetic of your rental but also adds practicality to your space. It’s a fun project for individuals and families alike, providing a sense of accomplishment and a personal touch to your home. As you complete your project, remember that the beauty of this island is its temporary nature—you can take it with you! Whether you’re hosting a family gathering, enjoying some quality time with friends, or simply need a dedicated workspace, your custom kitchen island will serve you well in every scenario. Embrace your creativity and enjoy transforming your rental into a unique haven!


