

Renting a home should never mean sacrificing style or personality. Whether you’re a student looking to make your dorm feel more like home, a young professional eager to add some flair to your apartment, or a family wanting to create a warm environment, removable tile flooring offers a simple solution. With an endless variety of designs available, you can craft a custom floor that reflects your taste without permanent commitment. Ideal for both functionality and aesthetics, DIY removable tile flooring can help you rejuvenate your rental space in no time. Let’s explore how to revamp your living area into a stylish sanctuary. Follow our straightforward guide that brings creativity, inspiration, and practicality together, making home personalization accessible for everyone.
Choosing the Right Tiles for Your Rental
Picking the perfect tiles for your rental can transform your space into a personalized haven. Start by defining the vibe you want. Are you drawn to a vintage charm or a sleek, modern finish? Understanding your style preferences sets the direction for your tile selection.
Creating a mood board can help visualize how different tiles fit into your concept. Gather images of rooms that inspire you, and then layer in photos of potential tile options. This visual tool aids in seeing how patterns and colors interact within your envisioned theme.
When considering types of tiles, peel-and-stick vinyl and ceramic tiles stand out for renters. Peel-and-stick tiles are ideal for their easy application and removal, perfect for those seeking a non-permanent solution. Ceramic tiles offer a touch of elegance while still allowing for easy detachment when needed.
In terms of space, the tile size can greatly impact how your room feels. Larger tiles create an illusion of a more expansive area, perfect for small rooms. They reflect light better, making cramped spaces feel airy. Conversely, smaller tiles can infuse warmth and texture, adding depth to your design.
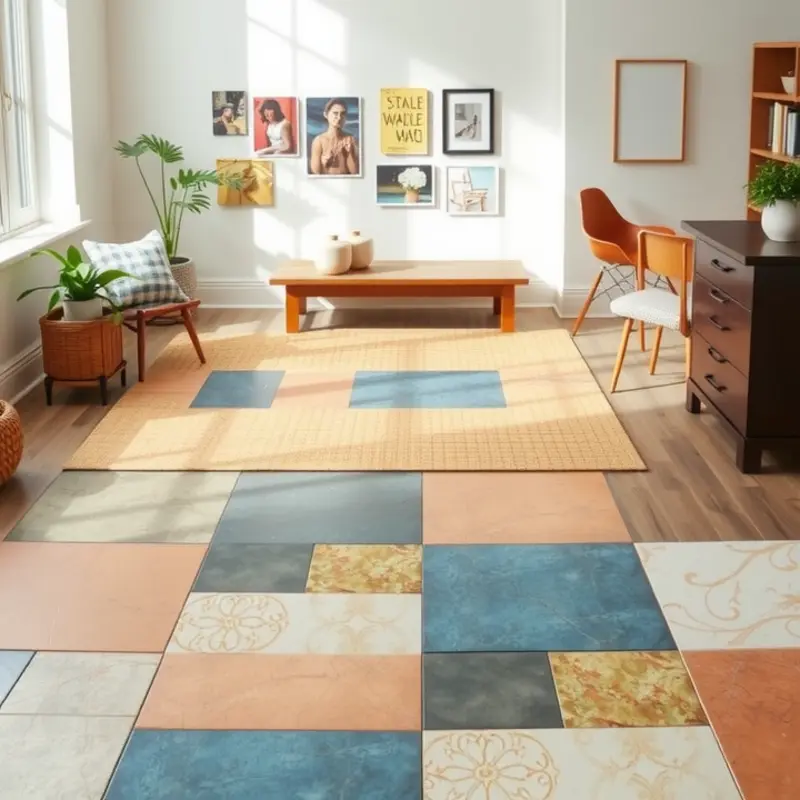
Pattern and color are crucial in setting your room’s mood. Opt for patterns that resonate with your aesthetic, knowing you can mix and match to create a unique look. Vibrant hues or soft pastels? Bold patterns or minimalist designs? The choices are endless, and each brings a distinct personality to your room.
After narrowing down your favorites, it’s wise to delve into product reviews. These insights can reassure you of your selections’ quality and ease of application. Look out for comments on durability and removal, ensuring the tiles won’t damage the original flooring.
Budget is always a consideration. Check that the tiles align with your financial plan without compromising on quality. Read reviews and compare prices to find a balance between cost and excellence.
Don’t underestimate lighting’s impact. Order samples to see how options interact with your room’s natural and artificial light. This step can drastically change tile appearance, ensuring you make a well-rounded decision.
If you’re looking for inspiration on how to creatively store your crafting materials or need ideas on organizing your space with your new tiles, consider checking out this helpful guide on apartment organization using baskets. It can offer tips and tricks for maximizing your apartment’s potential with style.
Taking the time to carefully choose your tiles ensures a space that feels personal and harmonious, all while offering the flexibility you need as a renter.
DIY Installation: Step-by-Step Guide

Installing removable tile flooring may sound intimidating, but anyone can do it with a little preparation! So, roll up your sleeves and follow these easy steps. First, gather your supplies: ensure you have your tiles, a utility knife, a straight edge, adhesive (if not pre-applied), a measuring tape, and a floor roller for better adhesion. Having everything ready before starting will keep the process smooth and efficient.
Next, prepare your space. It’s crucial to start with a clean, dry, and smooth surface. Vacuum thoroughly to remove dust and debris, then use a damp mop to clean the floor. Allow it to dry completely to ensure the adhesive sticks properly. If you encounter uneven areas, consider using a leveling compound to smooth out the surface, which will prevent the tiles from bulging or peeling off later.
Once the floor is ready, measure and plan your layout. Start by finding the center of the room, which helps ensure the tiles are laid out symmetrically. Use a measuring tape to mark the center point on the floor carefully. From there, draw guidelines with chalk across the room to guide your tile placement. This will help maintain straight lines and even spacing throughout the installation.
Before laying down the tiles, you’ll need to cut some tiles to fit the edges of the room. Use the straight edge and utility knife for precise cuts. Always measure twice before cutting to avoid mistakes, especially in tight or irregular spaces. For corners or complex shapes, create a paper template first to ensure a perfect fit.
With the preparations complete, it’s time to stick ’em down. Begin placing your first tile at the center of the room, pressing firmly to eliminate air bubbles. Work outwards systematically, aligning each tile with the previous one according to your chalk guidelines. This technique prevents any misalignment as you proceed towards the edges. Utilize the floor roller across each installed tile to ensure strong adhesion, especially if you’re using self-adhesive tiles without additional glue.
Finally, take care of the finishing touches. Once all tiles are securely in place, inspect the room for any excess edges. Trim where necessary using your utility knife. This attention to detail will give your flooring a professional finish. After a final check, stand back and admire your handiwork—your space now boasts a fresh, personalized look! Don’t forget to consider other aspects of home improvement, such as using apartment-friendly DIY cleaning products to maintain your new tile flooring’s cleanliness and shine.
The process is quicker than you think, making it perfect for those on the go or in need of immediate gratification. Not only is it practical for renters looking for affordable and reversible home upgrades, but it also brings a sense of achievement and creativity to your living space.
Final words
Revamping your rental home with removable tile flooring is not only a way to infuse personality into your space but also a fun project anyone can take on. With the creative ability to blend patterns and colors, your home can truly reflect your unique style. Whether you opt for bold, fun designs or subdued, elegant patterns, the result is a cozy, inviting atmosphere that feels completely yours. Best of all, you can say goodbye without a trace when moving day arrives, leaving behind no evidence of your clever upgrades. So gather your materials, unleash your creativity, and start your flooring transformation today!


