Living in a rental shouldn’t mean compromising on style and personal expression. For creative renters, young professionals, students, and families, creating a personalized space can easily feel daunting. However, DIY removable wall murals are an affordable and flexible option that can dramatically enhance your living environment without damage. Imagine stepping into a room that reflects your personality and style—whether that’s vibrant colors, whimsical patterns, or inspiring quotes. The beauty of removable wall murals lies in their simplicity; they add character and warmth, while also allowing you to adapt your space to your evolving tastes. In this guide, you’ll discover inspiring ideas and practical step-by-step methods to create stunning wall murals that are not only easy to apply but also just as effortless to remove when the time comes to relocate. So roll up your sleeves and let your imagination run wild as you transform your temporary space into your very own canvas!
Choosing Your Design: Inspiration Awaits
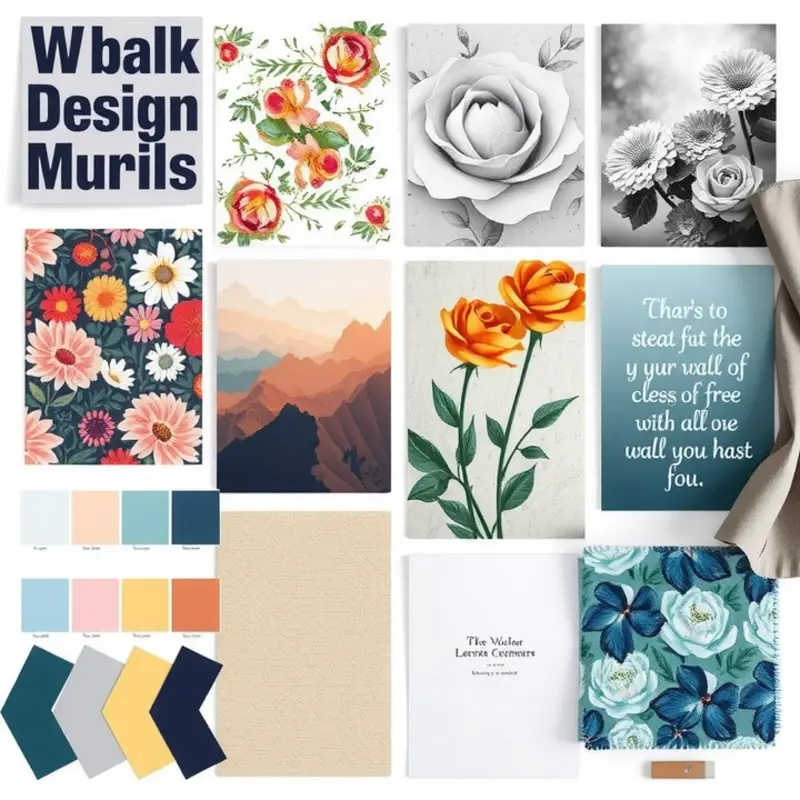
Before transforming your rental’s walls, consider what resonates with your personal style. A well-chosen design can convert a drab space into a vibrant, personalized haven. Begin your mural journey by imagining the atmosphere you want to create in your living space. Is it a calm retreat, a bold statement, or something unique in between?
Consider themes that match your taste. Do you gravitate towards abstract patterns, serene landscapes, or perhaps urban skylines? Each evokes different emotions and contributes to the overall vibe. For a calming space, think soft hues and gentle forms. If you seek vibrancy, patterns with bright, dynamic colors could be ideal.
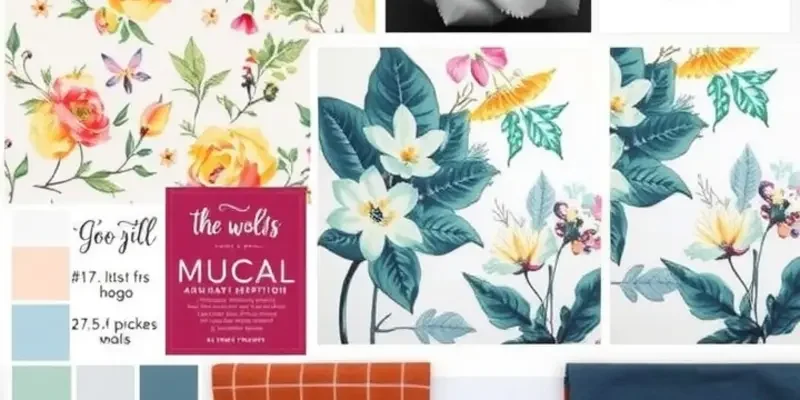
Colors play a crucial role in setting the tone. Neutral tones create an airy, spacious feel, while darker hues can add coziness and intimacy. Think about the existing decor—walls in similar tones will blend easily. On the other hand, a contrasting color can make the mural the focal point. Try creating a mood board with fabric swatches and paint chips to see how potential designs interact with your current furnishings.
Size is the next consideration. A small, detailed mural might suit a hallway or nook, adding intrigue without overwhelming. Larger spaces can handle expansive designs, making them perfect for living rooms or large blank walls. Remember that the mural should be appropriate for the wall’s dimensions, balancing the space without feeling cramped.
Seek inspiration beyond the confines of Pinterest and Instagram. Visit local art galleries, browse books, or explore your surroundings. Often, an unexpected discovery can inspire your next mural. For further creativity, consider the textures of your existing decor. A mural with visual depth can complement elements like plush rugs or sleek furniture.
In many cases, the rental context should inspire constraint as well as creativity. Avoid themes that might clash with permanent features, like flooring or fixtures, ensuring your space remains harmonious. Keep in mind that removable wallpaper allows flexibility; if tastes change, so can the art.
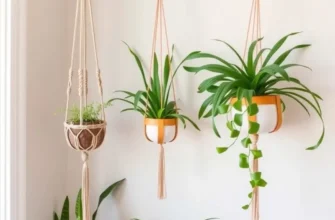
For additional ideas on maximizing harmony in small spaces, the use of baskets for organization offers complementary solutions to declutter visually. With careful curation, your design choice can reflect your personality, enhancing the ambiance of your rental oasis. Choose wisely, and your walls will not only define your space, but they will also narrate your story.
Easy Application Techniques for Stunning Results
When it comes to applying a DIY removable wall mural, preparation is key. Having the right materials on hand ensures a smooth installation process. Here’s a list of what you’ll need:
- Removable adhesive mural: Choose a design that makes your heart sing.
- Measuring tape: To ensure your mural fits the desired space.
- Level: For achieving that perfect alignment.
- Pencil: For light wall markings.
- Squeegee or sponge: Essential for smoothing out the mural.
- Needle or pin: To tackle any bubbles that may appear.
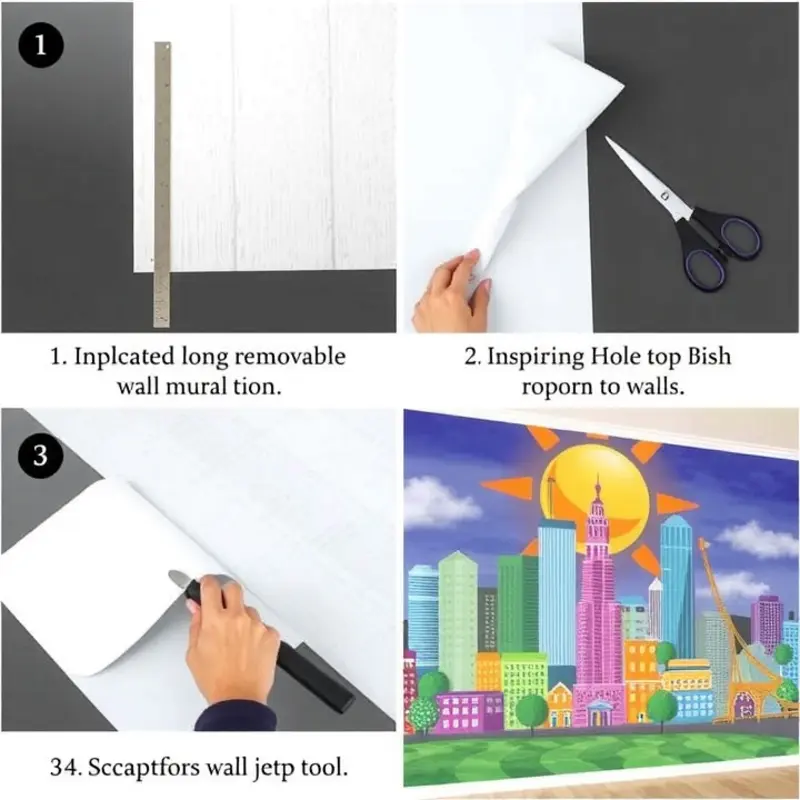
Now, let’s dive into the application process:
-
Measure and Mark: Start by measuring your wall space and marking the boundaries of the mural’s placement lightly with a pencil. This ensures your design will fit as planned.
-
Align and Attach: Begin at the top corner of your wall, aligning the mural with your pencil markings. Remove a small section of the adhesive backing and press the mural gently onto the wall. Use the level to maintain straight edges as you go down.
-
Smooth It Out: Using a squeegee or a damp sponge, smooth out the mural from the center towards the edges. This helps prevent wrinkles and creases from forming. Take your time with this step, as it is crucial for a professional finish.
-
Adjust If Necessary: If you notice any misalignment, gently peel the mural back and reapply. Most removable murals allow for repositioning without losing adhesion.
-
Bubble Busting: To address any bubbles, use a needle or a pin to poke a tiny hole in the bubble and then gently press the air out with your squeegee.
-
Finalize Edges: Carefully go over the edges of your mural with the squeegee to ensure they are securely adhered. If needed, use a level again to double-check that everything remains straight and aligned.
While applying the mural, focusing on alignment will prevent issues with distortion or stretching. Remember: patience is your best tool for achieving a stunning result.
Technical challenges such as bubbles or slight misalignment can occur, but they are easily manageable with the right approach. If you need additional ideas for enhancing your rental space, consider looking into apartment organization baskets for keeping your environment tidy while complementing your new mural. With these techniques, you can enjoy a bespoke feature in your home without the permanence, allowing flexibility and creativity to flourish even in rented spaces.
Final words
Creating a personalized oasis in your rental doesn’t have to be a complicated affair. With DIY removable wall murals, you can inject color, character, and creativity into your living space without the risk of losing your security deposit. Remember, the key is to express your unique style while maintaining the flexibility to change things up whenever you like. Use the design selections and application techniques outlined above to get started on your transformation journey. Let your walls inspire you, and give your home the makeover it deserves—your creative sanctuary is just a mural away!