
If you’re a creative renter eager to infuse personality into your living space, a DIY bookcase could be the perfect project for you. Bookcases not only serve practical purposes by providing storage and display options, but they can also be a canvas for your creativity. Whether you’re a student in a cramped apartment, a young professional working from home, or a family in a rental house, personalizing your environment with a bookcase can make it feel more like home.
This DIY project is renter-friendly, meaning it won’t leave lasting damage or require significant modifications to your space. Best of all, it’s budget-friendly! You can easily create a stylish and functional bookcase using materials that suit your style and the rest of your home décor. Let’s dive into some inspiring ideas and step-by-step guidance to help you create the perfect bookcase for your rental.
Building the Foundation: Materials and Tools You’ll Need

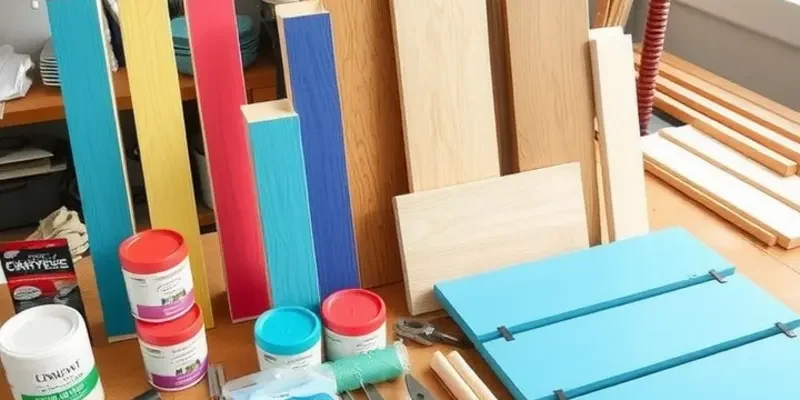
Before you can start crafting your dream bookcase, it’s vital to gather the right materials and tools. Choosing easy-to-handle materials that are renter-friendly is key. Here, we’ll explore frame selections, shelf options, and the tools to make your project a success.
Frames That Suit Your Style:
Opt for lightweight yet sturdy frames to ensure ease of assembly and avoid unnecessary strain on your walls. Medium Density Fiberboard (MDF) is an affordable and smooth option often recommended for beginners. It’s simple to paint and finish in any color that matches your decor. If you prefer a more natural look, consider plywood. While slightly more expensive, it offers a rustic charm that’s hard to match with synthetic materials. Both choices are excellent for creating frames that can be relocated if needed.
Shelf Options for Versatility:
Selecting suitable shelf materials is crucial for a durable bookcase. Particleboard offers a budget-friendly solution, yet it may not withstand heavy items. For a more enduring choice, consider solid wood planks. Although pricier, wood provides superior durability and can carry heavier books and decorative items. Adjustable shelving systems are beneficial if you anticipate needing to reconfigure shelves. They provide flexibility and ease of adaptation without extra drilling or complex assembly.
Decorative Elements for a Personal Touch:
To add character and style to your bookcase, consider incorporating decorative elements. Peel-and-stick wallpaper can create a patterned backdrop or pop of color without damage. Decorative moldings can be adhered to the front edges of shelves for an elegant touch, offering a high-end look without the cost.
Essential Tools for Assembly:
Having the right tools can make the difference between frustration and a seamless DIY adventure. A cordless drill is essential for drilling holes and securing screws efficiently. A tape measure ensures precision, while a spirit level ensures your bookcase stands straight and tall. If you’re concerned about safety or potential wall damage, visit our safe furniture anchoring guide for tips on anchoring your pieces securely.
Quick Tips for a Seamless DIY Experience:
Before starting, ensure you have ample space to work. Lay out all pieces and tools for easy access. Mark placement spots carefully, and don’t skip the prep work. Sand any rough edges, especially when using materials like plywood. Use adhesive felt pads on the bottom of the bookcase to protect your floors, and consider command strips or adhesive hooks that can bear the bookcase weight for wall attachments. Be gentle with power tools to avoid damaging rental walls.
With the right materials and tools, crafting your bookcase becomes an exciting and manageable task. By thoughtfully selecting everything from the frame to edgings, you can create a personalized piece that enhances your living space without compromising your security deposit.
Designing and Assembling Your DIY Bookcase
Creating a DIY bookcase that complements your space starts with selecting a design that aligns with your style and needs. Before diving into any construction, consider whether you’d prefer a modular stackable unit, an elegant wall-mounted design, or a classic freestanding bookcase. Each option presents unique advantages and allows personal customization.
To begin, measure the area where your bookcase will reside, using a tape measure to ensure accuracy regarding height, width, and depth. This step helps in identifying the dimensions of your future bookcase and avoiding any spatial issues. Carefully note these measurements, as they’ll guide every cut and assembly decision.
Next, sketch your design. Whether you’re embracing a minimalist modular approach or a bold freestanding piece, having a visual guide helps in organizing your thoughts and material requirements. For those opting for a wall-mounted bookcase, pinpoint the wall studs using a stud finder to guarantee stability, anchoring your bookcase securely. Remember, safety is crucial for any DIY furniture, so also check out safe furniture anchoring strategies.
Gather your materials. Depending on your chosen design, pick durable wood or MDF for the shelves. Modular designs can often utilize lightweight materials, whereas freestanding units might demand sturdier timber. Purchase brackets, screws, and nails suited to the material’s thickness for a seamless assembly. If cutting is necessary, a circular saw or a handsaw with a miter box can offer clean, precise cuts.
Assembling the pieces begins with laying out your cut shelves and sanding their edges for a smooth finish. Assemble the frame first; for a freestanding bookcase, start from the base and work your way up. For wall-mounted designs, install the anchoring brackets firmly into the identified wall studs. Use a level tool to ensure each shelf sits evenly and flat.
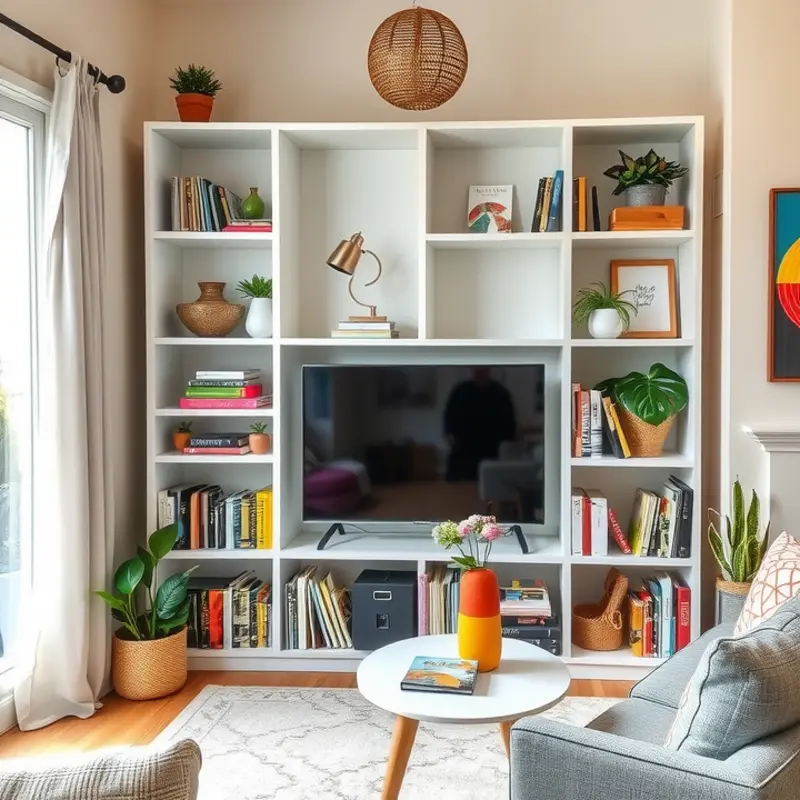
Once your bookcase is structurally sound, the real fun begins: personalizing it. Painting provides an immediate uplift. Choose a color that complements your decor—matte finishes lend a modern look, while glossy paints can offer vintage flair. Alternatively, try stenciling intricate patterns for a bespoke touch.
Decorate the back panel with wallpaper or fabric to add a pop of personality behind your books and ornaments. Floral or geometric patterns can transform a utilitarian bookcase into an artful focal point. Incorporate small decorative items like plants on the shelves. A touch of greenery not only enhances aesthetic appeal but also breathes life and freshness into your space.
By following these steps, you’ll craft a bookcase that meets your practical needs while embodying your style. Your personalized bookcase will not just store your literary treasures but also stand as a testament to your creativity and resourcefulness.
Final words
Once your DIY bookcase project is complete, step back and admire your handiwork. Not only does this bookcase serve as a functional piece in your home, but it also reflects your unique style and creativity. It can be a conversation starter, a form of self-expression, and a source of pride knowing you crafted it with your own hands. Remember, personalizing your rental space is not just about aesthetics but creating an environment where you feel at home. So gather your materials, unleash your creativity, and get building today!


