
Living in a rental is all about making it feel like home without risking your deposit. For creative renters, young professionals, students, and families, a DIY key holder project not only serves a practical purpose but also adds a personal touch to your space. The right key holder can elevate an entryway, reduce clutter, and become a charming decorative accent. Whether you’re looking for a minimalist design or a colorful statement piece, this guide will provide you with the inspiration and step-by-step instructions needed to craft a unique and renter-friendly key holder. You don’t need a toolbox full of tools or an art degree—just a bit of creativity, personal style, and household items to get started. Let’s dive into the fun world of DIY to make your rental feel distinctly yours!
Crafting Your Minimalist Wood Key Holder
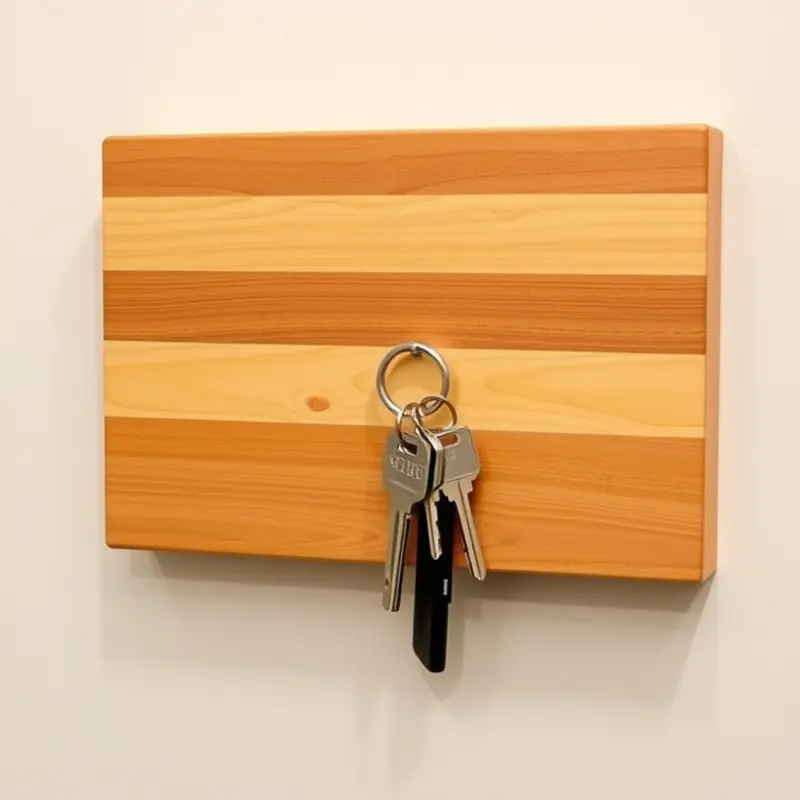
For those who admire the elegance of simplicity, a minimalist wood key holder can blend seamlessly with any decor. Start by choosing the right wood. Consider lighter woods like maple or birch for a clean, crisp look, or go for darker woods like walnut for a more dramatic effect. Each type of wood offers distinct grain patterns, adding natural beauty to your piece.
Once you’ve selected the wood, it’s time to design your holder. Aim for a size that accommodates your lifestyle. A small, slender design might suffice if you only have a few keys. If your family has multiple sets, consider a wider piece. Think about allocating space for other essentials, such as wallets or sunglasses.
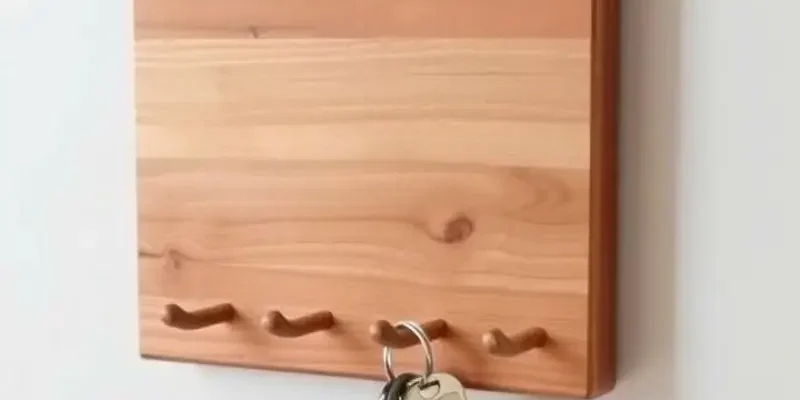
Sketch your design on paper first. This helps in visualizing your final product and serves as a guide during crafting. For a truly minimalist look, stick to straight lines and simple shapes. A rectangular base with evenly spaced pegs or hooks is a classic choice. Alternatively, a triangular design can add an unexpected twist while maintaining a clean appearance.
After finalizing the design, cut the wood to size using a saw. Ensure you use proper safety equipment during this step. Sand the surface until it’s smooth to the touch, rounding off any sharp edges. A fine-grit sandpaper will provide the best results without damaging the wood.
Now, you can personalize your wood key holder. Paint it in a solid color to match your walls or add a subtle stain to enhance the wood’s natural grain. If you opt for finishes, choose one that will protect and bring out the wood’s natural beauty. A satin or matte finish can keep with the minimalist aesthetic.
Create key hooks by screwing in small hooks or pegs at regular intervals. For a seamless and modern look, consider using dowel pegs embedded in the wood. If your rental allows, you can mount your key holder using wall anchors or adhesive strips for a non-invasive approach.
For renters, ensuring the project doesn’t damage the walls is crucial. Check out our renter-safe molding guide for more tips on how to install decor elements without leaving marks.
In crafting a minimalist wood key holder, every step is an opportunity to express your personal style. By carefully choosing wood, designing with intention, and finishing thoughtfully, you’ll end up with a functional, beautiful piece that makes coming home just that bit more special.
Adding Personality with Upcycled Materials
Upcycling everyday objects into a key holder offers a delightful canvas for expressing your personal style. Regardless of your creative comfort level, using materials like old picture frames, bottle caps, or fabric remnants can breathe new life into your decor.
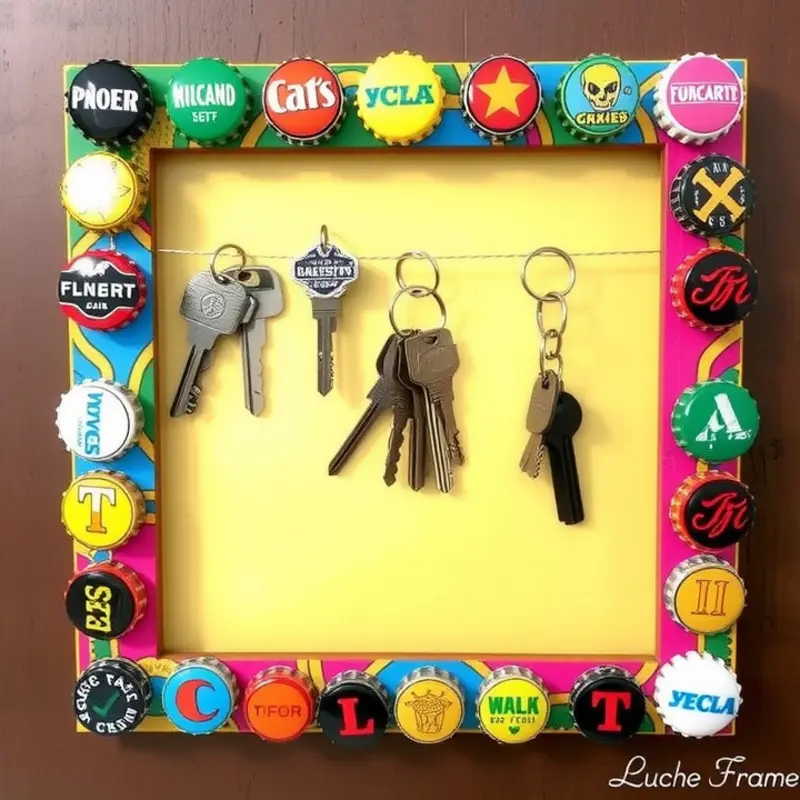
Start with an old picture frame. Its structure provides a ready-made base that can easily be transformed into a key holder. Remove the glass and backing, leaving just the frame. To add hooks for your keys, a piece of driftwood or a slim board can be secured across the frame’s width. Paint or stain this wood to match your personal aesthetic, and attach hooks or small knobs along it. These can be purchased or upcycled too—consider using drawer knobs or cabinet handles from old furniture.
For the adventurous, bottle caps can be an exciting material to use. Arranging them within a frame or directly onto a board can create an eclectic, vibrant design. Glue them in a row or scatter them for a mosaic effect. Using caps from special occasions or travels can imbue the key holder with stories unique to you.
Fabric remnants are another fantastic resource. They bring color and texture to your key holder. Stretch a fabric piece across a wooden frame or a sturdy cardboard back. Secure with a staple gun or strong adhesive. You can use fabric exclusively or combine it with other materials, like painting over part of the fabric surface or adding stenciled designs.
Let your creativity lead. Perhaps you have leftover wallpaper or decorative paper from another project. Cover a plain piece of wood with this paper using decoupage techniques. Seal the surface with a clear acrylic spray for protection and longevity.
Using upcycled materials not only adds a personal touch but also aligns with sustainable home decor practices. You contribute to reducing waste and create a conversation piece that guests will admire. Always be mindful of matching your DIY projects with the existing decor in your rental, ensuring cohesion.
Before you embark on hanging your new creation, familiarize yourself with renter-friendly mounting solutions. Options such as adhesive strips or hooks can ensure you add charm without leaving unwanted damage. For more versatile and rental-safe decor ideas, you might find inspiration in this guide to DIY renter-safe molding.
Remember, your home should be a reflection of you. By utilizing upcycled materials, you create functional art that captures your story. At the same time, you adopt a mindful approach, finding joy in breathing new life into materials otherwise discarded.
Final words
Creating a DIY key holder is not just about keeping your keys organized—it’s about expressing your style and making your rental feel like home. Whether you opt for the minimalist approach or dive into a vibrant upcycle project, the satisfaction derived from a personalized piece will enhance your space. Celebrate your creativity, and take pride in your new DIY creation. Whatever your choice, remember that your rental reflects who you are. Embrace the potential of your shared living space and let it wear your personal touch.


