
Renting doesn’t mean compromising on style or organization; it simply calls for creativity! For young professionals, students, families, and anyone looking to personalize their rental space, DIY garment racks are the perfect solution. They offer a blend of practicality and flair that can make your living area feel uniquely you. Whether you prefer a minimalist look, an industrial vibe, or something fresh and colorful, crafting your own garment rack is a rewarding DIY project that’s easily portable and renter-friendly. Plus, you can do it without putting holes in your walls or losing your security deposit. Join in the fun and discover simple steps and inspiring ideas to create your stylish garment rack that not only enhances your space but also reflects your personality and creativity!
Crafting Your Minimalist Garment Rack
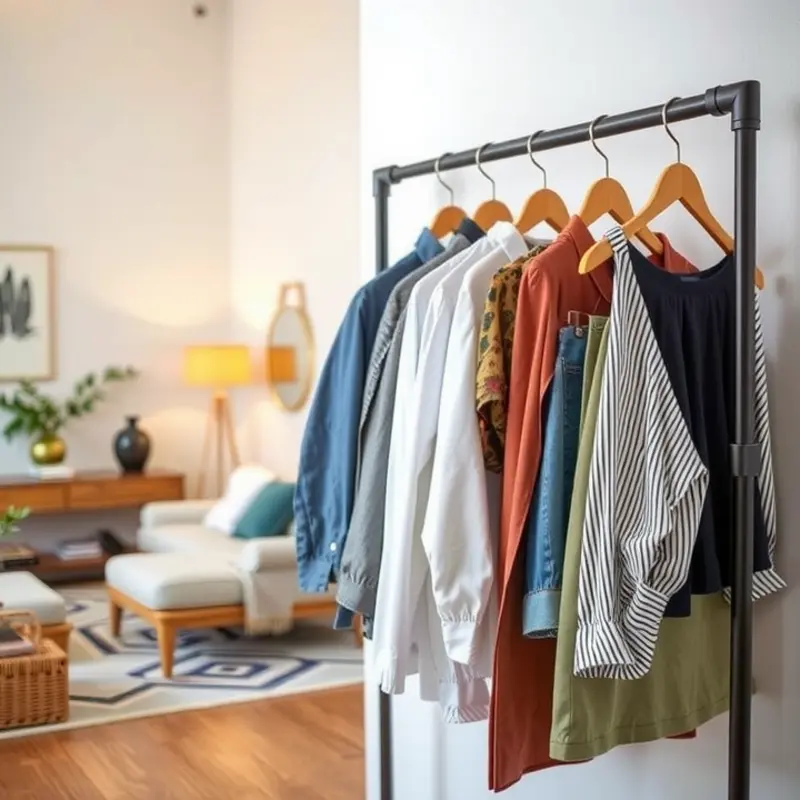
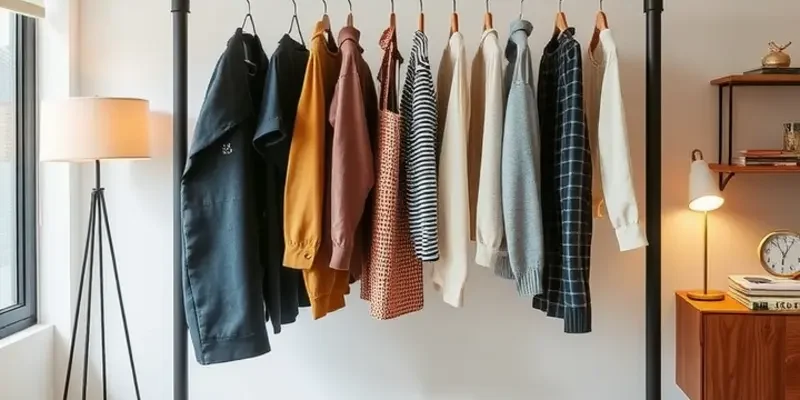
Building a minimalist garment rack is a straightforward, rewarding endeavor that instantly enhances your living space. By using simple materials like pipes and wood, you can create a piece that is both practical and stylish without causing any damage to your rental property. Here’s how to construct your own elegant garment rack.
First, gather your materials. You’ll need pipes for the frame, flanges to secure the structure, and a wooden board for the base. Opt for a metallic finish on the pipes to give the rack a sleek, industrial look that pairs well with various decor styles. Keep the wooden base in a natural tone or paint it to match your aesthetics.
Start by determining the desired height of your garment rack. Most racks are somewhere between five and six feet tall, providing ample room for both long garments and shorter items. Purchase pipes of the appropriate length, along with matching elbows and T-joints. Remember, the aim is simplicity, so avoid overly complex structures. A basic A-frame or rectangular shape will suffice.
Next, create the base. Drill holes into the wooden board where you’ll attach the flanges. Position the flanges evenly; this will offer stability to the entire structure. Secure the base by screwing the flanges tightly into the board. This step ensures the garment rack stands robust and doesn’t wobble.
Now, assemble the frame. Connect the pipes using T-joints and elbows as per your design. For flexibility, consider adding caster wheels to the wooden base. This feature will make your garment rack easy to move, a convenient option for rearranging or cleaning your room without scratching floors.
Once assembled, ensure the pipes are tightly locked and the structure is sturdy. Consider using protective pads beneath the flanges if you opt out of wheels; this will protect your floors from scratches and marks, a crucial step for renters.
To maintain a minimalist appeal, refrain from adding too many embellishments. Instead, showcase your garments and a few select accessories. This keeps the focus on the elegant structure and the chic, curated selection of clothing.
For more DIY tips that won’t compromise your rental security deposit, check out these renter-safe coat stand ideas. Building and customizing your furniture is a satisfying way to infuse your personal style into your space, ensuring it feels like home while maintaining functionality.
Embrace your creativity and see how a simple project like this can transform an ordinary corner into a stylish focal point. The balance of aesthetics and utility in a minimalist garment rack promises not only to house your wardrobe elegantly but to elevate the decor of your rental home.
Transforming Space with a Colorful DIY Rack
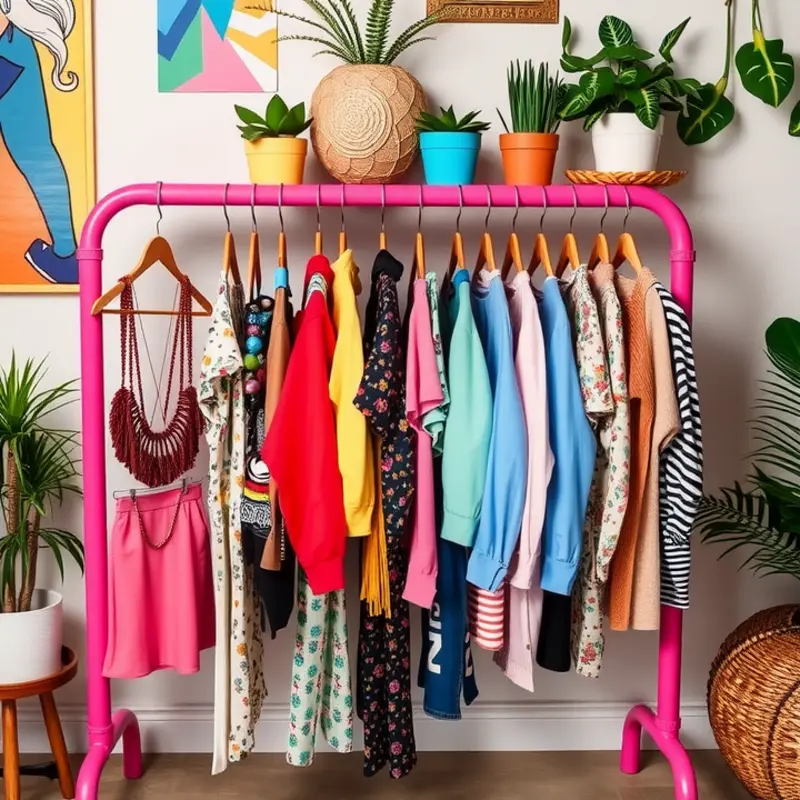
Brighten up your rental and showcase your personal style with a colorful garment rack that combines functionality and aesthetics. Here’s how you can craft a unique piece that not only organizes but also transforms your living space.
Begin by selecting a sturdy base for your rack, such as a repurposed wooden ladder or a vintage metal frame. This acts as your blank canvas, ripe for a vivid makeover. Ensure your base is clean and free from any dirt or debris, which could interfere with the adhesion of paint.
Once your base is ready, dive into the seams of creativity with paint. Choose vibrant colors that reflect your personality, or align them with the existing color scheme of your room. Apply a primer if necessary, then layer your chosen hues using a combination of brushes and sponges to create dynamic textures. You might consider the popular dip-dye technique for an ombre effect, or alternatively, stencils for bold patterns. Let your painted masterpiece dry completely, which usually takes a few hours in a well-ventilated area.
For added flair and uniqueness, incorporate fabric elements. Scour local thrift stores or boutiques for eye-catching textiles. Cut the fabric into strips or panels that can be woven or draped over the frame. You might crisscross strips of a striking patterned fabric around the planks of a wooden ladder or drape a sheer fabric elegantly across a metal frame, fastening it with fabric glue or decorative tacks.
Don’t hesitate to embellish further with accessories. String fairy lights around the rack for a whimsical touch, or hang decorative hooks to provide space for additional items like hats or scarves. You can strategically place mirrors or small shelves to inject functionality, perfect for displaying smaller accessories. Adding these touches not only increases the rack’s capacity but also makes it an engaging focal point in the room.
Before placing hefty items on your newly-created rack, ensure it is stable. Tighten any screws or bolts and double-check that your decorative elements are securely attached. This ensures your rack will safely hold your clothing and accessories.
Lastly, consider its placement to maximize impact and utility. Positioning the rack near a window or a source of natural light will highlight your design efforts, while placing it by an entryway can provide a convenient spot for grabbing essentials when you’re on the go. Couple this DIY project with your green ambitions; install a small apartment-friendly herbal garden nearby to weave a tapestry of color and life (learn how).
Crafting your colorful garment rack, with a blend of paint, fabric, and inspired thought, lets you redefine your rental space with colors and textures that resonate. It’s a creative venture where functionality dances with artistry, ensuring your space is as chic as it is practical.
Final words
Creating a DIY garment rack tailored to your style and space can elevate your rental home significantly. The beauty of these projects lies in their simplicity, affordability, and adaptability to your taste. Whether you opt for a minimalist design or a radiant, colorful statement piece, the fun doesn’t stop with just organizing your garments; it extends to personalizing your environment. Embrace these DIY ideas and get inspired to craft a space that feels entirely your own, all while being kind to your rental agreement. Your creativity knows no bounds, so start planning your garment rack today!


