
Finding ways to add personality to your rental space can sometimes feel challenging, especially for those living under strict lease agreements. Renter-friendly decor usually means playing it safe, but why not get a little creative with your drawer space? With DIY renter-safe drawer liners, you can bring a splash of color and style to your hidden storage areas while keeping your security deposit intact. Personalizing your drawers is an easy and budget-friendly project that can add character to your kitchen, bathroom, or office. By using simple materials and a bit of creativity, you can go from bland to beautiful in a matter of hours. Whether you’re a young professional looking to brighten up your work-from-home setup, a student making the most of a shared rental, or a family wanting to keep things organized with a fun twist, these clever hacks are tailored just for you. Let’s dive into stunning ideas and step-by-step guides that will have you designing your very own attractive drawer liners in no time!
Choosing Your Materials: Style Meets Function
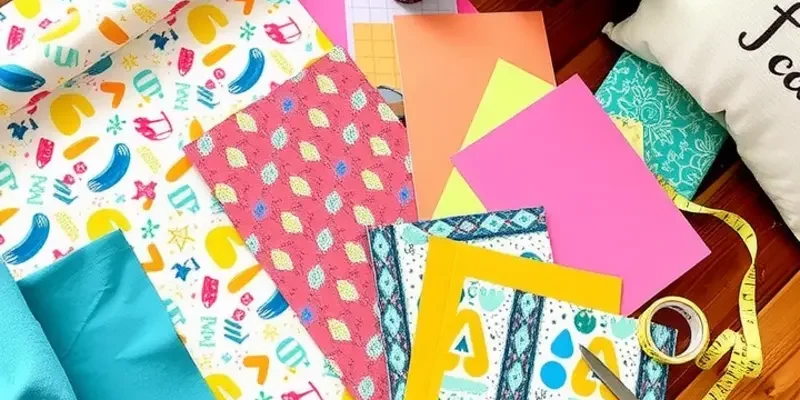
Selecting the right materials can transform your rental into a personalized haven. When considering drawer liners, it’s essential to balance aesthetics with practicality, ensuring they are easy to apply and remove without leaving any marks.
Paper Liners are a versatile option that allows for a variety of patterns and colors. You can choose from craft paper, wallpaper remnants, or even gift wrap. These papers can be cut to fit any drawer size and are often budget-friendly. To adhere them safely without damaging the drawer, consider using double-sided tape or removable adhesive strips. To add functionality, you might want to add a transparent contact paper layer for durability and moisture resistance.
Feeling crafty? Fabric liners can add a touch of luxury to your drawers. Choose fabrics such as cotton or polyester blends that are durable yet soft. To avoid fraying edges, it’s a good idea to hem the fabric or use pinking shears. When applying fabric liners, attach them with Velcro strips or spray-on adhesive designed for temporary bonds. This way, removal is simple and won’t leave residues.
For those who appreciate a bit more cushioning, foam liners might be the way to go. Typically found in craft stores, craft foam sheets or perforated foam can effectively protect your items and provide a softer barrier than paper or fabric. They’re especially useful in kitchen drawers or bathroom vanities where heat and humidity can be an issue. Make sure to cut them to size and secure with a few dots of removable adhesive to keep them in place.
Vinyl liners are another excellent choice for those looking for durability combined with style. Available in various designs, from chic patterns to wood-like textures, vinyl is moisture-resistant and easy to wipe clean. This makes it ideal for high-use drawers, such as those in kitchens and bathrooms. These liners often come with self-adhesive backing, which can leave a residue. To ensure they remain renter-safe, apply them using double-sided tape instead.
Finally, if you prefer an eco-friendly option, consider cork liners. Cork adds a natural and earthy feel while offering elegance and protection. Its non-slip surface can keep items securely in place. Cork can also be customized by cutting into various shapes. Just ensure that you remove them with care and avoid adhesives that may damage the drawer surfaces.
No matter the material you choose, the key is to balance aesthetic appeal with practicality, ensuring your drawers remain as pristine as the day you moved in. For more tips on making your rental feel like home, check out this guide on DIY apartment-friendly towel racks. It’s another renter-safe project that can elevate your space effortlessly.
Step-by-Step Guide to Crafting Your Custom Drawer Liners

Transforming your rental space with personalized drawer liners is not only easy but also allows you to showcase your unique style without making permanent changes. Follow these steps to create your own custom drawer liners that enhance your space effortlessly.
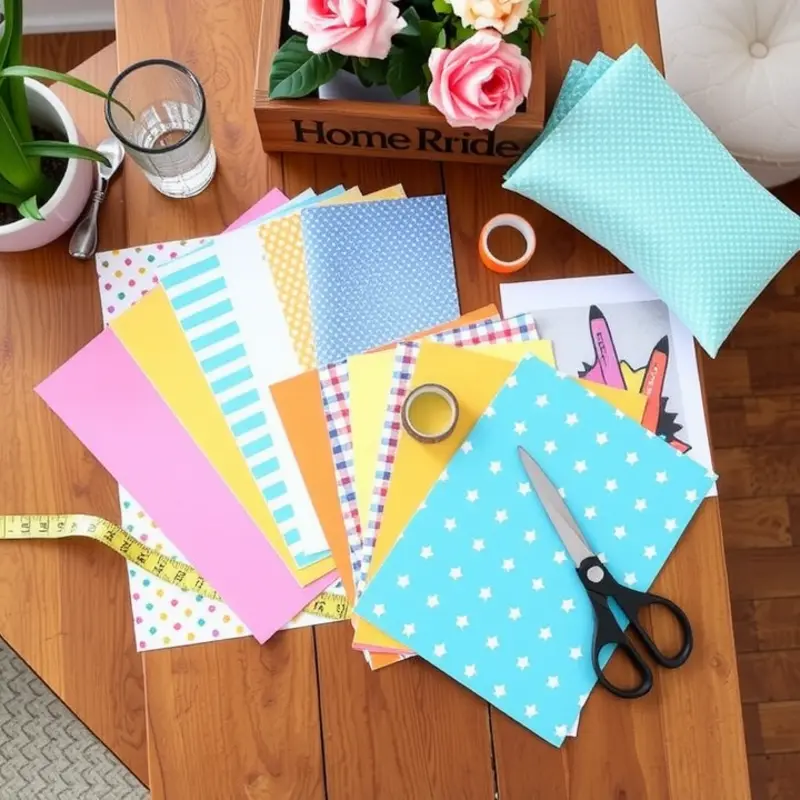
Materials Needed:
- Adhesive paper or fabric: Make sure it’s removable and leaves no residue.
- Measuring tape: Ensure precision when cutting your liners.
- Scissors or craft knife: For cutting the material to size.
- Ruler or straight edge: Achieve straight cuts easily.
- Pencil or chalk: Mark your measurements before cutting.
Step 1: Choosing Your Material
Begin by selecting a material that resonates with your style—whether it’s a bold pattern, a calming color, or a textured finish. Consider the room’s existing aesthetic when choosing your liner. Adhesive paper is versatile and available in many designs, while fabric offers a soft touch. Opt for materials that are easily removable to maintain the integrity of your drawers and avoid any lease violations.
Step 2: Measure the Interior
To ensure a snug fit, carefully measure the interior of each drawer. Use a measuring tape to get the length and width, accounting for any irregularities or unique features. If your drawers are not uniform, measure each one separately to provide a custom fit.
Step 3: Cut to Fit
Once you have your measurements, use scissors or a craft knife to cut the liner material to size. It’s helpful to slightly undercut your dimensions to prevent any extra material from curling up once installed. Use a ruler or straight edge to guide your cuts, ensuring they are clean and straight.
Step 4: Test and Adjust
Place the liner material inside the drawer to confirm the fit. Align it from edge to edge and make any necessary adjustments. Better to trim small increments than to cut too much. This step ensures that your effort in measurement translates into an impeccable fit.
Step 5: Apply the Liner
If using adhesive paper, carefully peel off the backing and begin applying the liner from one end, smoothing it down as you go. Use a straight edge or a credit card to flatten it out and eliminate any air bubbles. For fabric, lay it flat and use a few strips of double-sided tape to secure it in place.
To match your unique storage ideas, consider checking out these DIY renter-safe utensil storage solutions, which can complement your new liners.
Step 6: Enjoy Your New Look
Once all liners are in place, arrange your belongings back into the drawers. You’ll notice an immediate aesthetic boost every time you open them. The best part? You can change these liners whenever you feel like refreshing your space again, with no commitment or damage.
With this guide, crafting and installing your own renter-safe drawer liners becomes a delightfully simple process. Embrace this opportunity to express your style without permanent alterations, creating a harmonious and personalized living environment.
Final words
Personalizing your rental home doesn’t have to involve extensive renovations or spending a fortune. With DIY renter-safe drawer liners, you can easily enhance your storage space with a dash of creativity and vibrant style. By selecting the right materials and following simple steps, you can turn ordinary drawers into reflections of your personality. Not only will this project uplift your area, but also provide organization that speaks to your lifestyle, whether you’re a busy professional, a student, or managing a family. So grab your supplies, let your creativity flow, and start lining your drawers today for a fresh and inviting home environment!


