Renting should never mean compromising on style or comfort. It’s an opportunity to express creativity and make a house feel like home, even for temporary residents. With the right DIY furniture protectors, you can not only safeguard your belongings but also showcase your unique style. Whether you’re a creative renter, a busy young professional, a diligent student, or a family on the move, there are countless ways to protect your furniture while enhancing your living space. From chic fabric covers to fun decals, this guide offers practical ideas that are easy to implement and affordable. Dive in to discover how simple DIY projects can seamlessly blend protection and personality in your rental home!
Chic & Cozy: Customized Slipcovers for Your Sofas
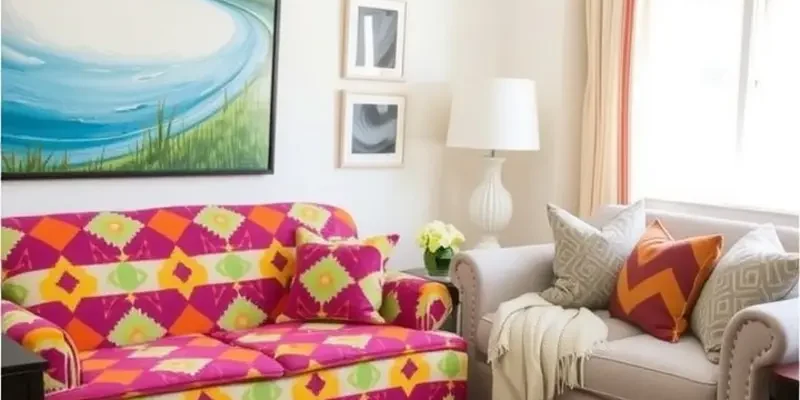
Crafting customized slipcovers is an exciting way to protect and personalize your rental space. As a renter, safeguarding your furniture from everyday wear and tear is vital, yet you also desire your home to reflect your personality. Slipcovers are an elegant solution that allows you to enjoy style without commitment or damage to rental property.
Materials and Basics
Choosing the right fabric is crucial for making slipcovers. Consider fabrics that are durable, washable, and aesthetically pleasing. Cotton and linen are popular choices due to their versatility and comfort. For a more luxurious touch, velvet or microsuede can add an opulent feel without being too heavy.
Ensure you have a measuring tape, fabric scissors, pins, and a sewing machine or needle and thread if you prefer hand-stitching. Measuring your sofa accurately is the next step. Capture the length, width, and depth for each segment, including the arms and back, to ensure the slipcover fits snugly.
Patterns and Sewing Tips
To create a pattern, use the measurements to cut pieces of fabric that will fit over each section. Consider adding a seam allowance of about an inch to each measurement to allow for sewing. If you’re new to sewing, using large paper or old sheets for a test pattern is beneficial. This way, adjustments are easier before cutting into your chosen fabric.
When sewing, start by stitching together the larger panels, such as the seat and back, then work your way to the more complex areas, like the arms. Pin pieces together to check fit and make adjustments as necessary. This approach avoids mistakes that may only become evident after sewing.
Adding Personal Flair
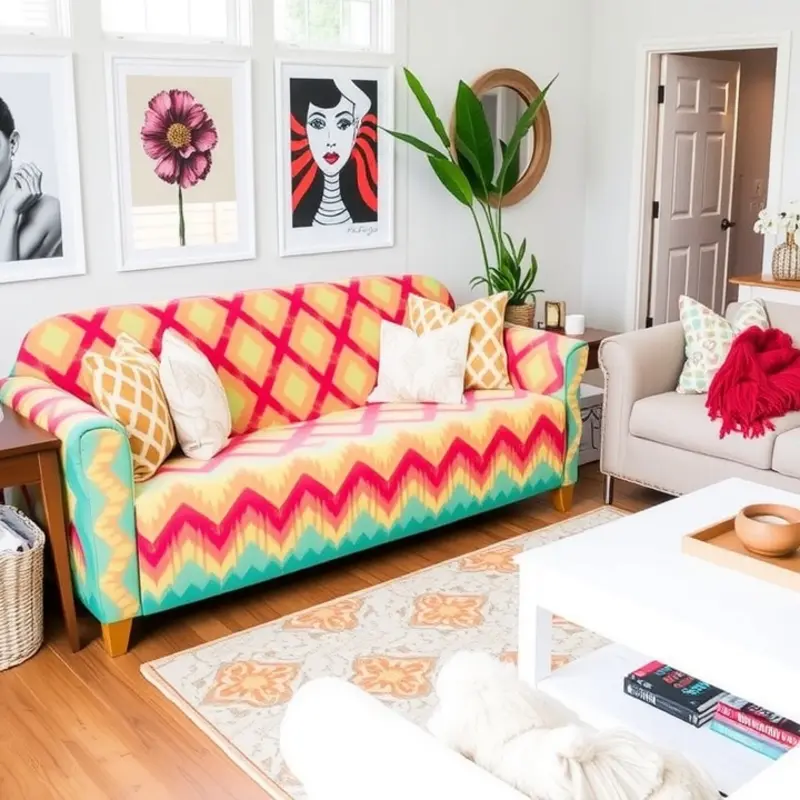
Slipcovers are a canvas for expression. Customize them with appliques, fabric paint, or embroidery. For a more minimalist approach, consider using contrasting piping or tassels for a subtle yet stylish finish. Such elements can harmonize with your overall decor theme, from modern minimalist to bohemian chic.
If your interest lies more in simplicity, elegant neutrals or earth tones can be relaxing and easy to coordinate with existing decor. However, for a bolder statement, geometric patterns or vibrant colors can energize a room, tying together different elements harmoniously.
Maintenance and Versatility
One significant advantage of slipcovers is their removable nature, making them a breeze to clean. Ensure the selected fabric is machine washable to simplify upkeep. Placement of zippers or Velcro closures can also enhance practicality, allowing easier removal.
Slipcovers aren’t confined to sofas alone. Their versatility extends to armchairs, dining chairs, and even cushions, maintaining a cohesive design throughout your living space. For more ideas on organizing and styling your apartment, explore various approaches to using baskets to harmonize and elevate your decor effortlessly.
This journey of creating slipcovers not only shields your furnishings but also revitalizes your space with minimal expense. With attention to detail and creativity, your furniture becomes a reflection of you, as unique and dynamic as your lifestyle.
Protect & Personalize: DIY Furniture Decals
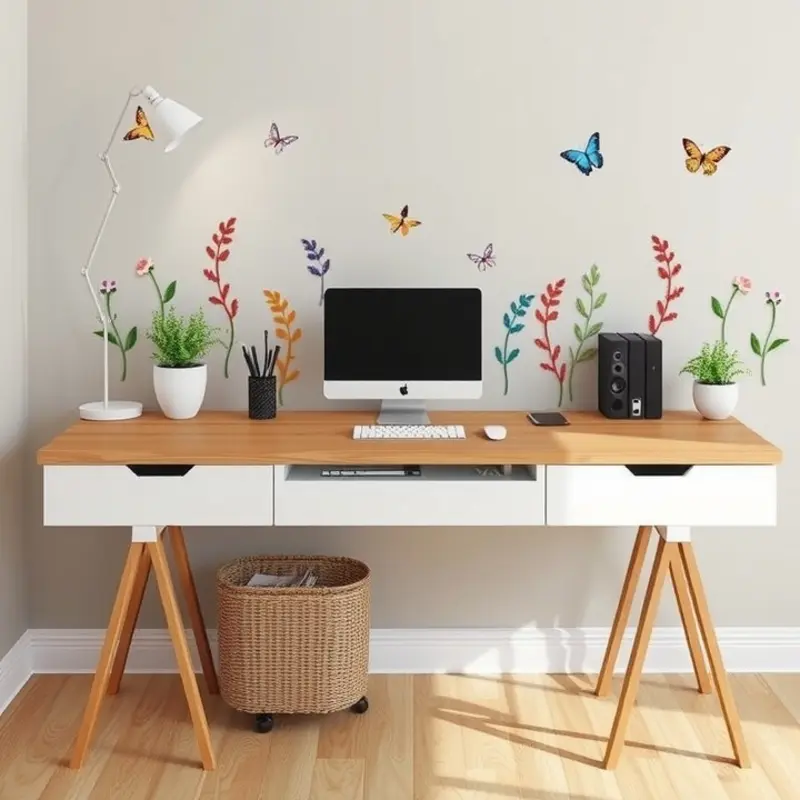
Furniture decals are a cost-effective way to rejuvenate your rental space without permanent alterations. These removable decorations not only offer a splash of your personality but also provide a buffer against daily wear and tear. Let’s delve into how you can create and apply these creative shields to help protect your investment.
Designing Your Decals
Start by selecting the theme you’d like your furniture to reflect. Whether you desire a minimalist aesthetic or an eclectic burst of color, the options are numerous and customizable. Consider nature-inspired designs or geometric patterns, which are versatile and timeless.
Once you’ve chosen a design, sketch it out. If you’re less confident in your artistry, look for online templates or custom generators that can help bring your vision to life. Aim for a design that complements the existing decor while standing out as a feature in its own right.
Materials Needed
To create your decals, gather the necessary materials: contact paper or removable vinyl, a cutting mat, a utility knife or scissors, a ruler, and a squeegee or credit card. For more intricate designs, a precision knife will give you the upper hand. All these materials ensure clean lines and help apply your decals smoothly without air bubbles.
Preparing Your Workspace
Before application, clean the furniture surface meticulously. Dust and grime can interfere with the adhesive and longevity of the decals. Wipe the surfaces with a gentle cleaner, ensuring it’s completely dry before proceeding. This step is crucial for achieving the best results and ease of removal later on.
Cutting and Applying Decals
Measure the area you want to cover, transferring these dimensions onto your contact paper or vinyl. Carefully cut out your design using controlled movements to ensure smooth edges. If your design is intricate, work slowly and patiently to maintain accuracy and prevent mishaps.
To apply, peel a small section of the backing paper, aligning your decal on one edge of the furniture. Using a squeegee or an old credit card, press the decal down firmly, smoothing it out as you go to eliminate bubbles or wrinkles. Work slowly, peeling away the backing paper bit by bit while smoothing the decal into place.
Protect and Personalize
Not only do decals protect against scratches and minor spills, but they also allow for personal expression. Regularly inspecting your decals for any wear and tear ensures they continue to protect the surface beneath while refreshing the style of your space.
And when it’s time to move or refresh the look, simply peel off the decals. The adhesive should leave no residue, thanks to the forgiving nature of rental-friendly materials.
For more ways to enhance your rental living, you can explore apartment organization ideas to further personalize your space in practical and stylish ways.
Final words
Home is where creativity blooms, and with DIY renter-safe furniture protectors, you can easily blend style with protection. Each project not only saves your furniture from everyday wear but also weaves your personal narrative into the fabric of your home. Every slipcover, every decal tells a story of who you are and how you express your individuality. So embrace these projects—harness your creativity and make your rental space a true reflection of yourself. Ready to protect and personalize? Go ahead and get creative!