Living in a rental can be both exciting and limiting, especially when it comes to adding personal touches. Thankfully, with a bit of creativity and some basic materials, renters can transform standard ironing boards into unique, stylish pieces that enhance their living space. Whether you’re a student juggling classes and laundry, a young professional looking to blend aesthetics with functionality, or a family needing efficient solutions, a DIY ironing board can serve your needs while elevating the overall charm of your home. Plus, you’ll be able to customize it to reflect your personal style, making ironing a more enjoyable task. In this guide, we’ll explore two fantastic methods to create renter-safe ironing boards that not only serve their purpose but also become eye-catching features in your home. Let’s roll up our sleeves and dive into the world of DIY home decor!
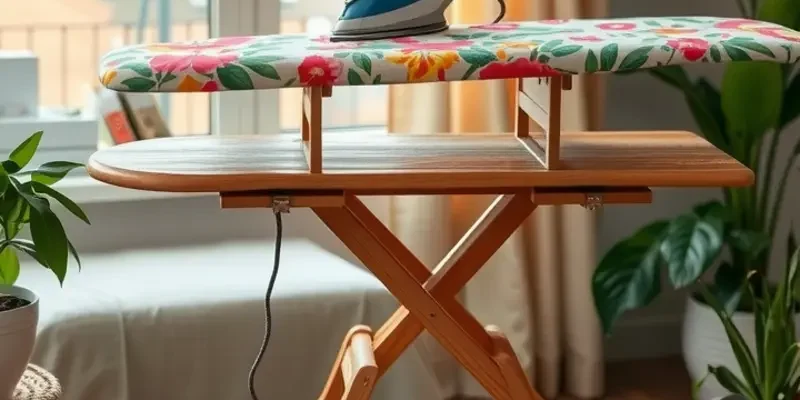
Upcycled Charm: Repurposing Old Furniture
Breathing new life into an old piece of furniture is not only sustainable but also a delightful way to add a personal touch to your home. Here’s how you can transform an aged piece like a small table or even an old wooden door into a unique ironing board that pairs functionality with your decorative style.
Begin your project by scouring thrift shops, flea markets, or your own storage for a potential candidate. Look for a piece that is stable and roughly the same dimensions as a conventional ironing board. A small table with sturdy legs or a slim wooden door can be perfect. While examining options, make sure the item is flat and level to safely support your ironing needs.
Once you’ve secured your piece, it’s time to prep it. Start by cleaning it thoroughly. Remove any dust, dirt, or grime using a mild detergent and a soft cloth. For wood surfaces, a light sanding can smooth out imperfections and ensure paint or stain adheres better. If you’re dealing with old varnish or peeling paint, a sanding block or an orbital sander can make this task easier.
Next, decide on the aesthetic you want your ironing board to reflect. Choose a paint or stain that complements your current furnishings. You might prefer a shabby chic look with a distressed finish or a sleek, contemporary style with a gloss coat. Whatever you choose, ensure it’s appropriate for wood surfaces and apply it in a well-ventilated area.
While the paint dries, it’s time to create the functional layer: the padded ironing surface. To do this, gather some batting and a durable fabric in a design that matches your decor. Cut the batting to fit the top of your furniture piece, then lay it evenly on the surface. Ensure you have enough batting to provide a cushioned effect but not so much that it becomes unstable.
With the batting secured—use tape or staples if necessary—it’s time to cover it with fabric. Cut the fabric large enough to wrap around the edges of your furniture piece. Ensure that it’s smooth and wrinkle-free as you stretch it tautly over the surface and under the board. A staple gun is ideal for fastening the fabric’s edges beneath your board, giving it a neat finish.
As a final step, inspect your new creation. Ensure everything is tight and secure, with no loose batting or fabric. By this stage, your once-forgotten table or door stands transformed, a testament to creativity and sustainable living.
This easy yet transformative project not only furnishes your home with a personalized piece but also encourages eco-friendly habits. For additional renter-friendly DIY ideas, consider exploring more apartment-friendly DIY projects that inspire self-expression without compromising your lease agreement.
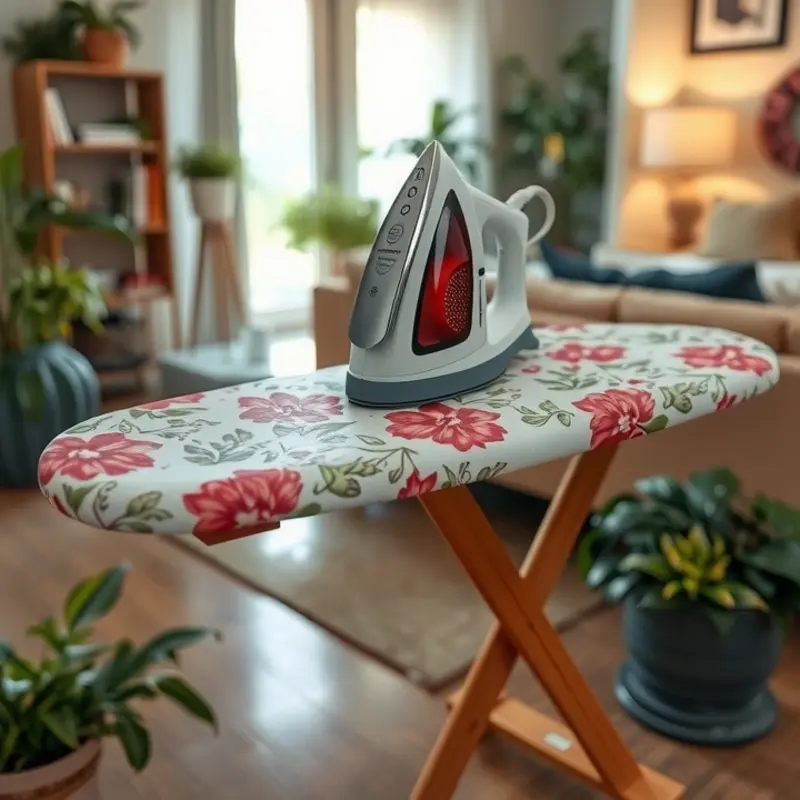
Fabric & Foam: Create a Soft-Sided Ironing Board
Creating a soft-sided ironing board doesn’t just add functionality to your living space; it’s an opportunity to tailor-make a piece essential to daily life. With basic materials and a few tools, crafting this space-saving item becomes a fun and engaging project.
First, you’ll need a piece of plywood cut to your desired size. This will serve as the base of your ironing board. Choose a size that fits your space while still providing ample ironing surface—think about what you’ll be ironing and where you’ll store it when not in use.
Materials Needed:
- Plywood (custom size)
- High-density foam (same size as plywood)
- Fabric (enough to cover the board and wrap around edges)
- Staple gun with staples
- Fabric scissors
Start by cutting the foam to match the dimensions of the plywood. The foam acts as the cushioned layer, ensuring a smooth, soft surface for your ironing. High-density foam provides the best results as it retains its shape and offers durability.
Next, lay the fabric flat on a clean surface, pattern side down. Position the foam centered on top of the fabric. Then, place the plywood base over the foam, ensuring all edges are aligned. It’s essential to select a fabric that not only matches your decor but can handle the heat from an iron.
With everything aligned, begin wrapping the fabric around the foam and plywood. Pull it taut as you work to avoid any wrinkles or lumps, and secure it in place using a staple gun. Staple the fabric every couple of inches along the underside of the plywood, starting in the center of each side and working towards the edges. Corners might need some extra care; fold them neatly before securing with additional staples.
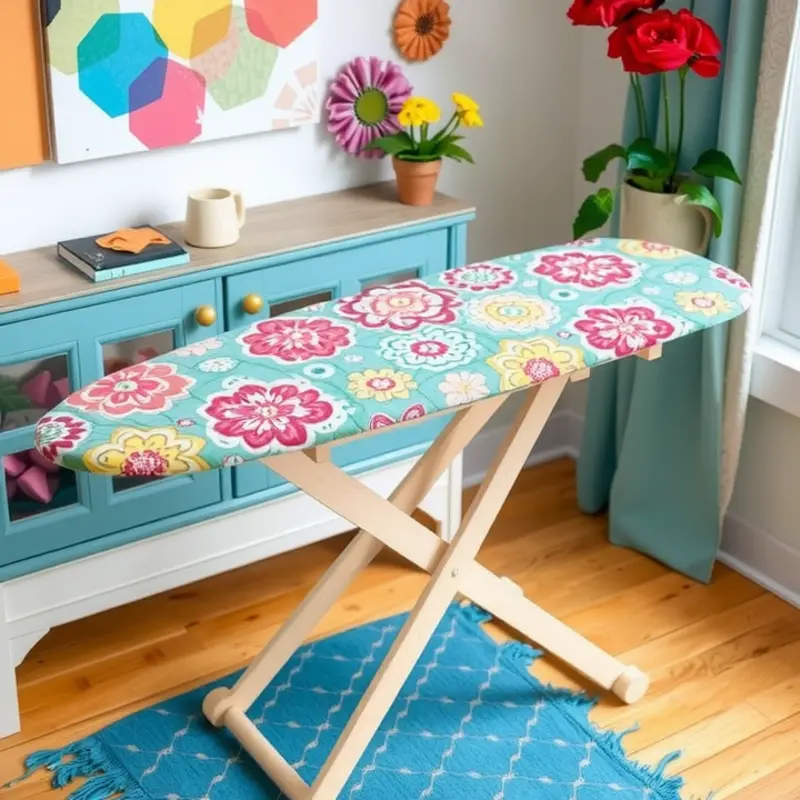
To add a personal touch, consider creating a removable cover in a favorite color or pattern. This not only allows for easy washing but also provides the flexibility to update your ironing board’s look to match evolving tastes. Simply sew a simple fabric sleeve that can fit over the board snugly.
Once completed, you have a lightweight, portable ironing board, ideal for small spaces. Its bespoke quality ensures it complements your home decor while providing functionality. If space is at a premium, consider visiting apartment-friendly DIY mug holders for more ideas to maximize your living space efficiently.
Maximize comfort and style with this DIY project that meets your ironing needs without the frustration of dealing with bulky, conventional boards. It’s renter-friendly and completely customizable.
Final words
Personalizing your rental home doesn’t have to be a complicated or expensive endeavor. With these DIY ironing board ideas, you can enhance your living space while creating functional furniture that expresses your unique style. From revamping old furniture to designing a soft-sided board, the possibilities are almost endless. Take pride in your home by putting in a little elbow grease; the satisfaction of creating something valuable is truly unmatched. So gather your materials, channel your creativity, and tackle these projects to uplift not just your home, but also your laundry days!