
Navigating the challenges of renting can often feel like a balancing act between functionality and self-expression. For creative renters, young professionals, students, and families, finding ways to personalize their spaces while adhering to rental rules can be a daunting task. But there’s a world of possibilities waiting to be explored! Enter DIY laptop stands: not only will they improve your workspace ergonomics, but they can also become a charming reflection of your personality. Imagine crafting a practical piece that complements your style while being gentle on your rental conditions. From simple designs to more intricate builds, these renter-safe projects offer a chance to flex your creative muscles and customize your environment. So let’s dive into two captivating DIY laptop stand ideas that will add flair to your space without risking your security deposit!
Wooden Crate Stand: Rustic Charm for Your Workspace
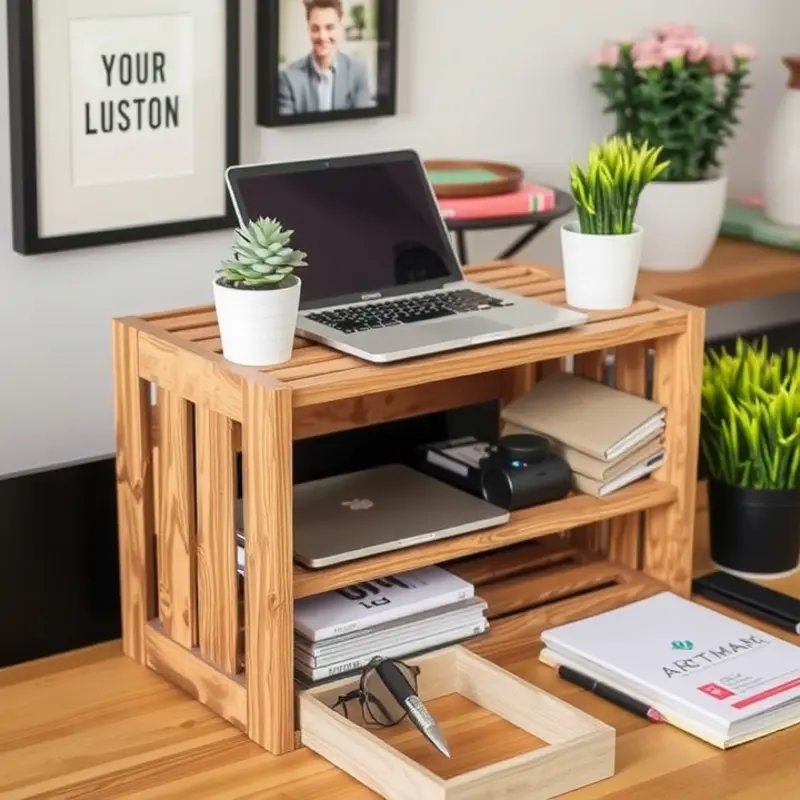
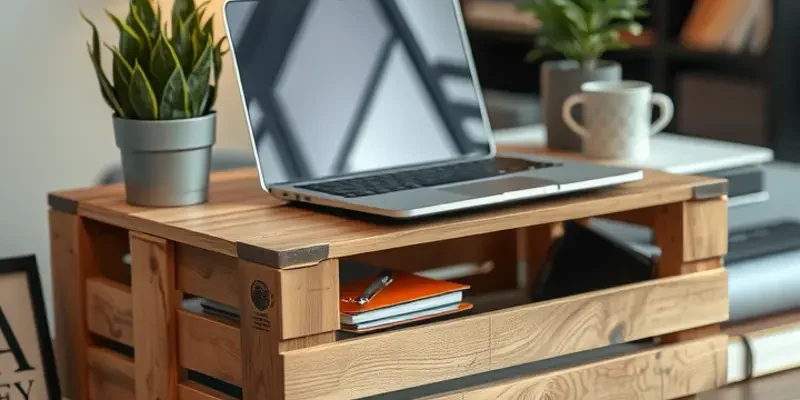
A wooden crate offers an ideal canvas to create a rustic-inspired laptop stand. Not only does it bring a touch of nature indoors, but it also provides a functional and stylish addition to your workspace. This easy-to-follow project will guide you in selecting the perfect crate, decorating it, and configuring it to support your laptop setup.
Begin by choosing a wooden crate that aligns with your aesthetic preferences and dimensions needed for your workspace. Visit your local thrift store or a flea market, where you may find a variety of crate sizes and finishes. Ensure the crate is sturdy and free from damage. A crate with a solid base and reinforced corners will ensure durability and safety for your devices.
Once you’ve found your perfect crate, consider how you’d like to embellish it. Sand the surface to create a smooth finish, removing any rough edges that could snag clothing or scratch surfaces. A quick rub with fine-grit sandpaper is usually sufficient for this task.
Next, decide on the finish. For a natural look, apply a clear varnish to highlight the wood grain, or choose a wood stain to bring out darker tones. If you prefer a more personalized color scheme, paint the crate with acrylic paints to match or contrast with your existing decor. This project is the perfect opportunity to experiment with stencils or masking tape to create unique patterns or geometric shapes.
The setup of your crate requires careful thought to ensure both ergonomics and stability. Position the crate on your desk with the base facing toward you, allowing the natural height of the crate to elevate your laptop. This setup offers an improved viewing angle and reduces neck strain typically associated with long hours of work. Consider adding non-slip pads to the bottom of the crate to keep it in place and protect your desk surface.
To enhance functionality, you may want to incorporate storage solutions within the crate. Utilize the inside space to organize office supplies such as notebooks, pens, or even chargers. Lining the bottom with a piece of felt or soft fabric can protect any valuables from scratches.
If you intend to keep cables tidy, drill small holes or use adhesive cable clips along the crate’s edge to manage cords discreetly. This will keep your workspace organized and free from cable clutter. For more organizational ideas, explore creative renter-safe organizers for additional inspiration.
Incorporating a wooden crate into your workspace not only enhances its visual appeal but also provides practical benefits that improve work efficiency. With just a bit of effort and creativity, your new rustic laptop stand can become a cherished element of your home office, turning an overlooked item into a captivating focal point.
Upcycled Bookshelf Stand: Functional Art for Book Lovers
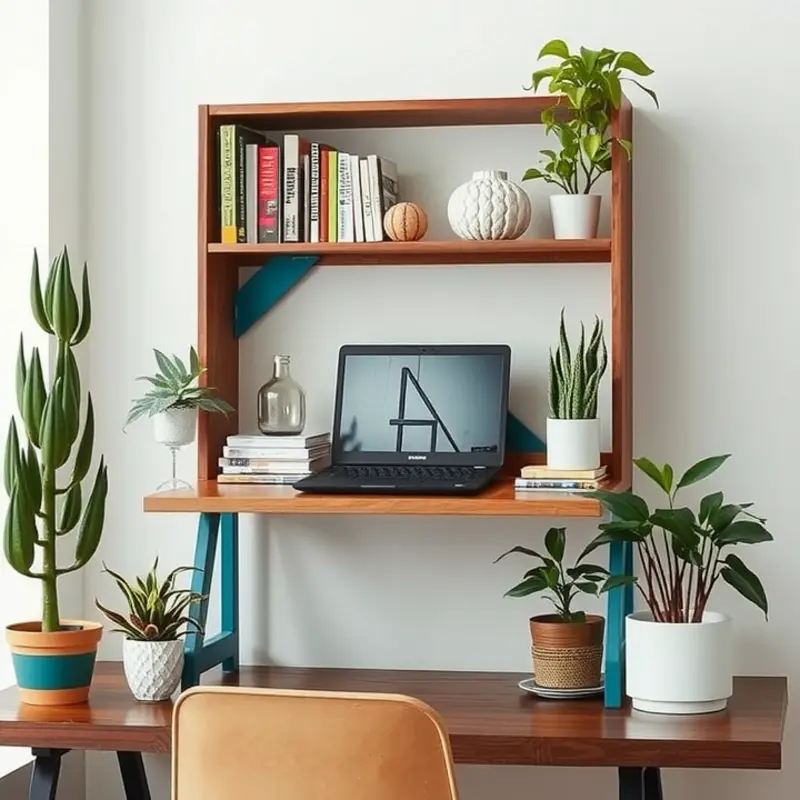
For those who adore the written word, transforming an old bookshelf into a laptop stand is an ingenious way to combine functionality with passion. Start by selecting a sturdy bookshelf that you no longer use for storage. The key here is to ensure it is robust enough to hold your laptop securely while providing enough height to reduce strain on your neck and back.
To achieve the ideal height, consider removing the bottom shelves or rearranging them. Depending on your needs, you might even install adjustable shelving tracks. This flexibility ensures that your setup can easily accommodate your evolving workspace requirements. Measure the eye level of your seated position to ensure the screen sits comfortably without forcing you to hunch.
Once you’ve achieved the perfect height, think about the aesthetics. Bookshelf backs can often be uninspiring, especially if they are plain or mismatched with your interior style. This is an opportunity to be creative. Cover the back panel with attractive wallpaper or fabric using temporary adhesive strips. This not only enhances the overall visual appeal but also effectively personalizes the space to reflect your style.
In the process of assembling this stand, don’t forget about cable management. Routinely, cables can become unsightly and a tangled mess. Use clips or adhesive hooks to keep them organized and out of sight. It’s this attention to detail that takes your DIY project from a simple functional piece to a well-integrated part of your home decor.
Showcase your favorite reads along the remaining shelves. This not only adds a touch of sophistication but also serves as an accessible library for quick breaks during work or study sessions. Arrange books by color, size, or author to create a visually pleasing effect, turning the stand into a centerpiece that celebrates your love for literature.
For families or students, this setup provides communal benefits. By integrating a laptop stand into an area commonly used, like the living room or shared study area, it supports multiple users throughout the day. It’s a thoughtful addition to any space, bridging the gap between work, education, and entertainment seamlessly.
As with any DIY project for rentals, the key is to keep everything reversible. The methods you use, such as non-permanent adhesives or adjustable pieces, should allow you to revert the bookshelf to its original condition when you move out, ensuring no damage to your rental property.
If you need more ideas on organizing your apartment workspace, consider reviewing apartment desk organization tips to complement your new upcycled bookshelf stand. These strategies can help maintain a clutter-free environment, promoting both productivity and peace of mind.
Final words
Embracing the DIY spirit can be incredibly rewarding, especially when it comes to making your rental feel like home. The two projects highlighted provide not only functionality but a personal touch that reflects your individual style. Whether you prefer the rustic charm of a wooden crate or the artistic flair of an upcycled bookshelf, these renter-safe laptop stands allow you to combine aesthetics with practicality. So gather your materials, unleash your creativity, and start crafting a workspace that inspires productivity and comfort!


