
Living in a rental doesn’t mean you have to compromise on style. Personalizing your space can be both affordable and easy! One of the simplest and most impactful ways to add character to your rental is through mirrors, which reflect light and make any room feel more spacious. However, bare mirrors can often feel stark and uninviting. By creating DIY renter-safe mirror frames, you can transform these essential items into stylish decor that mirrors your personality. This guide will walk you through the process of designing personalized mirror frames that suit any aesthetic—whether you’re a minimalist, an eclectic style lover, or a family looking to inject warmth into your home. With a few affordable materials and some creativity, you’ll not only beautify your space but also create a welcoming environment to impress family and friends. Let’s dive into two fantastic DIY mirror framing ideas that will brighten your rental home!
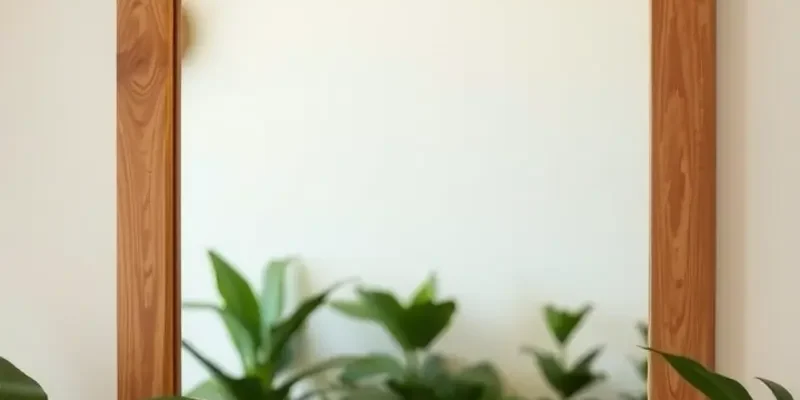
Natural Wood Frame DIY: Bring Warmth and Charm
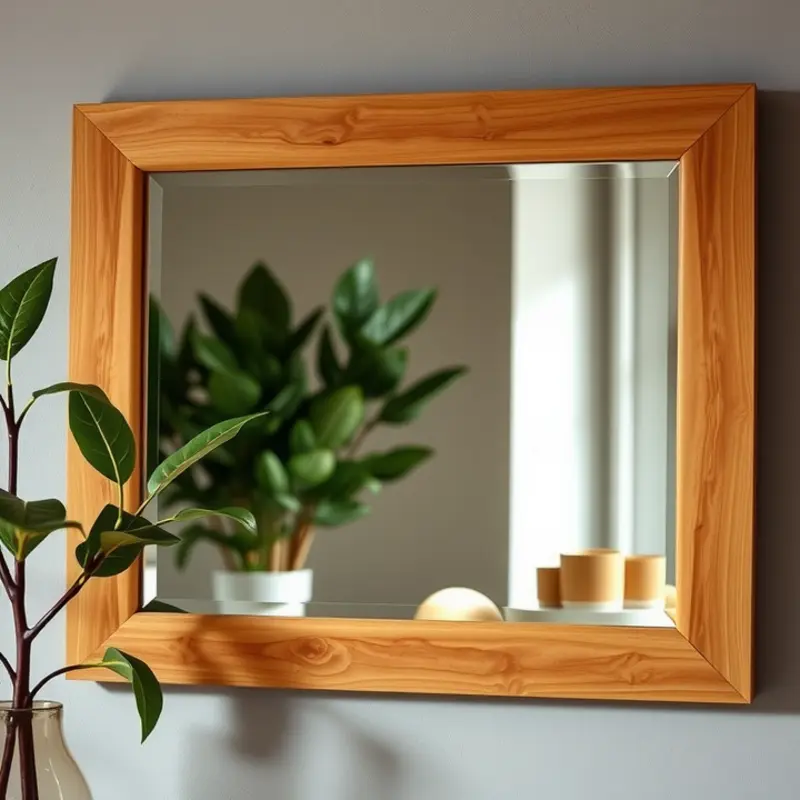
A natural wood mirror frame offers a blend of warmth and rustic charm, perfect for enhancing the aesthetic appeal of any rental space. By carefully choosing and crafting your materials, you can create a customized frame that not only suits your style but also respects rental guidelines.
Materials Needed
Begin by sourcing the following materials: four wooden planks (ensure they match the size of your mirror), a saw, wood stain or sealant, sandpaper, a measuring tape, and wood glue. Choose lighter woods like pine for a Scandinavian vibe or darker woods like walnut for a rich, moody look.
Step-by-Step Process
-
Measure and Cut: Measure the dimensions of your mirror and note them down. Cut the wooden planks accordingly ensuring that the edges meet at 45-degree angles for a snug fit around the mirror. A miter saw can make cutting easier and more accurate.
-
Sand the Edges: Sand all the cut edges smoothly to remove any splinters or rough spots. Pay attention to the corners as these will form joints; a seamless join enhances the professional appearance of your frame.
-
Staining or Sealing: Depending on your choice of wood finish, apply a coat of wood stain to enhance the natural grain or a sealant for a more natural look. Allow the wood to dry completely, as per the instructions on your stain or sealant.
-
Assembling the Frame: Once the planks are dry, lay them around your mirror to form the frame shape. Apply wood glue to the edges and press the planks together firmly. Use clamps to hold the frame in place while the glue sets. Follow the glue’s drying time instructions carefully.
-
Mounting: After the frame is assembled and dry, attach it to the mirror. If you wish to avoid permanent adhesive, opt for removable mounting strips. This ensures no damage occurs, maintaining your rental’s condition and adhering to renter-friendly practices.
By following these steps, you can create a beautiful, natural wood mirror frame that not only elevates your space but also complies with rental agreements. For additional tips on maintaining rental décor aesthetics, consider visiting this guide on renter-safe decorating. Such resources can offer further ideas to beautifully personalize your home within rental guidelines.
Color Pop Frame DIY: Brighten Up Your Space
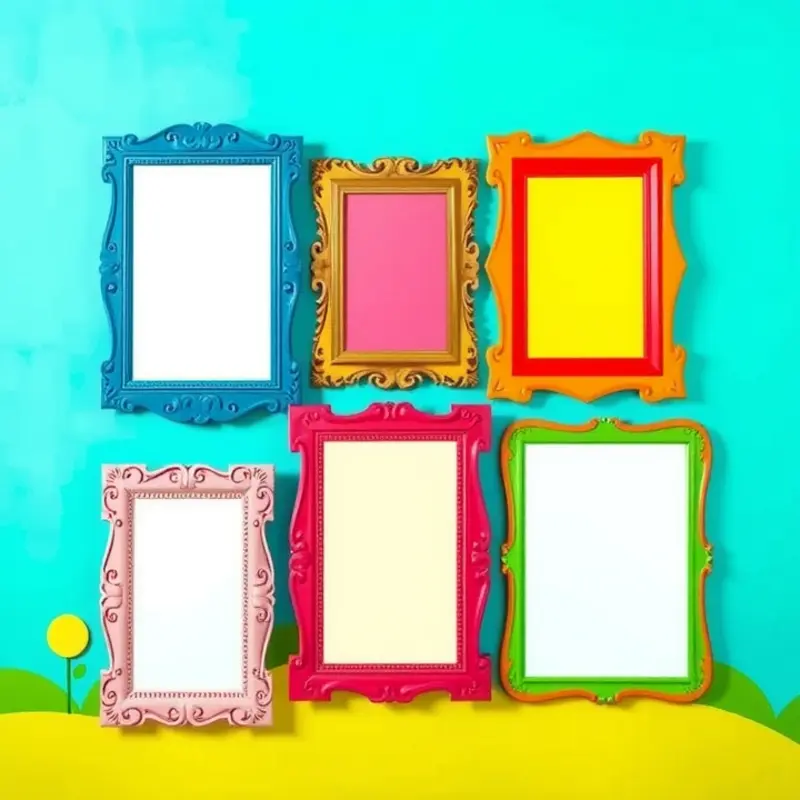
Creating a color pop mirror frame might be one of the easiest ways to add personality to your rental home. With a few simple materials and a splash of imagination, you can craft a vibrant and unique piece that transforms any bland wall into a statement-making masterpiece. The process is not only affordable but also incredibly renter-friendly, allowing you to personalize without causing damage.
Start by gathering your materials. You’ll need a plain mirror, painter’s tape, a selection of colorful paints, a paintbrush or sponge, and a clear sealant. Choose paints that resonate with your style—perhaps they complement existing decor or provide a bold contrast. This can depend on the mood you want to project in the room.
To begin the project, cover the mirror’s surface with painter’s tape. This step will protect the mirror from stray paint splashes. Ensure the tape is smoothly pressed against the edges for crisp lines. It’s smart to check your covered areas from different angles to confirm no spots are left unprotected.
Once the mirror is securely masked, it’s time to unleash your creativity. Apply the first layer of paint to the frame. Consider using a base color that contrasts well with your wall to make the frame pop. For instance, if your walls are neutral, opt for something bold like turquoise or sunshine yellow. Apply the paint evenly, using a broad brush or sponge for consistent coverage.
As the base color dries, you can plan additional patterns or accents. Stripes, polka dots, or even abstract brush strokes can add that perfect artistic touch. Use smaller brushes for detail work, allowing each coat to dry completely before adding another layer.
After you’re satisfied with the painted design, seal the finish with a clear sealant. This step adds a protective layer, ensuring that dust and minor scratches won’t mar your work over time. It also gives the frame a subtle sheen, enhancing the vibrancy of the paint.
Once the sealant is dry, carefully remove the painter’s tape. If any paint seeped under the tape, a little bit of rubbing alcohol on a cotton swab can help clean it up without affecting the painted frame.
Fixing your colorful masterpiece to the wall is simple. Use adhesive strips or hooks specifically designed to support the weight of a mirror. These are perfect for renters as they provide a strong hold while being easy to remove without damage. Ensure the wall surface is clean and dry before applying them for the best results.
In conclusion, this DIY approach not only livens up your living space but also speaks volumes about your personal taste and creativity. It’s an excellent example of how splashes of color can bring warmth and energy to an otherwise muted space, offering a mood lift every time you catch your reflection.
For more ideas on creatively organizing your home, check out this guide on using baskets for apartment organization: apartment organization baskets.
Final words
Personalizing your rental space is possible without damaging walls or breaking the bank. By crafting your own mirror frames, you can express creativity while adding layers of warmth and interest to your home. The natural wood frame brings rustic charm, while the vibrant color pop frame infuses a playful energy into your rooms. Both projects are affordable, beginner-friendly, and fully customizable to fit your individual style. So, gather up your supplies, unleash your creativity, and create stunning DIY mirror frames that will enhance your rental home. Your walls will thank you for it!


