
When living in a rental home, finding ways to personalize your space can be both a challenge and a joy. This is especially true for pet owners, who often seek creative solutions for their furry friends. Renter-safe DIY projects empower you to design functional and stylish pet beds that fit your unique decor, without risking your deposit or violating any lease agreements. These affordable ideas will not only provide your pets with the comfort they deserve but also allow you to express your creativity and personal style in your home. Whether you’re a busy professional, a student, or part of a bustling family, these projects are simple to execute and customizable to reflect your taste. Let’s dive into some enriching DIY pet bed ideas that will elevate both your home and your pet’s comfort.
Cozy Corner: A No-Sew Pet Bed
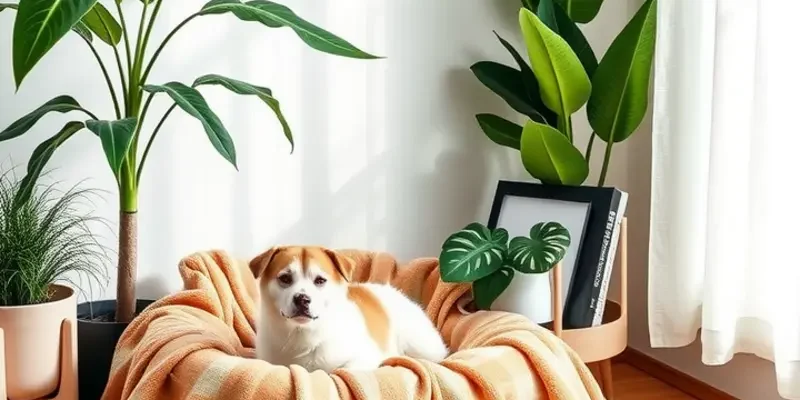
Creating a no-sew pet bed is a practical and creative way to give your furry friend a cozy spot without the hassle of needles and thread. This project allows for customization to match your home decor while ensuring comfort for your pet. All you need are a few affordable materials, a little time, and some creativity.
Materials Needed
To get started, gather the following materials:
- Fleece Fabric: Choose two colors or patterns that complement your space. Fleece is ideal because it doesn’t fray.
- Pillow Stuffing or Old Pillow: Using an old pillow is a sustainable option. You can also buy new stuffing.
- Fabric Scissors: Ensure they are sharp for clean cuts.
- Measuring Tape: This is crucial to achieve the correct size for your pet.
Steps to Create Your Pet Bed
-
Measure the Fabric: Begin by measuring and cutting two pieces of fleece fabric to your desired size. Make sure to add extra inches to account for the ties. A standard size for a small pet is 25×25 inches, but adjust based on the size of your pet.
-
Layer the Fabric: Position the two pieces of fleece on top of each other, ensuring the patterns you want on the outside are facing outward.
-
Cutting the Strips: Along each edge, cut 3-inch strips at 1-inch intervals. These strips will later be tied together to create the seams of your bed.
-
Tie the Strips: Start tying the corresponding strips from the top and bottom fabric pieces together. A simple double knot should hold well. Complete all sides, but leave an opening to insert the stuffing.
-
Stuff the Bed: Fill the bed with your pillow stuffing or old pillow. Ensure you fluff it to your desired thickness. If you’re using an old pillow, you might need to adjust so it fits snugly.
-
Close the Opening: Once filled, tie the remaining strips to close the bed completely.
Personalizing Your Pet’s New Bed
This no-sew pet bed can easily become a part of your interior design. Consider using seasonal fabrics or match the color scheme of your rental’s temporary wallpaper to blend seamlessly with your decor. Explore some temporary wallpaper ideas to complement your new DIY project.
Benefits of a No-Sew Pet Bed
This DIY project suits renters as it’s easy to transport and customize without permanent changes to your space. It is also easy to clean—simply untie the knots and wash the fleece as required. Lightweight and portable, it can be repositioned effortlessly to change up your pet’s environment.
Creating a cozy, no-sew pet bed is a gratifying way to ensure your pet feels comfortable and at home in your rental space. It’s not only practical but adds a touch of personal flair to your pet’s sleeping area. This project provides a quick and heartwarming solution for the dedicated pet owner ready to craft with love.
Chic Pet Sofa with Upcycled Materials
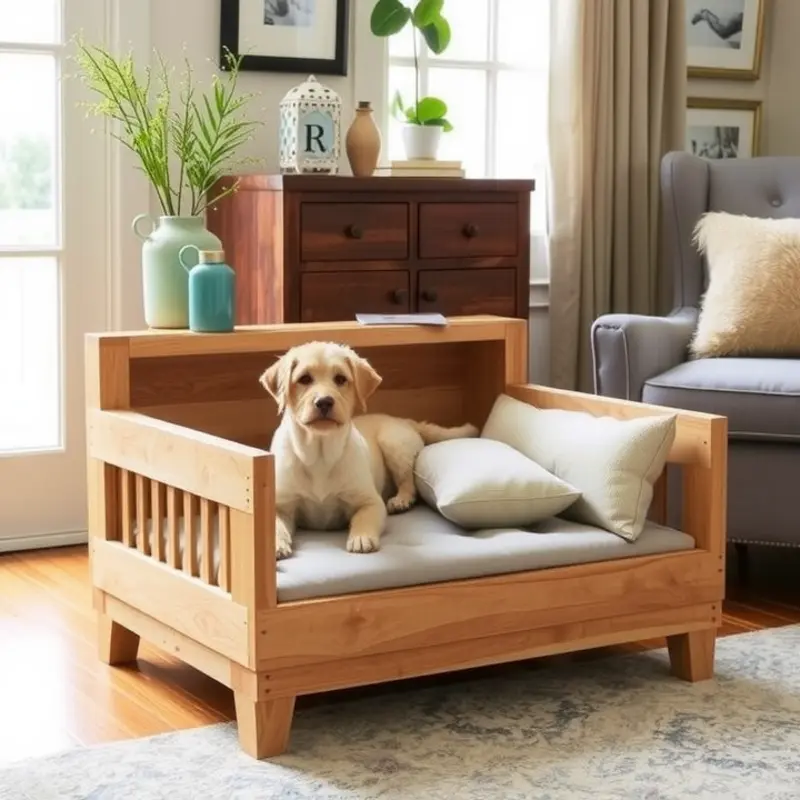
Transforming an old wooden crate or bookshelf into a chic pet sofa is a rewarding project. It not only combines style and functionality but also emphasizes sustainability. This approach is perfect for rental spaces, allowing you to add a unique decor element without permanent alterations.
Getting Started: Materials Needed
To begin, gather an old wooden crate or bookshelf and ensure it is sturdy. You will also need sandpaper, non-toxic paint or wood stain, a foam cushion, fabric, a staple gun, and scissors. If you’re using a bookshelf, consider using just one section for a compact design.
Preparing Your Base
Start by sanding down the crate or bookshelf to smooth out any rough edges. This step is crucial for your pet’s safety and ensures that paint or stain adheres well. Once smooth, clean off any residual dust. Decide on a paint or stain color that complements your room. Neutral tones or vibrant colors can both work, depending on your style preference. Apply the paint or stain evenly and let it dry thoroughly.
Adding Comfort
While the base dries, cut your foam cushion to fit snugly inside the crate or shelf space. Choose a fabric that matches or contrasts with your existing decor. Cut the fabric, leaving enough to fold and staple underneath the cushion. Securely staple the fabric to the cushion’s underside, ensuring it is taut and wrinkle-free.
Final Assembly
Once the paint or stain is dry, place the cushion inside the crate or on the shelf space. Consider adding small furniture legs to the underside if you want an elevated look. This can easily be done by attaching them with screws into the base corners.
Styling and Placement
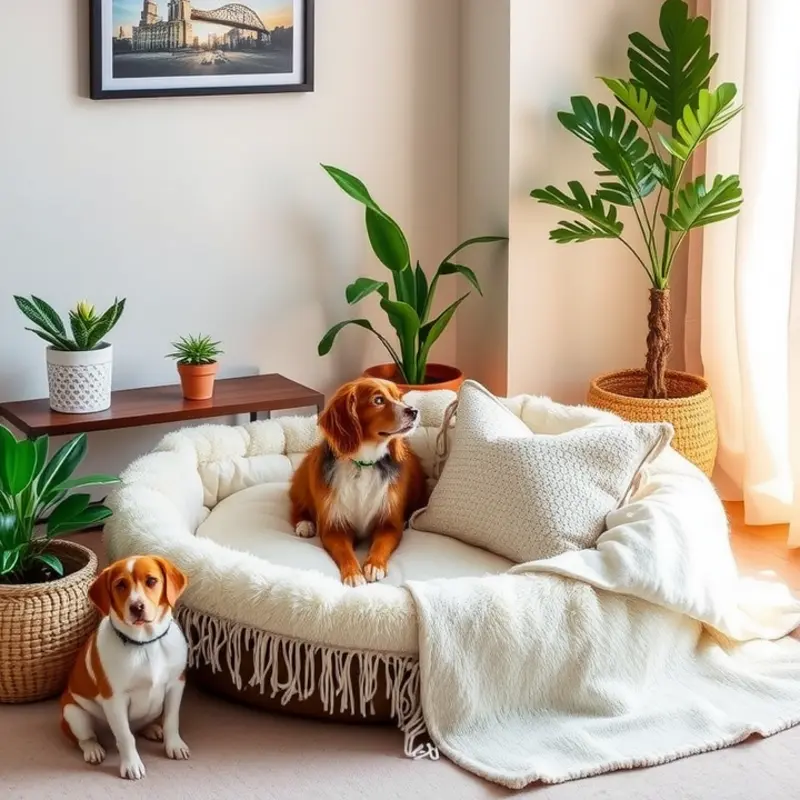
Now, position your chic pet sofa in a cozy corner of your living room. You might place it near a window where your pet can relax and enjoy the view. Placing decorative pillows or a throw blanket nearby can add an extra touch of style and comfort for your pet.
This upcycled pet sofa not only complements your living room decor but also creates a plush space for your pet. It serves as a reminder of the creative possibilities inherent in repurposing everyday items. By utilizing materials already in your possession, this project supports eco-friendly living while accommodating the dynamics of rental living.
For more ideas on enhancing your rental space with DIY projects, check out our guide on DIY decorative magnets. These simple touches beautifully personalize your home without violating lease agreements.
Final words
With these DIY renter-safe pet bed projects, you have the opportunity to create functional and stylish spaces for your furry companions while keeping your home uniquely yours. Each project allows you to express your creativity without sacrificing pet comfort or risking your security deposit. So gather your materials, unleash your inner DIYer, and enjoy a cozy home filled with love, comfort, and style for both you and your beloved pets. Happy crafting!


