Renting shouldn’t limit your creativity when it comes to personalizing your living space. DIY picture rails provide an innovative, damage-free way to showcase art, photos, and cherished mementos, allowing you to express your unique style without worrying about the impact on security deposits. Imagine transforming blank walls into a gallery of your own making. This practical guide aims to inspire renters, young professionals, students, and families seeking simple yet chic solutions for decorating rental homes. With a step-by-step approach, you’ll discover how easy it is to add depth and personality to your walls using affordable materials. Ready to craft a space that reflects who you are? Let’s get started!
Planning Your Picture Rail Project
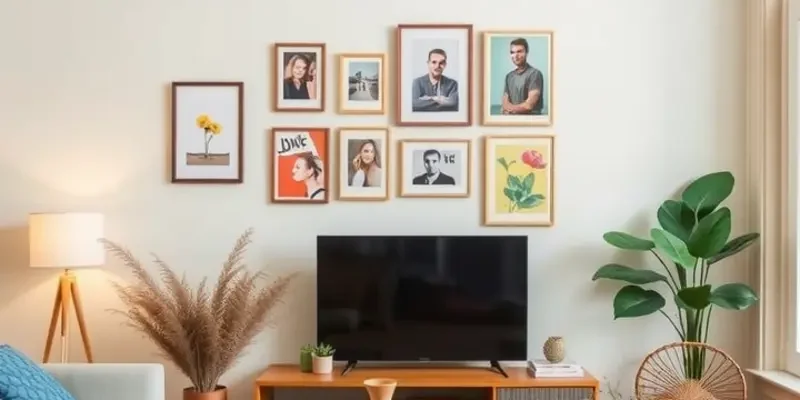
The first step in your DIY picture rail project is choosing the right location. This is a crucial decision that impacts both the visual appeal and practicality of your newly adorned walls. Consider the dimensions of the wall. Larger walls offer more space for art and decorations, while smaller walls can create a focal point with select items.
Before committing, think about the natural light in the room. If your chosen location receives ample sunlight, it can enhance the colors in your art. However, be cautious of excessive direct sunlight, which can fade some artworks over time.
Next, consider the style of your picture rail. Modern, sleek designs can complement contemporary spaces, whereas classic, ornamental rails can add charm to vintage or eclectic interiors. The style should harmonize with your current decor to ensure a seamless integration.
Functionality goes hand in hand with aesthetics. Picture rails are not just about hanging art – they offer flexible options to rearrange without leaving holes. Evaluate how often you’ll want to change your displays. If frequent changes are anticipated, opt for a simple rail system that allows easy adjustments.
To make the most of your rails, ensure that it’s an integral part of your apartment’s design. You might find inspiration from creative shelving systems, which can provide insights into maximizing space. For example, exploring apartment-friendly bookshelf styling could offer great ideas for integrating your picture rail in a cohesive manner.
Moreover, you might want to map out your ideas on paper or use design software to visualize the placement and design beforehand. This can help you make more informed choices, preventing costly mistakes. You can also discuss your plans with friends or family for additional feedback.
Finally, remember that your picture rail is an expression of your personality. It’s a chance to showcase your style and creativity. Whether bold and colorful or subtle and serene, the choices you make will echo your personal touch in your living space.
Step-by-Step Guide to Installing Your Picture Rails
Transforming your rental space into a personal gallery without risking damages is easier than you might think. Follow this guide to install picture rails that uphold your artwork beautifully while ensuring your security deposit remains untouched.
Materials You’ll Need:
- Picture rails: Choose from wooden, metal, or plastic, depending on your style preference.
- Screws and wall anchors: These ensure the rails remain firmly in place, even if you can’t locate a stud.
- Paint or finish (optional): Match with your existing wall color or create contrast for added flair.
Gather Your Tools:
- Level: Ensures your rails are perfectly horizontal.
- Drill or screwdriver: Required for installing screws.
- Measuring tape: Precision is key for balanced spacing.
- Stud finder (optional): Can aid in finding the perfect spots to secure your rails.
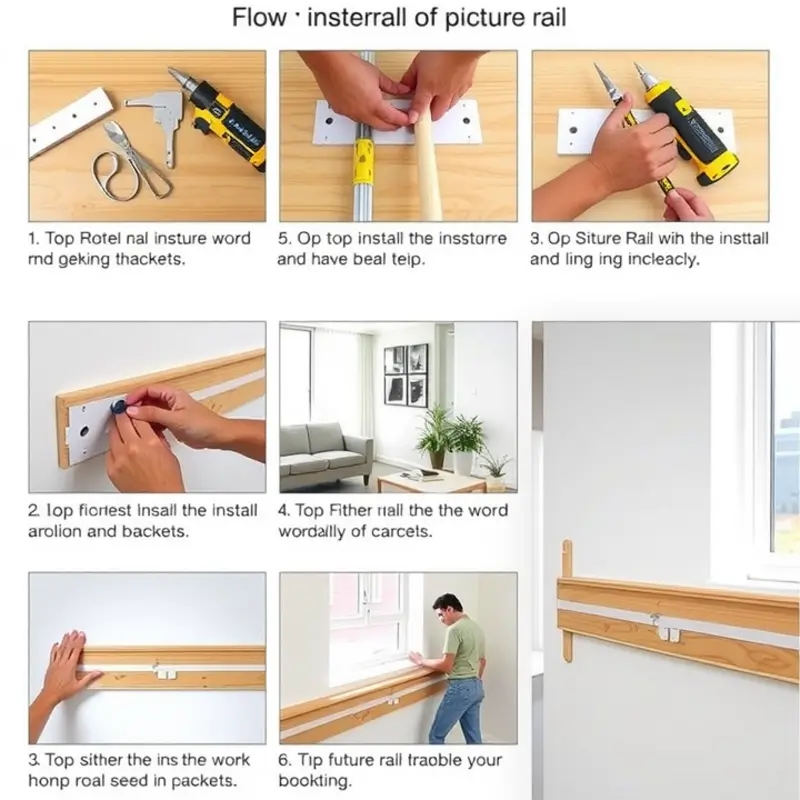
Installation Steps:
-
Measure and Plan
Start by determining the wall area you’d like to decorate. Use measuring tape to mark where your picture rails will hang, considering the height that suits your eye level. If you aim for a gallery-style look, measure equal distances between each rail, ensuring consistency across your space.
-
Mark Levels
With a level, draw a pencil line along where each rail will sit. This guide prevents lopsided installation. Check with your stud finder to identify any available sturdy areas. If unavailable, plan to use anchor screws for added stability.
-
Pre-drill Holes
Mark and pre-drill holes corresponding to your anchors or wall studs. Use a bit smaller than your screws to prevent unnecessary wall damage. This step makes inserting screws easier and ensures a snug fit.
-
Attach Rails
Align each rail with your pre-drilled marks, then secure them with screws using your drill. If you feel any resistance, stop and reassess to avoid cracking the rail or damaging the wall.
-
Finish Touches
Once all rails are secured, inspect carefully to ensure they are level and secure. If you opted for painting or varnishing, now is the time to apply it. This doesn’t just add aesthetic appeal, but can also protect your rails from wear.
Hanging Art and Photos:
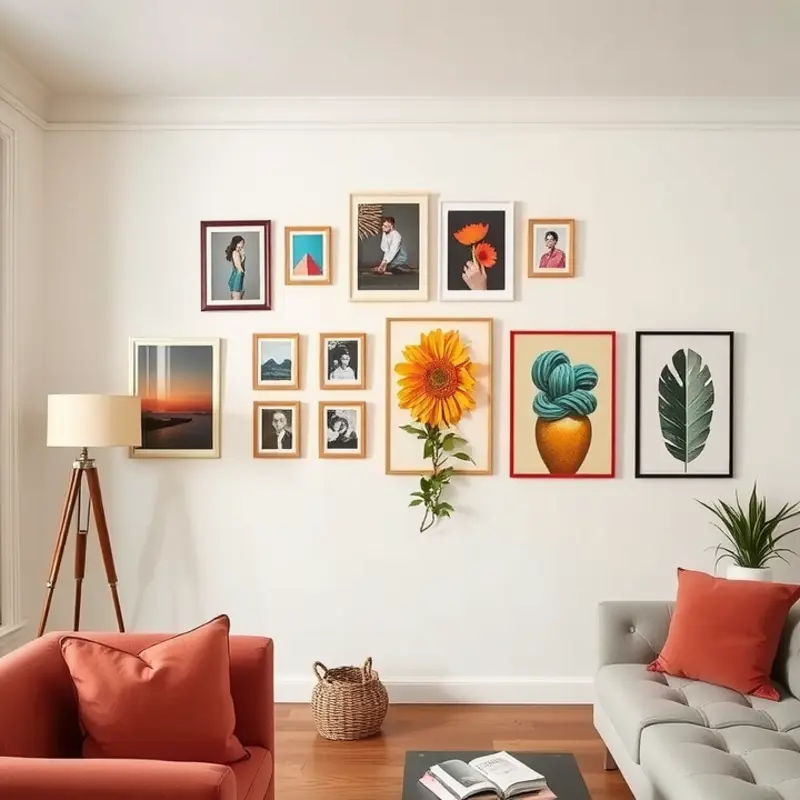
With your rails installed, use hooks or cords designed for picture rails to suspend your art. These should slide easily to allow adjustments without leaving marks. Mix different frame sizes and shapes for a dynamic display.
Installing picture rails not only personalizes your space but also retains the flexibility essential for rental living. For more apartment-friendly DIY projects, visit our DIY mug holders guide.
Final words
Personalizing your rental home with DIY picture rails allows you to express your individuality while maintaining your security deposit. By carefully selecting materials and thoughtfully designing your layout, you can create a unique gallery without permanent fixtures or wall damage. Whether you’re a creative renter, a busy student, a young professional, or part of a thriving family, these easy-to-install picture rails can add warmth and character to any space. Let your walls tell your story and inspire everyone who visits. Grab your tools and begin crafting your one-of-a-kind display today!