
Adding greenery to your living space can breathe life into even the most cookie-cutter rental. With plant stands that are not only affordable but renter-friendly, you can elevate your indoor jungle without sacrificing your deposit. From sleek minimalist designs to colorful DIY projects, these plant stands allow you to showcase your personality while fitting seamlessly into your lifestyle. Whether you’re a creative renter, a busy professional, a student, or a family looking to make your rental feel like home, this guide will inspire you to create unique plant stands that brighten your space and bring joy without any permanent alterations. Get ready to nurture your green thumb and design a plant display that dazzles your friends and family! Let’s jump into some exciting ideas that cater to various tastes and skill levels.
Tutorial: Simple Wood Plant Stand
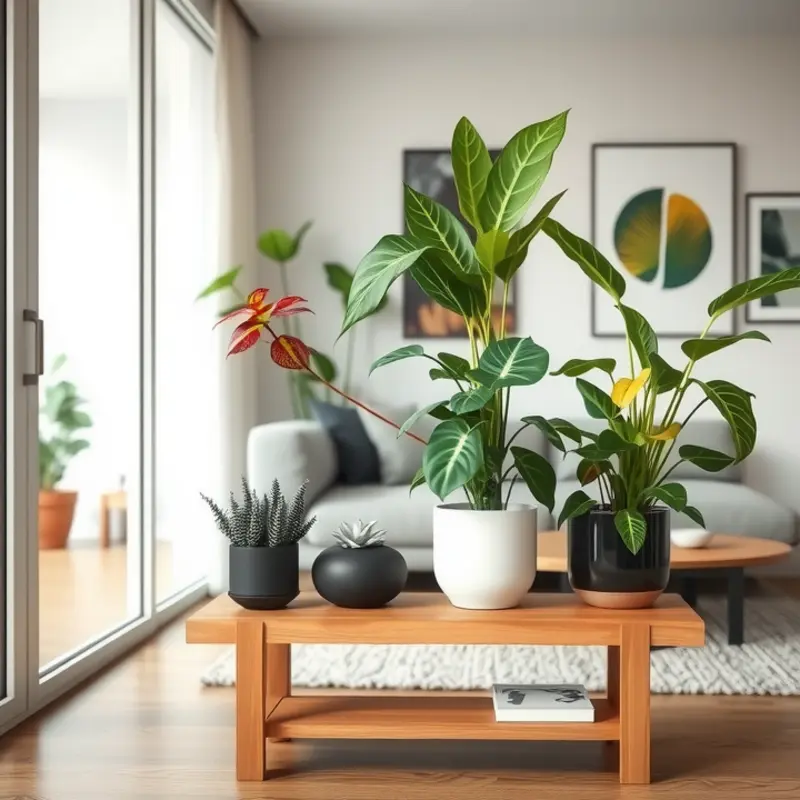
Creating your own plant stand is a rewarding way to add charm to your space without compromising your rental deposit. Here’s a simple guide to making an elegant wooden plant stand that doesn’t require drilling into walls.
Materials and Tools Needed:
- Wooden dowels (1 inch in diameter)
- Plywood or pine board (3/4 inch thick)
- Wood glue
- Saw (a hand saw or jigsaw will do)
- Sandpaper (medium and fine grit)
- Paint or wood stain
- Paintbrush or cloth
- Measuring tape
- Pencil
Select Your Wood:
For this project, choose a type of wood that complements your decor. Pine is a popular and affordable option. However, if you desire a richer look, opt for oak or walnut. Both offer a durable and attractive finish. Ensure the wood is smooth, free of any cracks, and properly dried.
Dimensions and Cuts:
Decide on the height and width of your stand. A popular height is around 18 to 24 inches, allowing the stand to elevate the plants subtly without overpowering other decor. Using your measuring tape and pencil, mark the dowels for the stand’s legs. Cut four equal lengths, an ideal diameter for the legs being about 1.5 inches for stability.
For the base, you’ll want a round or square piece of plywood or pine board. A diameter of 12 inches or a 12×12 inch square should suffice. Cut the base using your saw.
Assembling the Stand:
Start by sanding all pieces to a smooth finish, starting with medium grit sandpaper, then finish with fine grit. Clean any dust with a damp cloth before proceeding.
Position one leg at each corner of the base if you are using a square or at equally spaced intervals for a round base. To attach the legs, apply wood glue at the top of each dowel. Affix them to the underside of the base. Hold firmly or clamp until the glue sets. Allow the glue to dry completely; consult the glue’s packaging for specific drying times.
Finish and Customize:
Once assembled, it’s time to finish your stand. Choose a stain or paint color that complements your room. This is your opportunity to add personal flair—consider mixing stains or using bold paint to make a statement. Apply your chosen finish evenly using a brush or cloth. Let it dry thoroughly between coats.
Optional Touches:
If desired, seal your work with a clear polyurethane coat for protection against water spills. Avoid attaching anything permanent, like nails or screws, to ensure the stand remains renter-friendly. Make sure you double-check outlet safety tips while decorating to avoid any hazards.
Your plant stand is now ready to showcase your favorite greenery! The beauty of this design lies in its simplicity, allowing it to adapt to evolving styles and settings, while keeping rental walls unblemished.
Upcycled Crate Stand: Eco-Friendly Charm
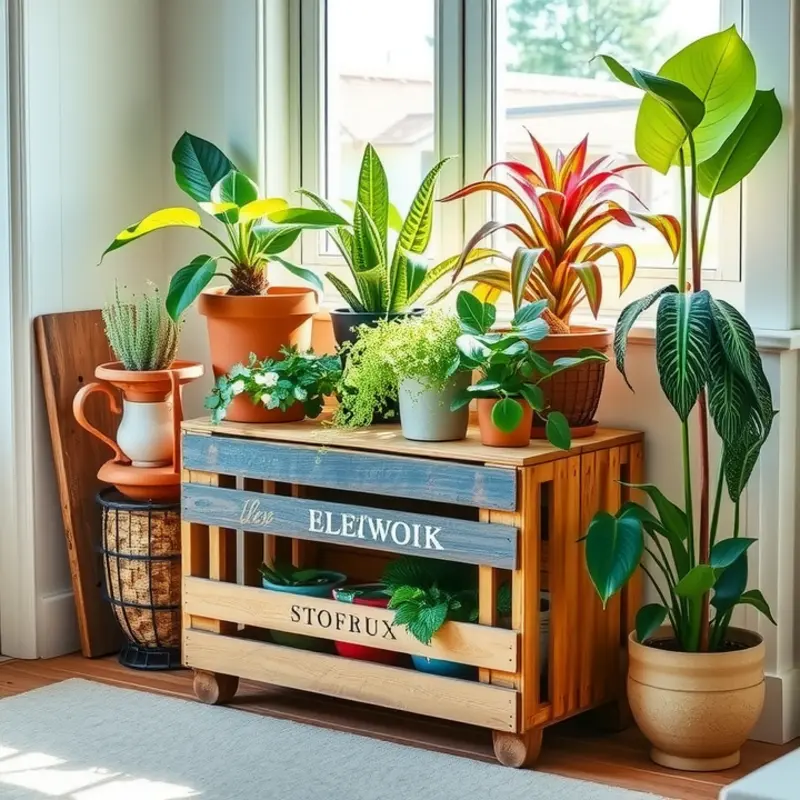
For those who wish to merge eco-conscious living with home decor, transforming wooden crates into a vibrant plant stand is a creative and sustainable choice. These upcycled stands not only showcase your green thumb but also add a touch of rustic charm that transforms any room corner into a focal point.
Sourcing Materials
Begin your project by sourcing quality wooden crates or pallets. Local thrift stores often have crates at an affordable price. Alternatively, contact nearby grocery stores or farmers’ markets, as they occasionally give away their excess crates for free. Ensure the wood is sturdy and free from mold or rot. Pallets can be repurposed as well, offering a stronger alternative with a bit more work.
Transforming Crates into Plant Displays
Once you’ve gathered your materials, it’s time to clean and sand them. Clean the wood thoroughly to remove any dirt or grime. Then, lightly sand the surface to smooth any rough edges. This step is crucial for a neat finish and ensures no splinters pose a risk.
Next, plan your design by stacking the crates or arranging the pallets. A tiered arrangement is ideal for creating multiple levels, which gives smaller plants more exposure to sunlight. Secure the crates together using screws for stability—this ensures the structure can support the potted plants without collapsing.
Adding the Finishing Touches
To protect the wood from water damage, apply a clear sealant. This layer will prevent moisture absorption, crucial for long-lasting use. If you prefer a bit of color, use eco-friendly paints or stains. A coat of white can transform your rustic stand into a chic feature, while light blue offers a tranquil vibe.
Arranging Your Plants
With your stand ready, consider the types of plants that will adorn it. Smaller pots fit nicely on the upper tiers. Plants that cascade over the sides, such as ivy or spider plants, add aesthetic movement and texture. For larger plants, allocate space at the base, ensuring stability.
To further personalize your plant stand, include small ornamental items among the pots, such as miniature sculptures or decorative stones. These can add visual interest and create an engaging visual storytelling effect.
Finally, ensure the placement of the stand allows optimal light exposure for your plants. South-facing windows are ideal, but if natural light is limited, consider supplemental grow lights to maintain plant health.
By using upcycled materials, you not only contribute to waste reduction but also express your unique style in a sustainable manner. This chapter dovetails with our guide on entertaining in small spaces, where combining practicality with creativity can enhance compact living environments seamlessly.
Final words
With these DIY renter-safe plant stands, you can easily add character and beauty to your rental home. From simple wood designs to creative upcycled pieces, each project brings your personal touch into your living space without any risk of damage to the property. Remember, plants not only enhance the aesthetic appeal of your rooms but also improve your indoor air quality and boost your mood. So, gather your materials, unleash your creativity, and start crafting a plant stand that reflects your style and brings a slice of nature indoors. Happy planting!


