Renting can feel limiting when it comes to personalizing your space, but you can easily enhance the functionality and aesthetics of your home with DIY shelf risers. These clever additions not only help maximize vertical storage without damaging any surfaces, but they also allow for creative displays of your favorite books, plants, or decorative items. Whether you’re a young professional in a compact apartment, a student with a small dorm room, or a family trying to organize living spaces, DIY renter-safe shelf risers offer an affordable way to transform your shelves into personalized statements. This guide provides inspiration and practical, step-by-step instructions so you can elevate your rental without the hassle.
Crafting Your Renter-Safe Shelf Risers

Creating renter-safe shelf risers is a delightful way to personalize and optimize your living space without risking your security deposit. The beauty of these DIY projects lies in their simplicity and adaptability to your existing decor and needs.
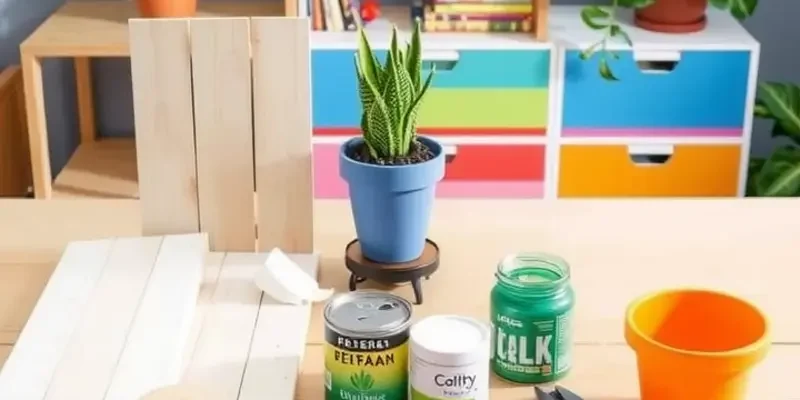
Start by selecting the materials that best suit your aesthetic and functional requirements. Wood, acrylic, and upcycled items are excellent options, offering both durability and versatility. For the natural warmth and sturdiness of wood, consider using lightweight pine or balsa wood, which are easy to manipulate without heavy-duty tools, making them perfect for renters. Acrylic, on the other hand, provides a sleek, modern look that can fit seamlessly into more contemporary settings. Upcycled materials, such as sturdy cardboard or repurposed plastic, not only contribute to sustainability but also add a unique flair, with each piece telling its own story.
Once you’ve settled on your material, you might want to ponder the design. Measuring is key. Ensure each riser fits comfortably within its designated shelf, leaving room for ease of access. A standard height for shelf risers is 4 to 6 inches, but this depends on the items you plan to store beneath. Consider your largest items and adjust accordingly to prevent any unsightly overhang.
To begin crafting, here’s a simplified guide:
-
Measure and Cut: Start by measuring the exact width and depth of your existing shelves. Cut your chosen material into pieces that correspond to your size requirements. If using wood, a hand saw or miter box is sufficient. For acrylic, a scoring knife will achieve clean lines.
-
Sand and Smooth: If working with wood or upcycled materials, sand down the edges to prevent splinters. Acrylic typically requires light sanding along the edges to avoid sharpness.
-
Assemble: Creating a stable structure is crucial. If using wood, assemble with small, unobtrusive screws or wood glue. For acrylic or upcycled pieces, a strong adhesive suited for the material will work excellently.
-
Personalize: Once assembled, personalize your risers to align with your decor. Paint wooden risers in colors that complement your room, or try a textured finish for added character. Acrylic risers can be tinted with special dyes, while upcycled materials can be adorned with decorative tape or fabric.
-
Install Carefully: Ensure the risers sit flush against the back wall or any support. Use non-permanent adhesive strips if additional stability is needed, especially on uneven surfaces.
Durability is an important consideration. Wood, when treated with a protective sealant, can withstand moisture and wear. Acrylic is naturally resilient against scratches, while upcycled materials might need occasional replacements based on their original nature.
For those interested in eco-friendly and practical storage solutions, our DIY cable organizers article might offer further inspiration for renters looking to optimize their space.
By crafting your shelf risers, you’ll not only enhance storage but also inject elements of your personality into your home. Remember, these projects are yours to tailor, ensuring both maximum utility and aesthetic satisfaction.
Styling Your New Shelf Risers
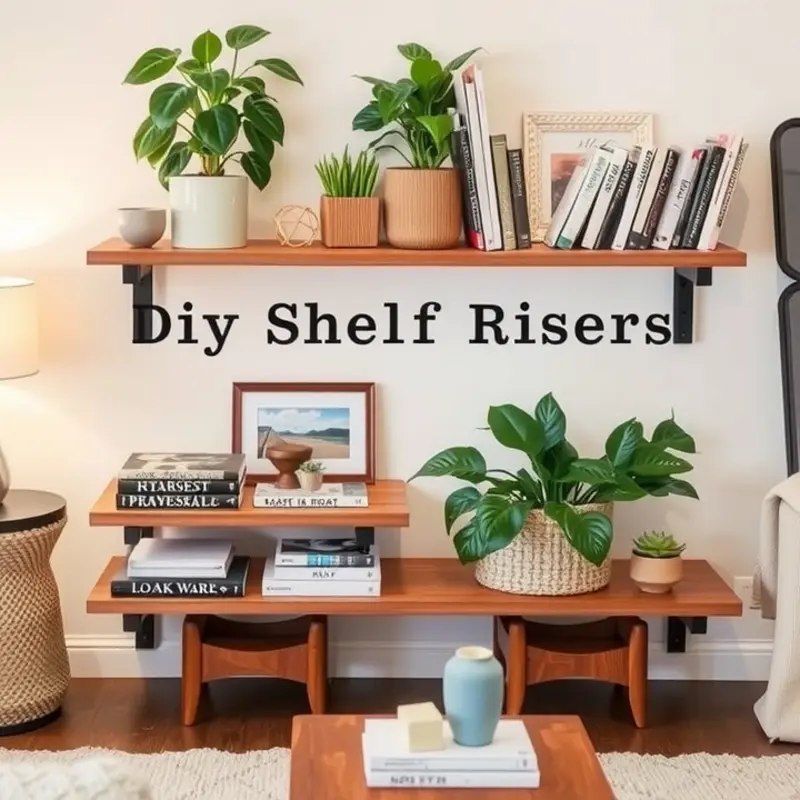
Styling your newly crafted shelf risers can transform them from simple utility to a true expression of your personal style. Let’s explore how to arrange your collections seamlessly, adding both function and flair. Consider creating a pleasing balance between items you regularly use and decorative pieces.
Books: The Foundation of Your Display
Books can serve as the foundation for any shelf display, offering both vertical and horizontal interest. Arrange them in groups: some standing upright, others stacked horizontally. Each book group can act as a divider, breaking up sections. By doing so, you create visual segments that guide the eye naturally across the shelf. For a touch of mystery, swap a few book jackets with DIY covers in colors that match your room’s palette.
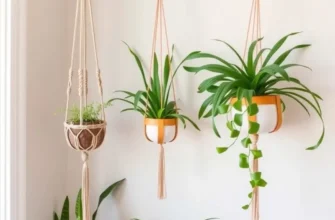
Greenery and Life
Adding plants introduces vibrancy and life. Choose plants with varying heights to create depth. An elegant cascading vine can soften the edges of your risers. For low-light areas, opt for succulents or artificial plants that still foster a natural aesthetic without the maintenance. Careful placement of plants can enhance a space’s coziness and bring a touch of nature indoors.
Decorative Objects as Storytellers
Sculptural items and heirlooms can add a personal touch. Consider a mix of materials—metal, ceramic, wood—that contrast yet complement each other. Arrange them in odd numbers, which often looks more organic. Smaller items can be paired atop stacked books or centered within a shelf segment. Remember, less is often more; every piece should have meaning or contribute to the overall theme.
Color Coordination and Themes
Selecting a color scheme is crucial to unify the overall look. Choose a dominant color with one or two accent colors. This approach helps in maintaining consistency. For example, a minimalistic theme might feature whites and grays with metallic accents. A bohemian style might incorporate earth tones with vibrant pops of color. Enhancing your space with a cohesive color palette can help in establishing the desired atmosphere.
Lighting for Ambiance
Incorporate lighting to highlight your favorite sections. Small, battery-powered LED lights work wonders and don’t require drilling. These can be tucked behind plants or along the edges of your risers, adding a warm glow. Dim lighting adds intimacy, while brighter lights can turn your risers into a focal feature.
Personal Touches
Finally, infuse your display with items that bring joy. Whether it’s a framed photo or memento from travels, these elements make your space uniquely yours. When placed with intention, these pieces can evoke nostalgia and create an inviting corner that you’ll love seeing every day.
Incorporating these styling tips, your shelf risers will not only maximize your storage but also enhance the visual appeal of your rental home, making it truly feel like your own personal haven.
Final words
Creating DIY renter-safe shelf risers not only allows you to make the most of your rental space but also lets your creativity shine. These simple, customizable projects are an excellent way to add personality to your environment and improve organization without compromising your deposit or facing any landlord backlash. Remember, the goal is to pair functionality with your unique style. So gather your materials, unleash your creativity, and transform your shelves into a stunning display that reflects who you are, even in a rental home.