
Renting a home shouldn’t limit your creativity. With a few materials and a dash of inspiration, you can build a stylish storage bench that not only enhances your decor but also serves a practical purpose. Ideal for creative renters, young professionals, students, and families, this DIY project is designed to be easily customizable and renter-friendly. Whether you’re looking to maximize space in a cozy apartment or furnish a family home, this storage bench can fit seamlessly into any setting while reflecting your personal style. Join us as we explore simple steps to create a unique storage solution that enhances your living space without the hefty price tag. Let’s dive into a project that pairs utility with creativity, providing you with a beautiful piece that can be easily adapted as your needs change and style evolves.
Gather Your Materials and Tools
When embarking on a DIY storage bench project, selecting the right materials and tools is crucial to ensure your creation is both stylish and renter-safe. The first step is to decide on the materials for your bench. Opt for lightweight yet durable options like pine wood, plywood, or MDF. These materials combine sturdiness with the ease of moving them as necessary, making them ideal for rental spaces.
Consider the aesthetics and functionality of your materials. Wooden benches can be easily painted or stained to match your decor. Alternatively, upholstered seating not only adds comfort but also allows for textures and colors that enhance your space’s personality. Just be sure to select fabrics that are easily maintained and can stand up to everyday use. Look into materials like cotton blends or polyester for durability.
Next, you need to measure your space carefully to ensure the perfect fit of your storage bench. Using a tape measure, take into account the length, width, and height where the bench will reside. Ensure there’s enough clearance around the furniture for comfortable movement and enough depth for storage without overwhelming your space.
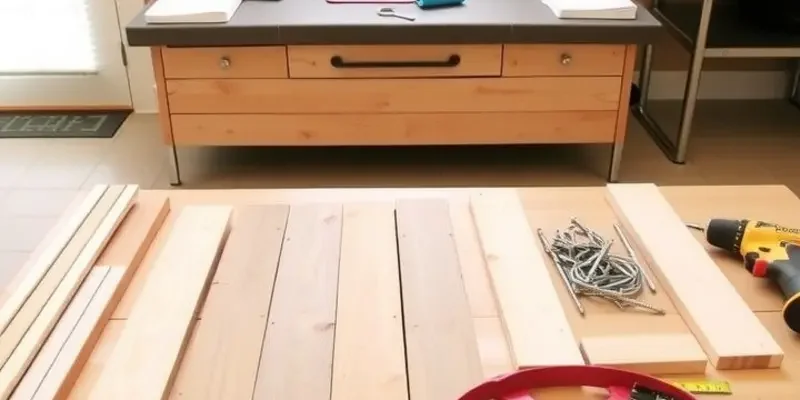
With measurements complete, gather necessary tools like a saw, hammer, drill, and screwdriver. A level is critical to ensure your bench is stable. Safety gear such as goggles and gloves should never be neglected; they protect you as you work on cutting or assembling your bench.
A crucial part of this process is adherence to renter-friendly choices and practices. Opt for removable, non-permanent fasteners like screws instead of nails or adhesives that could damage walls or floors. This method ensures your storage solution is entirely reversible when the time comes to move out. For more nifty ideas and tips on organizing your rental space, you might want to check out this guide on apartment organization with baskets.
Keep in mind the safety considerations while working on your project. Ensure your workspace is tidy to avoid accidents, and consider using a dust mask if you are cutting materials that generate fine particles. Arrange good ventilation, especially if you’re applying finishes.
Once all your materials and tools are ready, and your workspace is set safely, you’re ready to move on to the construction of your stylish, renter-safe storage bench. This careful preparation step ensures your DIY project is a smooth and enjoyable process while guaranteeing you end up with a functional piece that suits your design goals.
Step-by-Step Instructions to Build Your Bench
Building your own DIY storage bench can be both rewarding and practical. Follow this straightforward guide to create a functional and stylish piece for your rental space without damaging your property.
Start by gathering your materials: you’ll need wooden boards for the frame, screws, hinges, a saw, a drill, sandpaper, paint or finish, foam padding, fabric, and a staple gun. Personalize the bench by choosing a fabric and paint color that matches your existing decor.
-
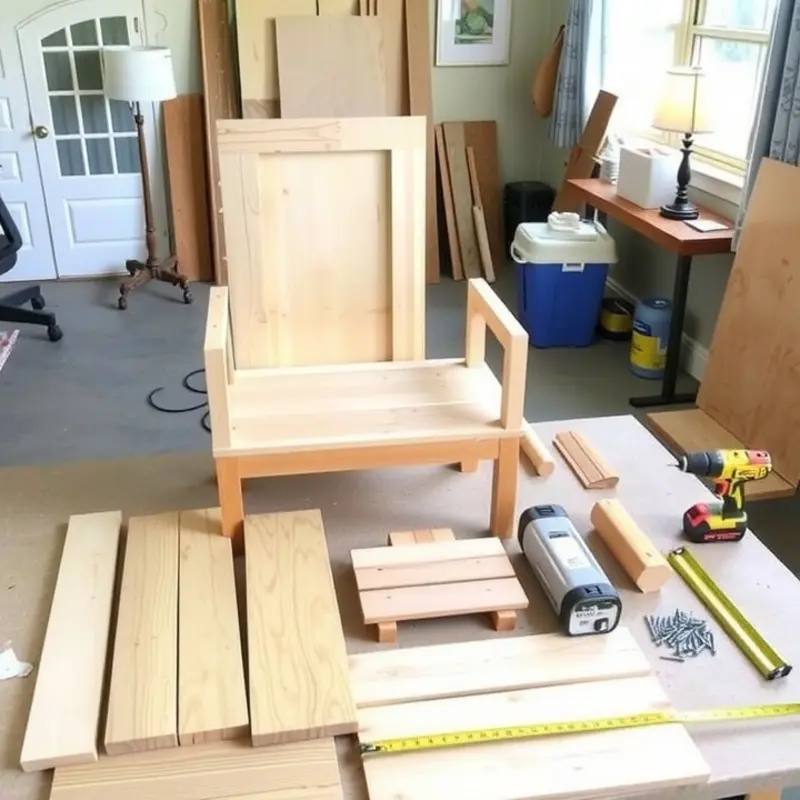
Construct the Frame: Begin by constructing the frame of the bench. Cut the wooden boards to your desired measurements. A typical bench might be around 48 inches long, 18 inches high, and 16 inches deep, but you can adjust these dimensions according to your space. Use screws to join the boards, creating a rectangular frame.
-
Add the Base: Cut a piece of wood to fit inside the bottom of the frame for the base. This will support the storage items. Screw it into place securely.
-
Attach the Sides: For added stability, attach additional support pieces vertically at each corner of the frame. These should be flush with the edges of the frame.
-
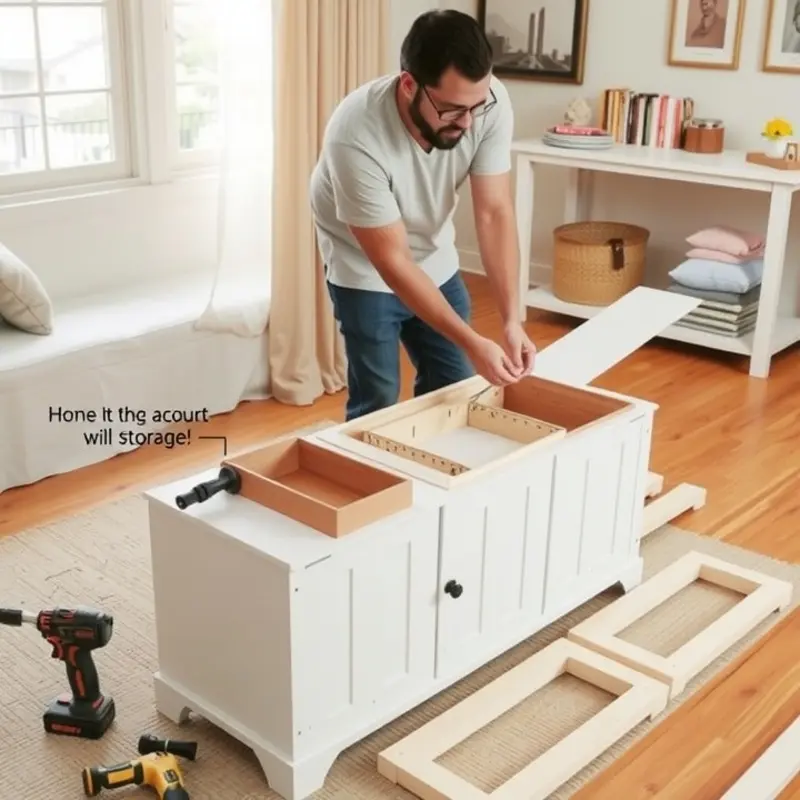
Create the Lid: Cut another piece of wood to sit on top of the bench as a lid. Attach this to the frame using hinges so that it can be lifted to reveal the storage space within.
-
Sand and Paint: Before painting, use medium-grit sandpaper to smoothen all surfaces and edges. This ensures a clean finish and helps the paint adhere better. Choose a paint that complements your room’s color scheme and apply two coats for durability. Allow sufficient drying time between coats.
-
Add Cushioning: Measure enough foam padding to cover the top of the lid. Secure the padding using a staple gun, ensuring it’s evenly distributed along the edges.
-
Apply Fabric Covering: Choose a durable fabric and wrap it over the foam padding. Staple it securely underneath the lid. Be sure to pull the fabric tightly for a smooth finish.
-
Customize Your Bench: For additional flair, consider painting decorative patterns or adding embellishments. You might also create segments within the storage compartment using dividers to keep items organized.
For extra tips on decorating with style while maintaining functionality, you might find useful ideas by exploring DIY apartment window seat, which offers creative inspiration for adding cozy accents to your rental space.
As you assemble your bench, remember that all these steps are geared towards ensuring a hassle-free removal when you move, keeping your rental space in perfect condition. Enjoy your new creation that combines seating with smart storage!
Final words
Building a DIY renter-safe storage bench combines creativity and functionality to elevate your rental space without sacrificing style. Whether for entryway storage, a child’s room, or as a stylish seat in your living area, this project can easily adapt to your specific needs. You’ll not only gain a custom piece of furniture, but you’ll also experience satisfaction in creating something uniquely yours. So, gather your materials, roll up your sleeves, and make your rental feel more like home!


