

Renting can often feel like living in someone else’s space, but with a touch of creativity, you can make it uniquely yours. Wall stencils offer an apartment-friendly option for personalization without risking your security deposit. Whether you’re a young professional looking to express your style, a student seeking a cozy study nook, or a family wanting to create a warm environment for your kids, DIY wall stencils are an easy and fun solution. This guide will take you through innovative stencil ideas, simple techniques, and experience-rich tips to help you transform your walls into beautiful canvases of self-expression. Dive into these chapters to discover how to create vibrant designs that resonate with your personality and lifestyle while remaining mindful of your rental agreements.
Finding Your Style: Choosing the Right Stencil
Selecting the right stencil for your rental is more than just a decorative decision—it’s about curating a space that speaks to you. Start by identifying the overarching theme of your apartment. Are you drawn toward modern minimalism with clean lines, or do vintage, nostalgic elements catch your eye? Maybe you crave playful and whimsical designs, or perhaps a serene, nature-inspired motif is what you’re after.
To ensure your stencil complements the space, take precise measurements of the wall areas you plan to decorate. This will help you gauge the stencil design’s proportion and prevent it from overpowering the room. Consider the height and width of the walls, and don’t forget about features like windows, picture frames, or wall art that might influence your stencil placement.
Color choice plays a pivotal role in the overall impact of your stencil. If your walls are a neutral shade, opting for a bold, contrasting color can make the design pop. Conversely, if your walls are vibrant, a more subdued stencil shade might be apt. For a cohesive appearance, choose colors that are already present in your furniture or decorative pieces.
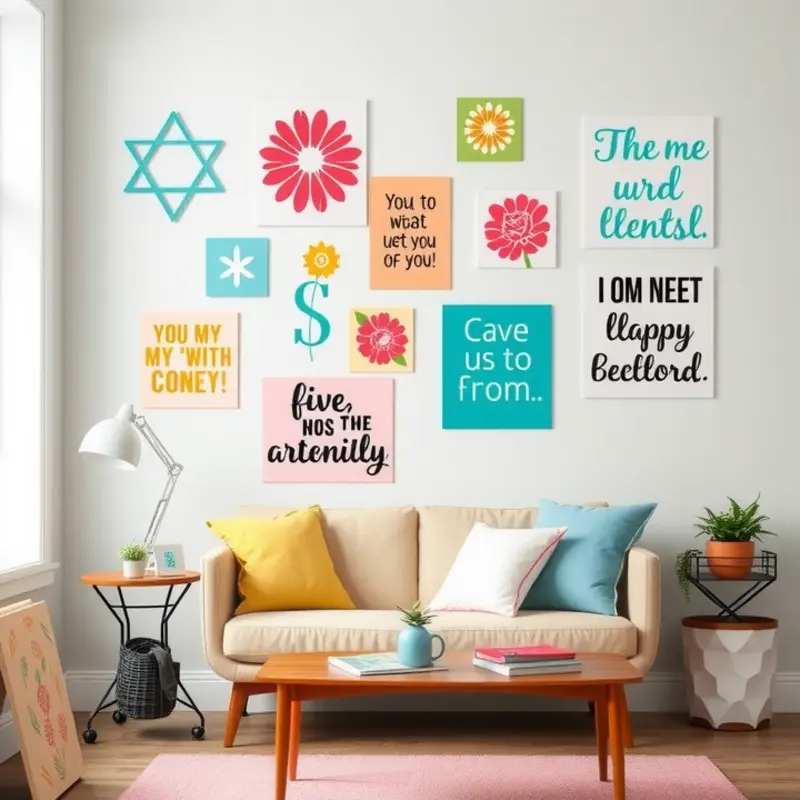
When it comes to design, a plethora of stencil options awaits you. Geometric shapes are ideal for achieving a modern look, with their crisp angles and repetitive patterns bringing structure and order to any space. Florals can lend a room a quaint or bohemian vibe, depending on the intricacy of the design. Motivational quotes work wonders in workspaces or entryways, providing daily inspiration at strategic locations.
Abstract designs are versatile and can adapt to various styles—ideal for those who want flexibility. Using stencils to create a pattern that mimics expensive wallpaper can offer a luxurious feel without the permanence. Decide whether a large, bold statement piece will anchor your space, or if smaller accents, scattered strategically, blend better into your overall decor scheme.
Before making a final decision, testing the stencil and color on a small, inconspicuous part of the wall can prevent future dissatisfaction. This offers insight into how it interacts with light and existing decor. Furthermore, for tips on complementary organizational solutions to enhance your newly stenciled walls, you might find our article on apartment organization using baskets helpful.
Choosing a stencil is a personable process. It’s about examining what brings you joy and aligning it with the space you inhabit. Take your time with the selection—it will be a reflection of your personal style and a testament to your aesthetic ingenuity.
Step-by-Step Guide: Bringing Your Stencil to Life
You’ve picked out the perfect stencil; now it’s time to transform your walls! The process is straightforward—gather your materials, prepare your canvas, and start painting. Let’s dive into the details to ensure you achieve the custom look you’re aiming for.
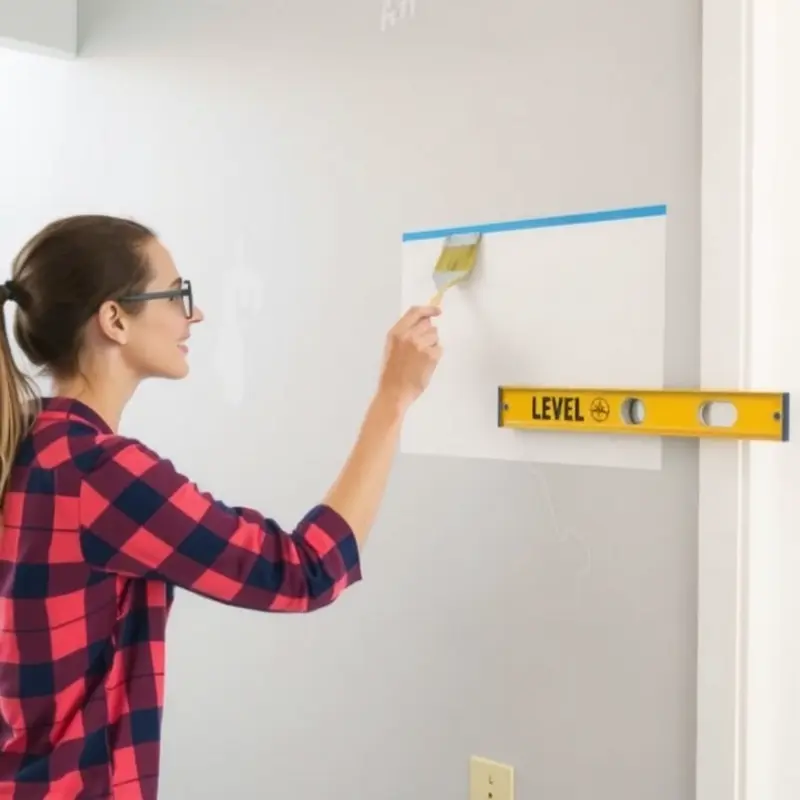
Start by gathering your materials. You’ll need your chosen wall paint, a stencil brush or foam roller, painter’s tape, a level, and of course, your stencil. Each tool has a role to play in bringing your design to life. A stencil brush or foam roller is crucial for controlled paint application, preventing any unwanted smudging or bleeding.
Next, prepare the wall. A smooth, clean surface is vital for a successful stencil project. Dirt or grime can interfere with paint application, so clean the wall with a damp cloth. If the wall’s color needs a refresh or doesn’t serve as an ideal background, apply a base coat. Choose a neutral or contrasting color to complement your stencil design, enhancing its visual impact.
With the wall prepped, position the stencil. Use painter’s tape to secure it in place, keeping the stencil flat against the wall. A level is an invaluable tool here, ensuring your stencil is perfectly straight. This step is crucial; even a slight tilt can disrupt the harmony of your pattern.
Now, it’s time to paint with care. Dip your stencil brush or foam roller lightly into the paint, then offload excess onto a paper towel. This prevents the paint from bleeding under the stencil and maintains clear, crisp lines. Apply paint using soft, upward and downward strokes, alternating with side-to-side movements, for an even layer.
As the magic unfolds, you may need to repeat. Carefully lift the stencil once your section is done, ensuring no dripping or smearing. Reposition it as necessary to continue the pattern. This step might require patience, especially with intricate designs. Ensuring precise alignment is key, so take your time.
Finally, finish up by letting your masterpiece dry completely. Give it enough time to ensure a durable finish—this could be anywhere from a few hours to overnight. Step back and admire your work, a custom touch to your apartment that didn’t break the bank!
Incorporating DIY stencils is just one way to elevate your rental space while maintaining its renter-friendly status. For other creative home improvements, check out apartment organization baskets to enhance your decor and functionality. With a bit of effort and creativity, your space will reflect your style beautifully.
Final words
Personalizing your rental does not have to be daunting or costly. DIY wall stencils offer a delightful and straightforward way to express your creativity while enhancing the charm of your living space. As you combine your chosen stencil designs with colors that speak to you, remember this project is all about fun and self-expression. Each brushstroke brings you one step closer to a home that truly feels like an extension of yourself, personalized just for you and your loved ones. Embrace your creativity and start stenciling; you’ll be amazed at the transformation in both your space and your spirits!


