
Personalizing a rental space can feel like a daunting task, especially when it comes to decorating walls that cannot sustain nails or screws. Fortunately, no-drill wall shelves offer a perfect solution to young professionals, students, families, and creative renters looking to make their spaces uniquely their own without risking their security deposits. These versatile and stylish shelving options come in various designs, allowing you to display anything from books and plants to cherished photos, adding a personal touch to your home without the hassle of permanent fixtures. In this guide, we will explore innovative ways to utilize no-drill wall shelves, providing inspiration, practical tips, and step-by-step guidance. Whether you’re aiming for a minimalistic look or a whimsical vibe, these ideas will empower you to design your rental space with confidence and creativity.
Creative Ways to Use No-Drill Shelves
No-drill shelves are an ideal solution for renters seeking to add personality and functionality to their homes without compromising their lease agreement. These versatile units can transform any area, from underutilized corners to expansive walls, into a chic display or practical storage space.
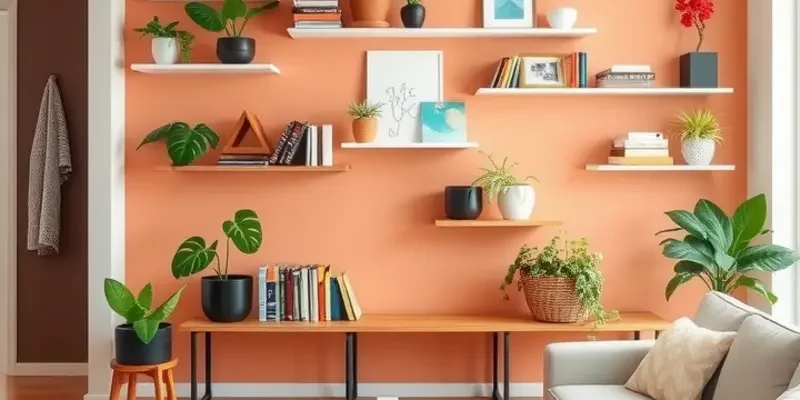
To maximize your rental’s aesthetic, consider placing no-drill shelves in unique and unexpected locations. Small, floating shelves arranged in a diagonal pattern can break the monotony of a long hallway, adding visual intrigue. In the kitchen, position a few shelves above the counter for an accessible spice rack, adorning them with small herb pots and decorative jars for a touch of greenery and color.
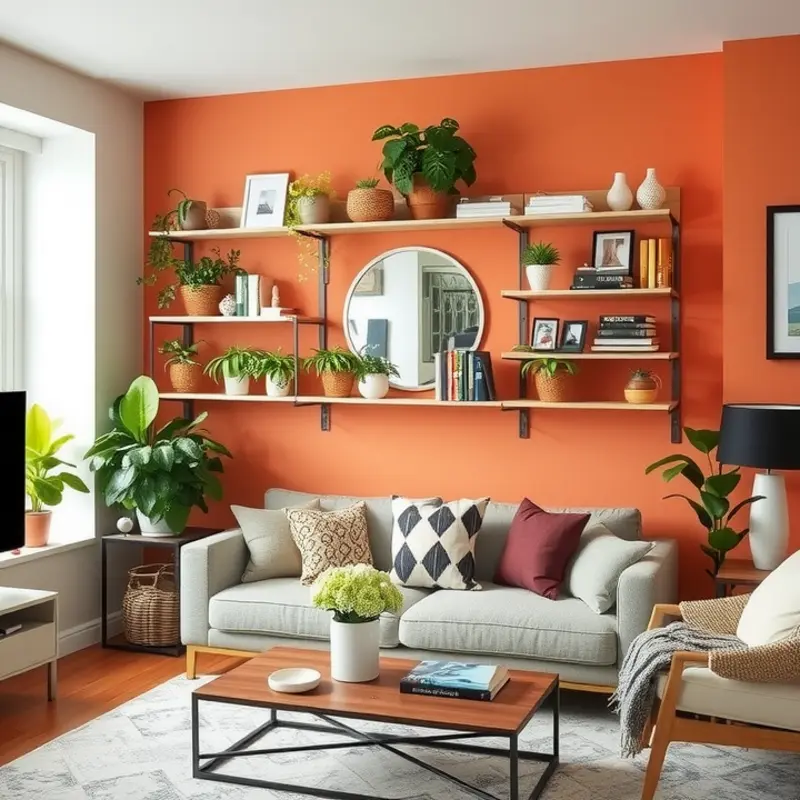
In the living room, use staggered shelves to create an art gallery wall. Mix framed photos, art pieces, and small potted plants for a harmonious blend of nature and art. For guidance on creating a rental-friendly gallery wall, you might explore more ideas here.
To cater to smaller spaces like bathrooms, slim, no-drill shelves can serve as practical and stylish towel racks or hold daily essentials without clutter. In the bedroom, floating shelves above the headboard can replace bulky nightstands. Arrange them with your nighttime reads, a small lamp, or even a plant to create a floating bedside.
When styling no-drill shelves, embracing minimalism is key to preventing an overcrowded look. Start by selecting a cohesive color palette that complements your existing decor. Use different shapes and sizes for added dimension, keeping scale and balance in mind. Incorporating items like books, small sculptures, and vases at varying heights can create a visually pleasing asymmetry.
The versatility of no-drill shelves extends across various materials and designs, from sleek metal to rustic wood finishes. These options mean you can tailor the shelves to fit your interior style. An industrial theme might benefit from metal or dark wood, while a Scandinavian aesthetic would favor lighter woods or white finishes.
Lastly, consider the practical benefits. Use sturdy no-drill shelves in areas prone to clutter, such as mudrooms or entryways. They can hold baskets for shoes or hang pegs for keys and bags, bringing order and peace to high-traffic zones.
By thinking creatively about placement and styling, no-drill shelves offer endless possibilities for renters to customize their living space without lasting alterations. These flexible fixtures allow you to personalize your environment significantly, making your rental feel distinctly yours.
Step-by-Step Guide to Installing No-Drill Shelves

Transform your rental space without losing your security deposit by mastering the art of installing no-drill shelves. These shelving solutions can be both sturdy and aesthetically pleasing. Follow this step-by-step guide to get started.
Tools and Materials Required
Before diving into installation, gather the necessary tools and materials:
- Level: Ensures your shelves are perfectly horizontal.
- Tape measure: For precise measurements.
- Pencil: To mark drilling points subtly.
- Adhesive strips or hooks: Choose according to your shelf type and weight tolerance.
- Shelf materials: Lightweight woods, acrylic, or metal.
Step 1: Selecting the Right Location
Choosing the right spot is crucial. Steer clear of surfaces like wallpaper, as the adhesive might damage it. Also, avoid areas near windows or humid corners where moisture can compromise adhesive strength. One option is https://borntolease.com/decor-diy/apartment-wall-decals/ for inspiration in adding character to your walls.
Step 2: Preparation
Prepare the selected wall area by cleaning it with a non-abrasive cleaner to remove dust and grease. Allow it to dry completely, ensuring better adhesion and reducing the chances of disastrous falls.
Step 3: Measuring and Marking
Using a tape measure, determine the ideal height for your shelf. Mark the chosen spots lightly with a pencil. Use a level in conjunction to ensure that your shelves will be straight. Mark at both ends of the shelf to prevent tilting.
Step 4: Applying Adhesive or Hooks
This step varies based on the shelf type and materials:
- Adhesive strips: Cut adhesive strips to the length of the shelf back. Peel off one side and apply firmly to the shelf. Then peel the other side and press it onto the marked wall spot.
- No-drill brackets: Attach adhesive hooks to the wall marks. Ensure they are levelled and let them sit for 30 minutes for optimal hold before inserting the brackets.
Step 5: Mounting the Shelves
For adhesive strips, press the back of the shelf evenly against the wall, applying pressure for about 30 seconds. If using no-drill brackets, slip your shelf securely into the hook groove. Ensure that the shelf sits flat across your wall surface.
Best Practices and Tips
- Weight Consideration: Be cautious of overloading. Always adhere to the weight limitations specified by the adhesive or hook manufacturer.
- Regular Checks: Periodically check shelf stability, especially after placing heavy objects.
Enhancing your rental with no-drill shelves doesn’t have to be daunting. With careful selection, preparation, and precise installation, you can personalize your space significantly. Explore more ways to make your apartment truly feel like home by adding customized decorative touches.
Final words
No-drill wall shelves present an ideal opportunity for anyone renting their home to infuse creativity and personality into their living space. With an array of styles and installation methods, you can easily tailor your environment to reflect your tastes without incurring damage or risking your security deposit. Embrace these versatile shelving solutions and allow your imagination to guide you in transforming your rental into a delightful and customized sanctuary. Divulging in the beauty of no-drill shelves not only enhances your surroundings but also instills a sense of belonging and individuality where it matters most.


