
As the landscape of rental living continues to evolve, inject your personal flair into your home with a DIY headboard that offers both functionality and style. Renting shouldn’t stifle your creativity; instead, it should encourage it! Headboards broadly range from upholstered beauties to sleek wooden designs, each providing an opportunity to express your unique taste without incurring hefty charges or damage to your walls. For young professionals settling into their first apartments, families seeking to enhance their children’s bedrooms, and students looking to personalize dorm rooms, a DIY headboard offers a seamless blend of practicality and personalization. This guide walks you through easy-to-follow, renter-friendly options to help you craft a visually stunning headboard that feels at home in your space, leaving a lasting impression on your guests while keeping your security deposit intact. Get ready to roll up your sleeves and turn your vision into reality with these inspiring projects!
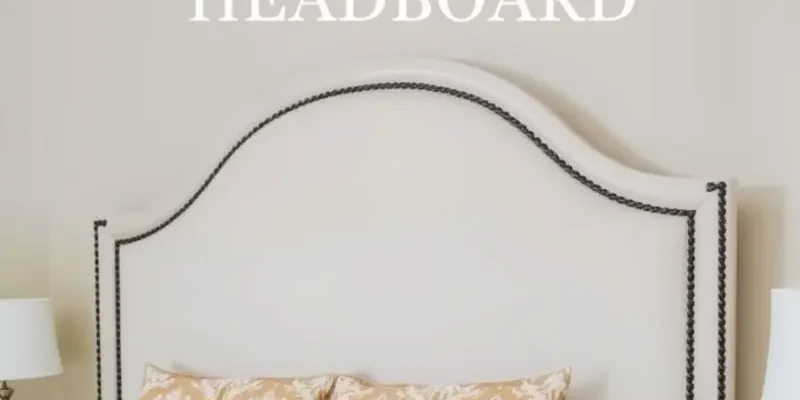
Fabric Dreams: The Upholstered Headboard
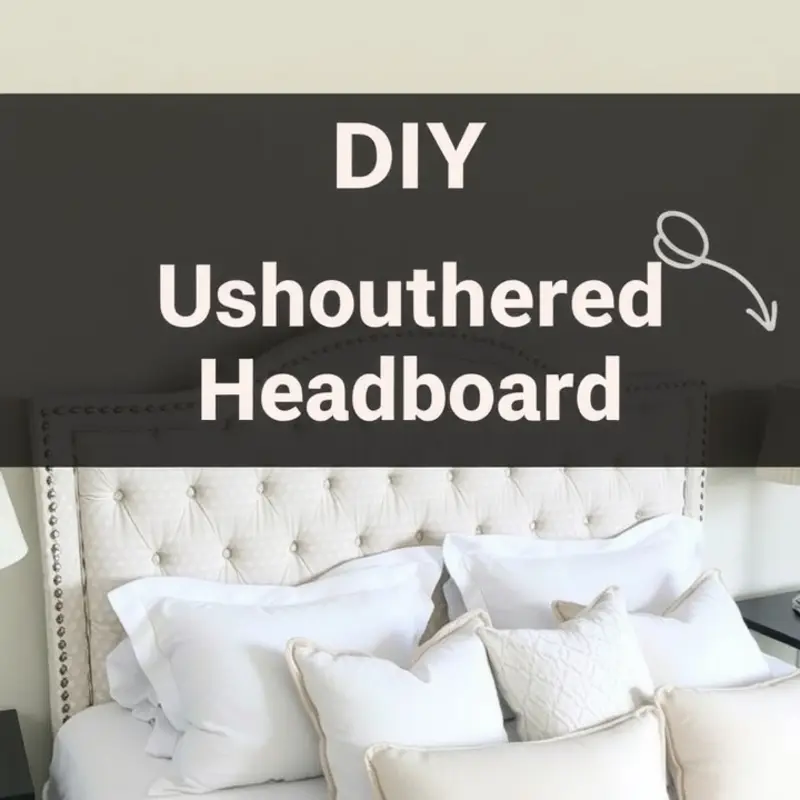
Transforming your bedroom into a sanctuary starts with the perfect headboard. An upholstered headboard can become the focal point of your space, adding both comfort and style. Best of all, it’s an accessible project, ideal for renters who seek personalization without altering their space permanently.
Materials You’ll Need
Begin by gathering simple materials: a plywood board, fabric of your choice, padding (such as foam or batting), and a staple gun. These materials are easy to find and budget-friendly. Opt for fabrics like cotton or linen for durability and easy maintenance. Patterns and colors can set the tone of your room—be bold with vibrant hues or stay chic with neutral shades.
Crafting the Frame
Start by cutting a piece of plywood to match or slightly exceed the width of your bed. The height depends on your aesthetic preference, but typically ranges from 36 to 48 inches. Smooth any rough edges with sandpaper to prevent fabric abrasion. This wooden frame serves as the backbone of your headboard, providing structure and stability.
Padding and Comfort
Apply padding to the plywood using spray adhesive. Foam padding is preferable for a plush feel, complemented by batting for a refined look. Layer the materials, ensuring even coverage, to avoid lumps. Smooth out any creases in the batting for a sleek finish.
Attaching the Fabric
With your padding securely in place, lay your fabric over the board. Ensure the pattern aligns correctly; small adjustments at this stage ensure a professional appearance later. Flip the board and start securing the fabric, working from the center outwards. Use a staple gun to affix the fabric onto the plywood, carefully pulling it taut as you go. Pay special attention to the corners, folding them neatly to mimic a wrapped gift.
Personalization Tips
Your fabric choice reflects your personality and can complement or contrast existing décor. Consider textured fabric for depth or print for interest. This is an opportunity to highlight your style without long-term commitment, appealing to the renter who enjoys frequent updates. If you’re looking for additional tweaks to personalize your space, apartment-friendly DIY cleaning products can help maintain cleanliness without compromising style.
An upholstered headboard is the epitome of a DIY project that combines utility with elegance. It not only elevates a bedroom but also showcases your creative edge, making it a worthwhile addition to your rental home. Embrace this venture, knowing that you’ve crafted something uniquely yours—personal, practical, and perfect for a renter’s ever-evolving style.
Nature’s Touch: The Wooden Pallet Headboard
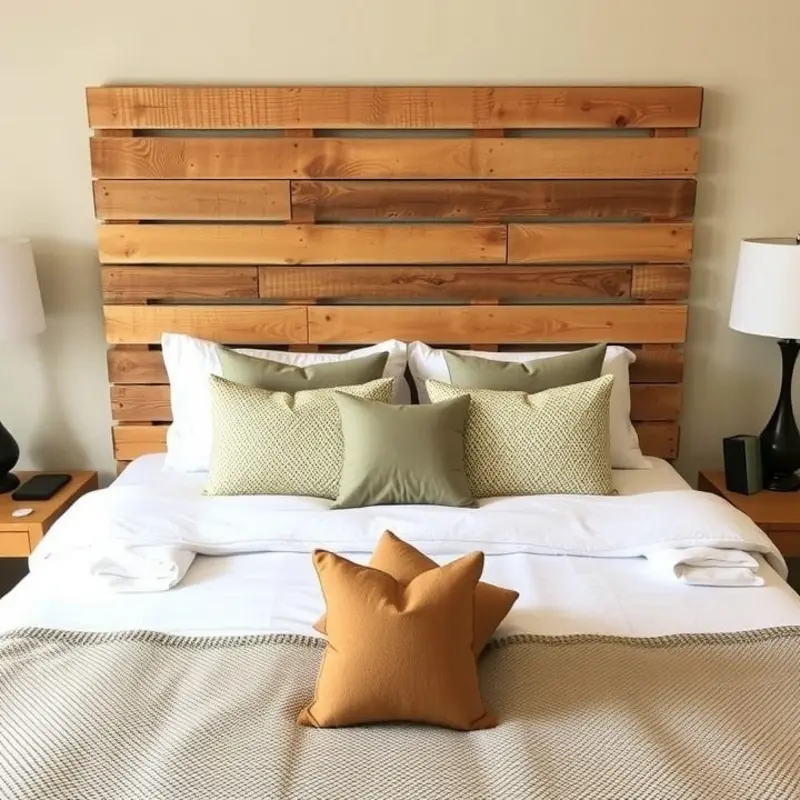
If rustic charm speaks to your heart, then a wooden pallet headboard might just be your new best friend. Repurposing wooden pallets is not only an eco-friendly choice but also an easy project that even novice DIY enthusiasts can tackle with confidence.
Start by sourcing your pallets. These are often readily available for free or at a low cost from various sources. Local businesses, particularly garden centers or hardware stores, frequently have an excess of pallets they are eager to give away. Ensure any pallets you procure are in good condition and free from harmful chemicals. Look for untreated pallets to maintain a safe indoor environment.
Once you’ve gathered your pallets, preparation is key. Begin by thoroughly cleaning them to remove any dirt or debris. A simple scrub with warm soapy water should suffice. After cleaning, sand down the wood’s surface to prevent splinters and ensure a smooth finish. Use medium to fine sandpaper for optimal results.
Next comes the creative part—customizing your headboard to suit your personal aesthetic. Choose between painting or staining the wood, depending on your desired look. A light stain will enhance the natural wood grain, giving your space a warm, inviting feel. Alternatively, a bold paint color can make a dramatic statement. Consider using non-toxic paints or stains to maintain a safe indoor environment, especially in bedrooms.
When assembling your headboard, plan out your design layout. You can stack pallets vertically for a tall headboard or place them horizontally for a more elongated look. Attach the pallets securely using screws to ensure stability, especially if you are adding extra features like hooks or shelves.
Personalization is where your headboard truly comes to life. Adding hooks can provide extra storage for lightweight items such as hats or bags, an ideal solution to maximize space in smaller rooms. For those wanting a bit more functionality, consider attaching small floating shelves or even integrated lighting for a cozy reading nook feel. These add-ons not only elevate the headboard’s elegance but also its utility.
For more space-efficient tips, consider checking out apartment organization using baskets, which can complement your storage-enhanced headboard.
Creating your own wooden pallet headboard combines sustainability, functionality, and style. This DIY project is a versatile and renter-friendly way to bring a touch of nature and uniqueness to your bedroom, without compromising on space or style.
Final words
With creativity and resourcefulness, you can transform your rental space into a personalized haven without making permanent changes or breaking the bank. A DIY headboard project is a fantastic way to express your style, whether you’re a student looking to make your dorm feel homier, a family wanting to create a cozy sanctuary, or a professional upgrading to a chic look. Both the upholstered and wooden pallet options are designed with flexibility in mind, ensuring that each addition remains renter-friendly while adding impactful design. So gather your materials, invite friends to join you in the fun, and start crafting your unique headboard—your dream space awaits!


