
Rental spaces often come with limitations, particularly when it comes to making them feel like home. For creative renters, young professionals, students, and families, the quest for personal touches in a temporary space can be challenging. Enter floating nightstands: a sleek, practical, and renter-safe solution that transforms your bedroom without the hassle of permanent fixtures. These innovative nightstands can easily be mounted and removed, allowing you to respect the integrity of your rental while still showcasing your unique style. Floating nightstands not only save floor space but also lend an air of modern sophistication. With DIY options available, you can customize designs to fit your aesthetic while staying within budget. Ready to craft your own stylish nightstand that reflects your personality? Let’s dive into the world of renter-friendly design!
Crafting the Perfect Design: Keep it Stylish and Functional
Designing a floating nightstand that enhances your space involves a balance between aesthetics and functionality. Begin by determining the primary purpose of the nightstand—storage, display, or perhaps both. This clarity will greatly influence your design decisions.
Material Selection
Selecting the right materials is crucial, especially in a rental environment where adaptability is key. Opt for lightweight materials that are easy to install and remove without damage. Plywood or medium-density fiberboard (MDF) are cost-effective choices that provide a smooth finish. For a more polished look, consider materials like solid pine or oak veneer, which offer durability and classic appeal.
Dimensions Matter
Size is a vital consideration. Measure the space available beside your bed, ensuring the nightstand doesn’t overpower the area. A typical floating nightstand might be around 15 to 20 inches in width and 10 to 15 inches in depth. Adjust these proportions to fit your specific needs while allowing ample room for movement and ease of access.
Color and Finish
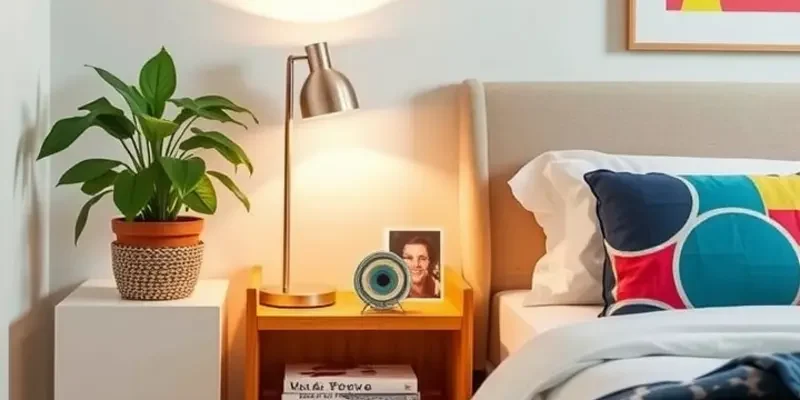
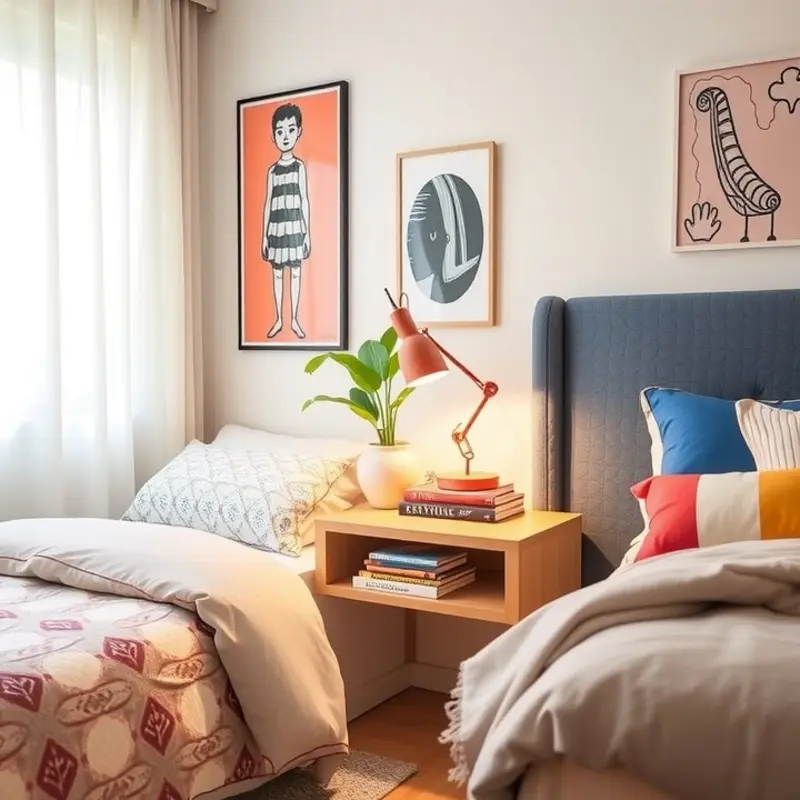
Color impacts both the mood and perceived space of a room. Light tones like white or cream can make a small bedroom appear larger, while darker hues can add a touch of sophistication. Consider a two-tone approach or incorporate natural wood finishes for a minimalist Scandinavian vibe. Explore finishing techniques such as staining or painting to protect the material and enhance visual appeal.
Style Inspirations
Your nightstand’s appearance should resonate with your personal style. For a sleek, modern look, consider geometric designs with sharp lines and angular shelves. If you lean towards rustic charm, distressing techniques can add character and warmth. For those who prefer a more playful aesthetic, bold colors or unique shapes can inject personality into the space. A visit to creative DIY projects might spark innovative ideas.
Functionality and Features
Enhance functionality by integrating features like hidden compartments or cable management systems for seamless organization of electronics. Adjustable shelves can provide versatility, catering to your evolving storage needs. Consider the height at which the nightstand is mounted; it should be easily reachable when lying in bed, typically around the height of the mattress.
In crafting a floating nightstand, the synergy of style and utility is essential. With thoughtful design, you can transform your rental space into a reflection of your individuality without making permanent changes. Experiment with these elements to create a piece that’s not just functional, but also a captivating focal point in your room.
Easy Steps to Build Your Own Floating Nightstand
Creating your own floating nightstand is a rewarding project that adds style to any room without compromising space—a perfect DIY for renters. Below is a comprehensive guide to help you construct a nightstand tailored to your taste and needs.
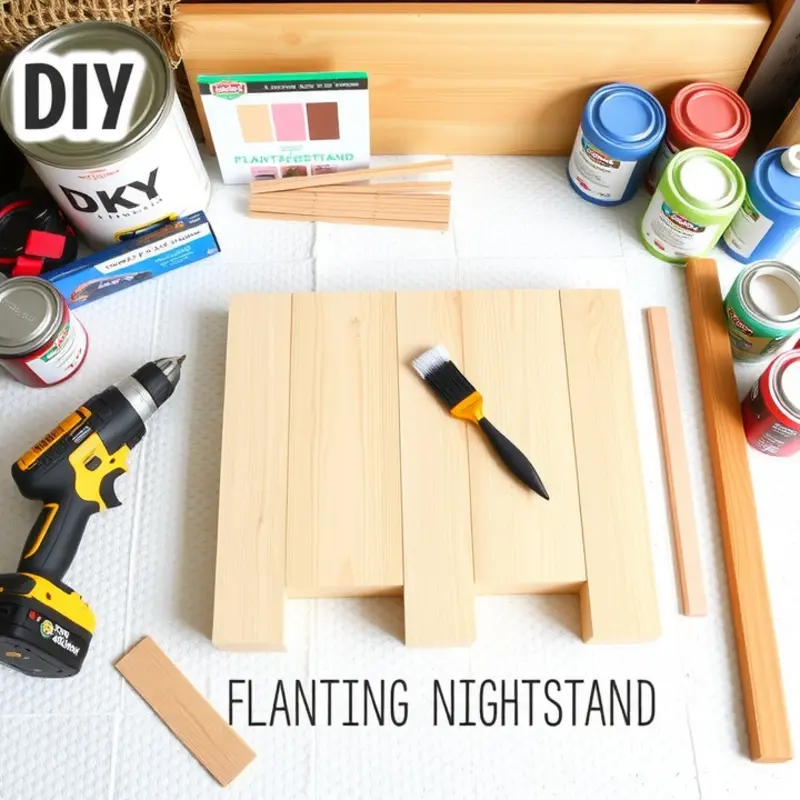
Start with assembling the essential tools: a power drill, screws, a saw, a measuring tape, a level, and wall anchors suitable for your wall type. These will ensure your nightstand is both secure and straight. Now, let’s move on to selecting materials.
Consider using reclaimed wood or upcycled materials for an eco-friendly approach. These materials often add character and charm that store-bought options lack. Measure the intended location for your nightstand to determine the size of the wood or shelving you will use. A common size is around 18 inches wide and 12 inches deep, but these can be adjusted based on your needs.
Cut the wood to your desired size and shape using a saw. Sand down the edges until they are smooth. Sanding is crucial not only to prevent splinters but also to prepare the surface for finishes or paint.
Before attaching the piece to the wall, pre-drill holes both in the wood and the wall. This step avoids splitting the wood and ensures sturdiness. Use a level to mark these holes, ensuring your nightstand will not tilt once installed.
Install wall anchors in the wall at the pre-drilled points for added stability. Attach the wood to the wall using screws long enough to securely reach the anchors. An important DIY trick: if attaching to drywall, ensure you find and use the studs for maximum support.
Customization is where you can get creative. Consider painting your nightstand to better blend with your room’s theme or use stencils for unique designs. Adding a small LED puck light underneath can create a cozy ambiance while serving as a functional nightlight.
For additional storage, consider attaching a small, open shelf on the underside of the nightstand. This can discreetly hold books, charging cables, or other items you want within reach but out of sight.
Always ensure your floating nightstand accommodates safety needs, especially in homes with pets or children. For more on applying renter-safe decor ideas, check out our guide on DIY renter-safe coat hooks.
In summary, constructing a floating nightstand is not just about functionality but also an opportunity to express personal style. Follow these steps to make a nightstand that you will genuinely adore in a rented space, making it both personalized and renter-safe.
Final words
Floating nightstands are not just furnishings; they are a way to express your creativity and style in a rental home. With careful planning and imagination, you can build a piece that enhances both the aesthetics and the functionality of your space. Remember, your rental doesn’t have to feel temporary. Rather, with projects like these, you can create inviting spaces that reflect who you are. So gather your materials, find your inspiration, and get started on the path to a beautifully personalized home!


