
Living in a rental doesn’t mean you have to sacrifice style for practicality. With a few creative touches, you can easily turn your living space into a reflection of your personality. One fantastic way to do this is by creating your own magazine racks! Ideal for young professionals, students, families, and creative renters, these DIY projects not only help organize your reading materials but also add a stylish element to your decor. From sleek and modern designs to rustic styles, you can get crafty without risking your security deposit. Let’s dive into two distinct types of renter-safe magazine racks you can whip up with minimal cost and effort. Perfect for making your rental feel more like home while showcasing your unique flair!
Modern Floating Magazine Rack
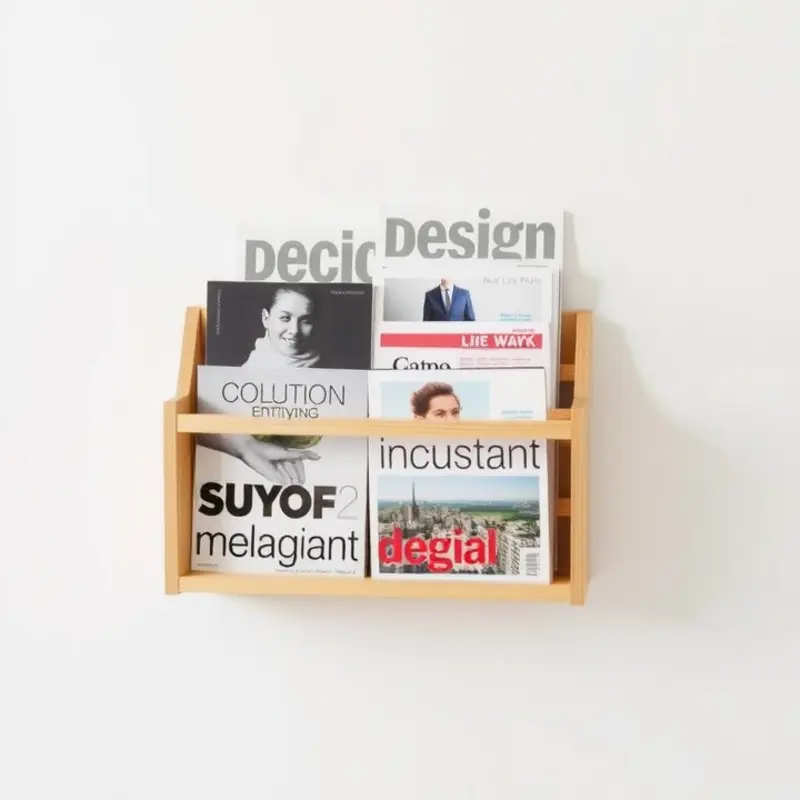
Creating a modern floating magazine rack is an excellent way to blend function with style in your living space. This project stands out for its simplicity and minimalistic design, making it ideal for renters who seek to enhance their decor without permanent alterations.
Materials You’ll Need:
- Wooden board (approximately 24 x 6 x 1 inches)
- Wall mounting brackets
- Sturdy twine or thin rope
- Small nails or hooks
- Wood finish or paint (optional)
- Sandpaper
Tools Required:
- Drill or screwdriver
- Hammer
- Level
- Measuring tape
Step-by-Step Instructions
Step 1: Prepare the Wooden Board
Begin by sanding the wooden board to remove any rough edges, ensuring a smooth finish. If you desire a polished look, apply a wood finish or paint that complements your decor. Allow it to dry completely before proceeding to the next step.
Step 2: Attach Wall Mounting Brackets
Decide on the height at which you’d like your magazine rack to be mounted. Use a level to ensure your measurements are accurate. Drill the wall mounting brackets into the desired position on the board. These brackets will provide the necessary support and stability to hold your collection of magazines.
Step 3: Create Magazine Holders
Cut the sturdy twine or thin rope into two equal lengths, each about three times the width of the wooden board. Attach these pieces to the front of the board using small nails or hooks placed on the sides. These will act as holders for the magazines, allowing them to lean back slightly while maintaining a secure position.
Step 4: Installation
Use a drill or screwdriver to anchor the board securely to the wall, ensuring the brackets are properly aligned with the pre-installed wall anchors or studs. Once the board is in place, hang your magazines by sliding them into the rope holders.
Tips and Tricks
- Consider using different colors of twine to match seasonal decor changes or personal preferences.
- Test the stability of the rack before placing heavy magazines to prevent any mishaps.
- For those residing in apartments with strict decoration policies, check out DIY renter-friendly ottomans for more versatile styling ideas.
With just a few tools and materials, you can transform an ordinary wall into a chic display of your favorite reads. This magazine rack is not only a space saver but also an eye-catching way to add a contemporary touch to any room.
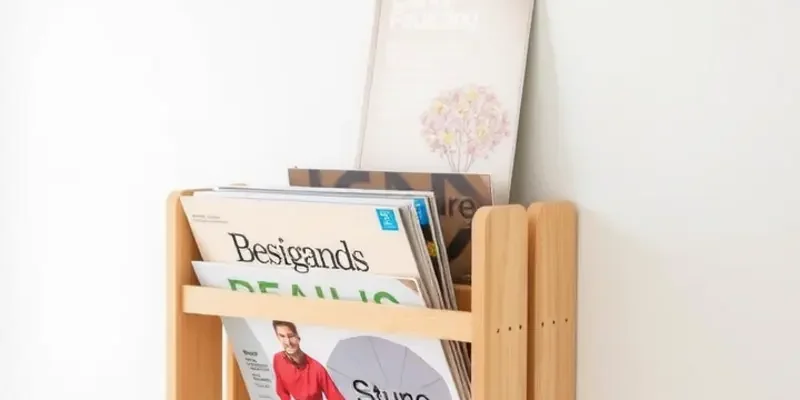
Rustic Pallet Magazine Holder
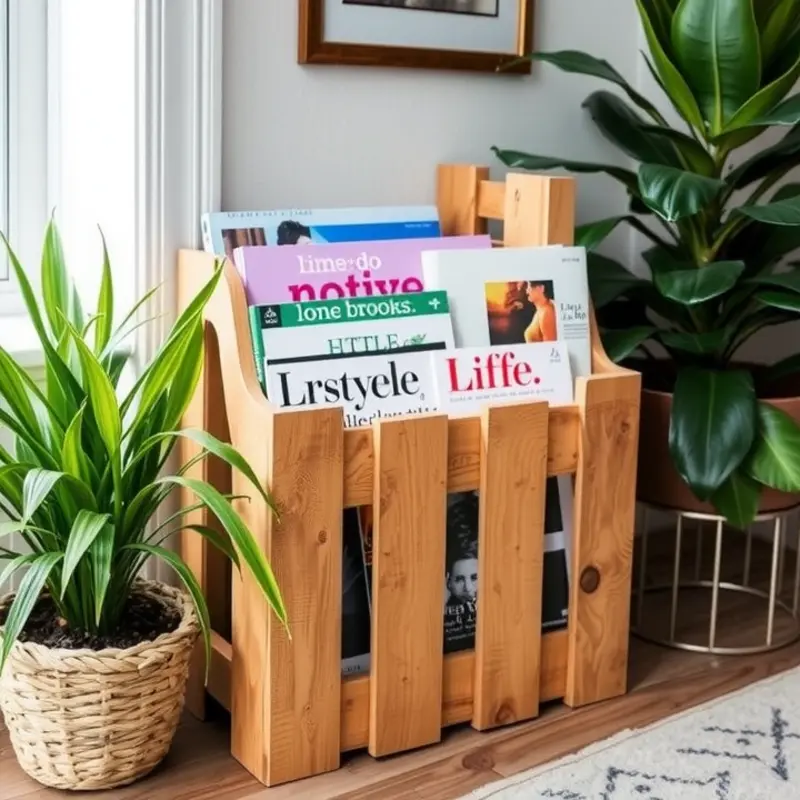
Embrace the charm of rustic decor by repurposing wooden pallets into a stylish magazine holder, perfect for any cozy living space. This DIY project not only adds character to your home but also provides easy access to your favorite magazines. Here’s how you can transform a simple wooden pallet into a chic magazine holder without breaking the bank.
To begin, you’ll need to source a wooden pallet. Check local hardware stores or search online marketplaces—often, these pallets are free or very inexpensive. Once you have your pallet, gather the basic materials: sandpaper, wood stain, and a brush. Sanding is essential for removing splinters and achieving a smooth surface. Using sandpaper or a power sander, smooth out all sides of the pallet until the wood feels even.
Next, it’s time to apply the wood stain to infuse the pallet with a rustic patina. Choose a stain that complements the rest of your decor. Apply it carefully with a brush, following the wood grain. Allow the stain to dry according to the instructions on the stain can ensure an even finish. Applying a sealant as a final coat can enhance durability, especially if you expect frequent handling.
For ease of use, cut the pallet to a manageable size if necessary. Use a saw to segment the pallet into sections that can hold your magazines snugly. Typically, a three-section cut works best, providing ample space without making the holder overly cumbersome. If you’re not comfortable using power tools, consider consulting a local handyman or borrowing a hand saw from a friend.
Once your sections are ready, consider adding some decorative touches. Burlap or jute twine can be wrapped around sections of the holder for added visual interest. Small chalkboard labels affixed to each section allow for easy labeling—perfect for organizing magazines by topic or genre.
Finally, decide where to place your new magazine holder. Free-standing against a wall maintains the rustic feel without requiring installation. Alternatively, you can wall-mount the holder for more floor space and a cleaner look. Anchors and screws will help secure it to the wall, especially in high-traffic areas.
This DIY project is an excellent example of how you can personalize your living space with unique and functional decor. It complements other renter-friendly DIY projects like these DIY stool makeovers, helping to create a welcoming atmosphere without permanent changes. By embracing the rustic pallet style, you’re not only enhancing your decor but also practicing sustainable living through upcycling.
Final words
Crafting your own magazine racks not only maximizes your rental’s functionality but also infuses your space with a comforting personality. The modern floating rack can elevate your home with sleek elegance, while the rustic pallet holder introduces warmth and charm. These projects are simple, cost-effective, and completely renter-friendly, allowing you to personalize your environment without fear of damaging walls or violating lease agreements. Embrace your creativity, get crafty, and breathe new life into your rental sanctuary today!


