Ah, the apartment hunt! It’s filled with excitement, a decent dose of stress, and possibly one too many late-night scrolling sessions. The thrill of finding a place that feels like home is only matched by the bewilderment of dealing with deposits. What’s the deal with that money you need to pay upfront? Is it just to keep the landlord’s dog in treats? Spoiler alert: it’s not! For young adults, first-time renters, and couples finally moving in together, understanding your deposit can save you a headache later on. Let’s break down the checklist you need, with a touch of humor and practicality. Consider it your rental deposit survival kit!
Understanding Rental Deposits

Before moving into your dream apartment, understanding rental deposits is crucial. These deposits act as financial assurances for landlords, covering potential damages and defaulted rent payments. Typically, rental deposits start as security deposits, which usually range from one to two months’ rent.
The amount can fluctuate based on location, landlord policies, and your credit history. In cities where demand is high, or where a tenant’s credit report might raise concerns, landlords often require higher deposits. It’s essential to review your financial situation and consider how much you’re willing to commit upfront.
Beyond security deposits, there are other deposit types you might encounter. Pet deposits are common for individuals moving in with furry companions. These deposits range from a flat fee to a rent surcharge. They protect the landlord from potential animal-related damages. Meanwhile, cleaning deposits are occasionally requested to cover the expense of restoring the apartment to its pre-move-in condition.
Understanding these deposits is vital for budgeting purposes. Fees can add up, especially if you’re relocating with pets or substantial furnishings, so it’s worth considering the full financial picture.
Lease agreements typically outline specific terms regarding rental deposits. Familiarize yourself with this document to ensure you know the conditions for deposit returns. Many issues arise due to misunderstandings about this aspect. Avoid unpleasant surprises by clarifying any uncertain terms before you sign.
These considerations extend beyond just knowing your rights and responsibilities. Understanding deposits can also impact your future financial planning. If deposits are a stretch, it might be worthwhile to explore strategies for strengthening your financial position. For more insights, check out this financial planning for renters guide.
Ultimately, gaining a comprehensive grasp of rental deposits can smooth the transition to your new home, allowing you to manage costs better and avoid unforeseen challenges.
The Essential Deposit Checklist
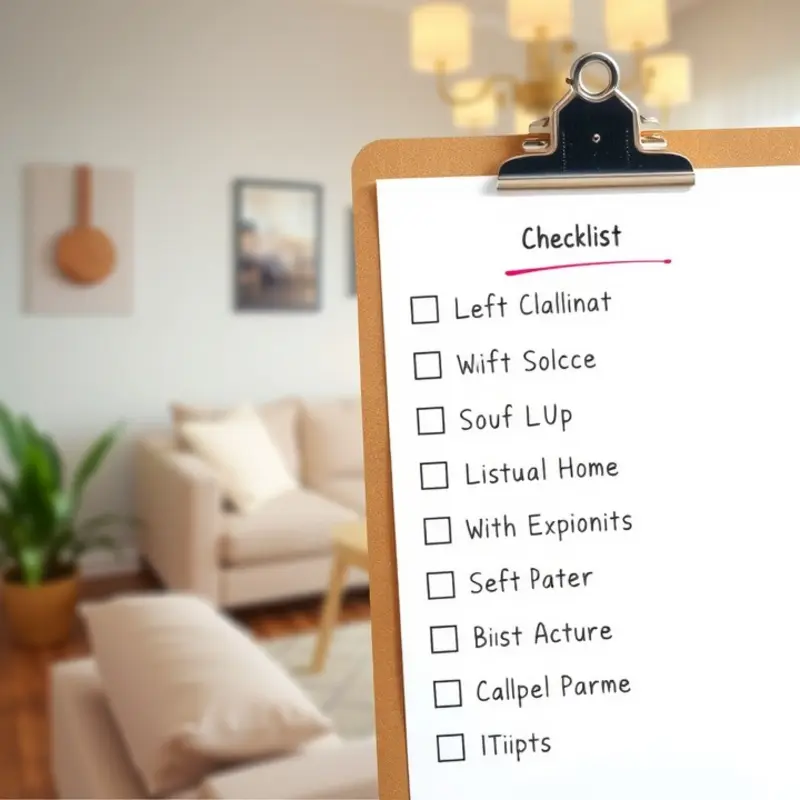
You’ve learned what a deposit is, so now let’s take a systematic approach to securing your funds. This checklist covers every step to safeguard your deposit, ensuring you avoid unexpected deductions.
1. Review the Lease Thoroughly
Start by reading the entire lease agreement. Look for clauses about the deposit: how it’s held, conditions for deductions, and how and when it will be returned. Pay close attention to specific rules around wear and tear, as this can vary significantly between landlords.
2. Know Your Renter’s Rights
Research local tenant laws to understand your rights regarding deposits. Many regions have laws about maximum deposit amounts, deadlines for return, and allowable deductions. Being informed means you’re prepared if a dispute arises. More details can be found here, which offers insight into credit and tenant rights.
3. Document the Condition Pre-Move-In
Conduct a meticulous walkthrough with your camera or smartphone ready. Capture photos or videos of every room, noting existing damage or wear. Focus on walls, floors, fixtures, and appliances. This documentation will be your evidence if disputes arise when moving out.
4. Request a Copy of the Property Checklist
Many landlords have their checklist to document the property’s condition. Request a copy, review it with your notes and photos, and ensure both parties agree on the property’s state before move-in.
5. Inquire About Deposit Handling
Ask your landlord about the deposit’s handling. Will it earn interest? Is it held separately from other funds? Transparency here can prevent issues later on, as some regions mandate interest-earning accounts for deposits.
6. Regular Maintenance Checks
Throughout your tenancy, conduct regular self-checks on the property. This makes it easier to address minor issues promptly, preserving the condition of your apartment and safeguarding your deposit when you leave.
7. Understand Move-Out Procedures
Before you hand over keys, understand the end-of-lease procedure. Clarify how and when to schedule a final walkthrough. Knowing what’s expected helps you leave the property in good standing, maximizing your deposit return.
By following this checklist, you ensure you’re not just handing over cash without protection. These proactive steps not only secure your deposit but also set the tone for a responsible tenancy, keeping you prepared and protected every step of the way.
Final words
With this deposit checklist in hand, you’re now equipped to tackle the world of apartment renting with confidence—or at least a good sense of humor. Remember, every detail matters when it comes to deposits, from understanding your rights to ensuring that all money paid is justified. You’re not just looking for an apartment; you’re looking for your new home, a place where memories will grow. Happy renting!

