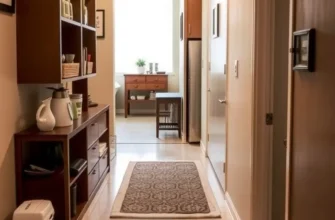
Living in an apartment has its unique challenges and advantages, particularly when it comes to health and safety. One often-overlooked aspect of apartment living is radon, a colorless, odorless gas that can seep into buildings from the ground. While it may be more prevalent in certain areas, radon poses a serious health risk to everyone, and renters must remain vigilant. Regular radon testing is crucial for ensuring a safe living environment and is a proactive step towards protecting your health and the well-being of your loved ones. This guide aims to provide renters simple, practical, and actionable advice on radon testing, ensuring that your apartment remains a safe haven. With easy-to-grasp information, you can take charge of your living environment and make informed decisions about your safety without unnecessary stress.
Understanding Radon: What Renters Should Know

Radon is an invisible and odorless gas that naturally occurs from the decay of uranium in soil, rock, and water. It can seep into buildings and homes, posing significant health risks. Renters should be aware that radon is the second leading cause of lung cancer in the United States, following smoking. Unlike some threats, radon doesn’t cause immediate symptoms, making it particularly insidious.
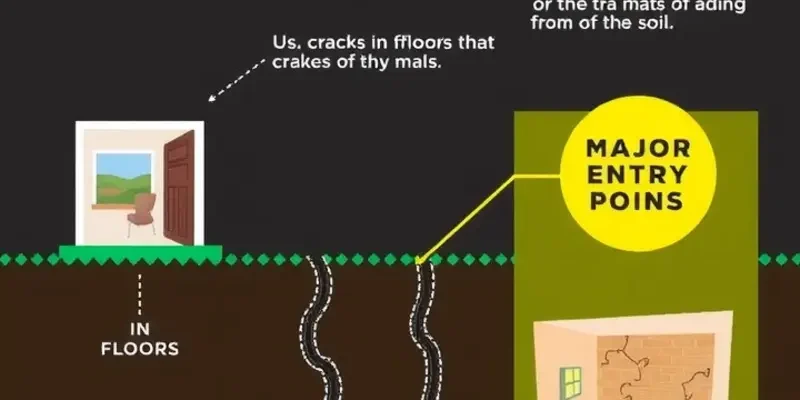
Radon can infiltrate apartments, particularly those on lower floors, through cracks in floors and walls, construction joints, or gaps around service pipes. The level of risk varies depending on the building’s location, construction, and foundation types. Areas with high natural uranium deposits in the soil are especially susceptible to elevated radon levels.
It’s crucial for renters to understand the potential risks where they live. The EPA provides a map of radon zones, which helps assess the average radon levels in different regions. Even if you live in a low-risk area, testing should still be a priority, as radon levels can vary significantly between buildings.
Renters often assume that radon testing is a responsibility of the property owner, but it’s not always the case. If a lease does not specify that testing will be done by the landlord, renters might need to take the initiative. Portable radon detectors can be used to test apartments over 48 hours. Long-term kits are also available for more comprehensive analysis.
Once aware of a radon issue, addressing it requires professional mitigation methods. Solutions can involve improving ventilation or using radon reduction systems, such as soil suction, which prevents radon from entering homes. Awareness and action can significantly reduce radon exposure.
While exploring solutions, it’s also beneficial for renters to understand apartment amenities that promote safety. For a comprehensive look at what to include in your search criteria, check out this apartment amenities checklist. Such lists ensure that renters account for safety alongside comfort and convenience when choosing their next home.
Renters should prioritize their health and safety by staying informed about radon. By proactively testing and advocating for radon mitigation, they can create a safer living environment in their apartments.
Practical Steps for Hassle-Free Radon Testing

Testing for radon in your apartment is easier than you might think. The process begins with acquiring a radon test kit, available online or at hardware stores. Choose a kit that meets national safety guidelines to ensure accuracy.
Start by deciding where to place the test. Pick a location on the lowest floor of your apartment where you spend most of your time. Ideal spots include living rooms or play areas. Avoid kitchens and bathrooms due to the humidity affecting results.
Preparation Before Testing
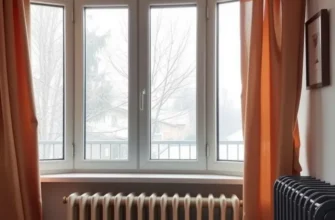
Before starting the test, close all windows and exterior doors for at least 12 hours. Keep them closed during the test as well. This minimizes air exchange, allowing accurate detection of radon levels. Continue your typical activities, but avoid using fans or exhaust systems excessively.
Conducting the Test
Follow the instructions provided with your test kit. Generally, short-term tests stay in place for 2 to 7 days. Place the kit on a flat surface 20 inches off the ground. Make sure pets can’t disturb it, and check the expiration date on the test.
After the test duration, seal the kit as instructed and send it to the specified lab for analysis. You’ll receive results in a few days to a couple of weeks.
If Radon Levels Are Elevated
If results show radon levels above 4 pCi/L, take action. Contact your landlord to discuss professional radon mitigation options. Often, temporary solutions like ventilating the space can reduce levels. It’s also advisable to hire a certified radon mitigation contractor.
For renters concerned about potential costs, you may need to negotiate with your landlord. Offering to share information about the health risks of radon can be persuasive.
Additional Considerations
Consider conducting a follow-up test to confirm initial results. Seasonal changes can cause fluctuations in radon levels. Testing in both winter and summer can provide a comprehensive view.
For more information on maintaining a safe and healthy apartment environment, explore our winter apartment maintenance guide. It includes tips on managing seasonal hazards, ensuring your apartment remains a safe haven year-round.
Conducting radon testing need not be a daunting task. With these steps, you can ensure your living space is safe, allowing you to breathe easy in every sense of the word.
Final words
Being aware of radon and taking the initiative to test for it can lead to peace of mind and a safer living environment in your apartment. By understanding what radon is, where it comes from, and how to test for it, you can ensure your health and that of your loved ones remains a top priority. Proactive measures can make all the difference in living safely, enabling you to enjoy your home fully. Don’t wait for the landlord—take ownership of your apartment’s safety and embrace these practical steps today.